Recording from Digital Video Devices (DV Dubbing)
You can record from other digital video devices equipped with a DV terminal with virtually no loss in picture and sound quality.
E
CAMERA | PLAY (VCR) |
1.Connect the camcorder to the digital video device.
See Connecting a Digital Video Device (![]() 68).
68).
2.Set the camcorder to PLAY (VCR) mode and load a blank cassette.
Make sure that [AV ![]() DV] is set to [OFF] (
DV] is set to [OFF] (![]() 73).
73).
3.Connected device: Load the recorded cassette.
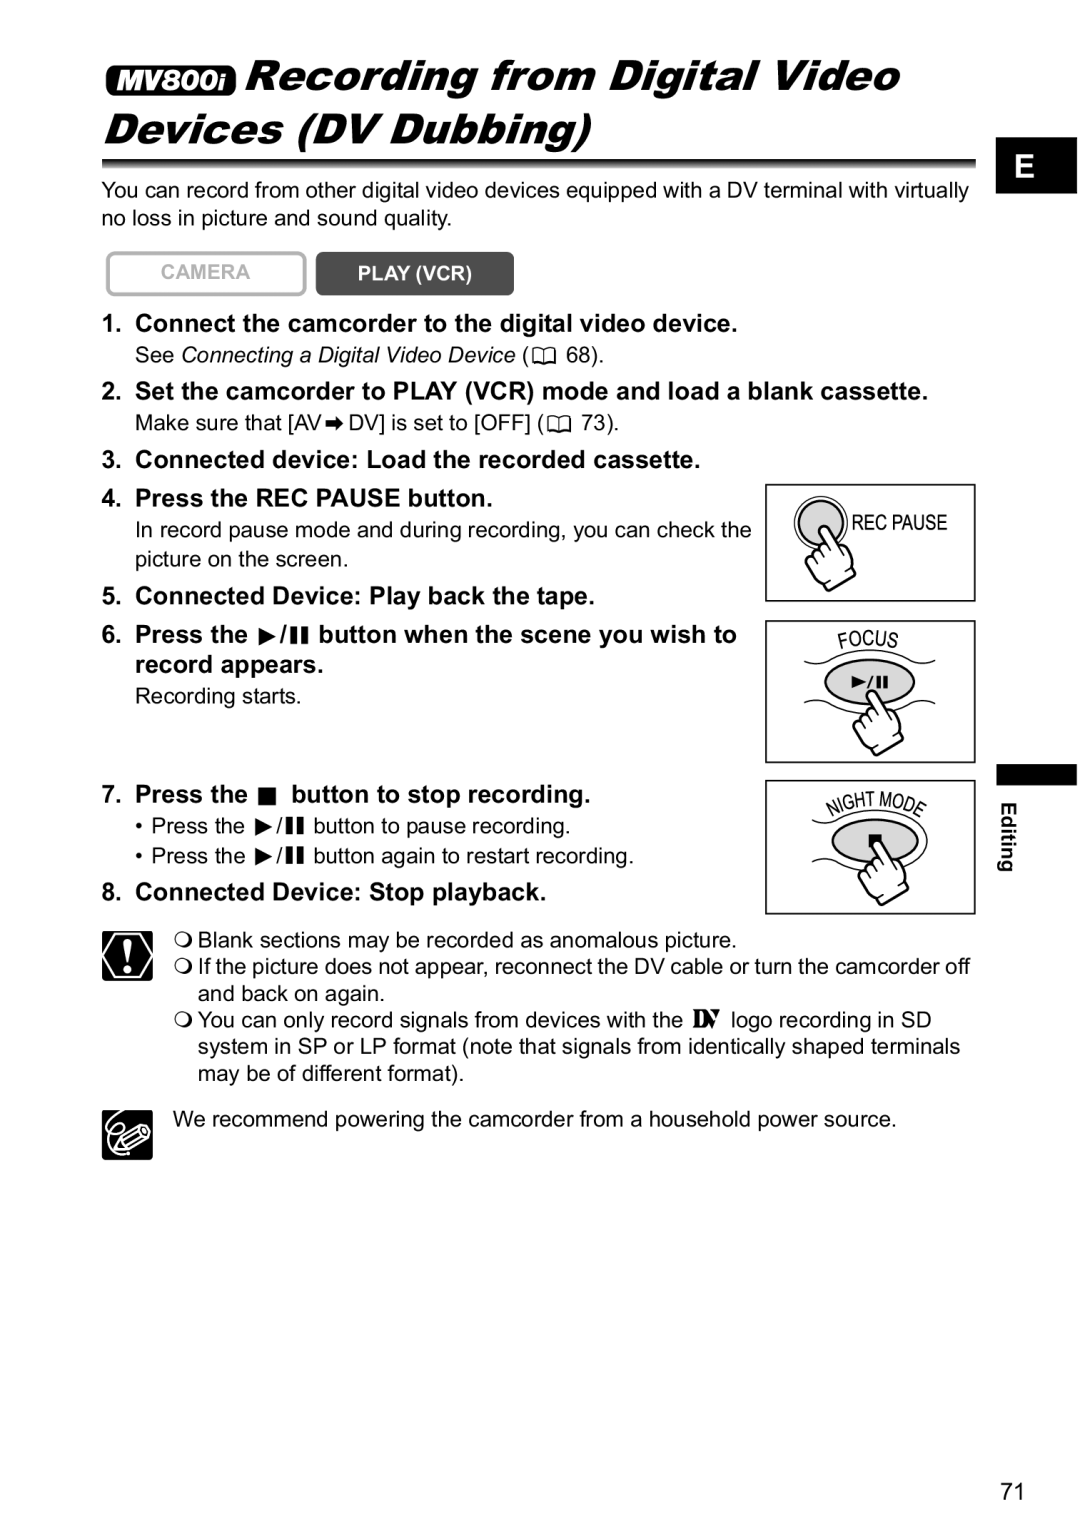
4. Press the REC PAUSE button.
In record pause mode and during recording, you can check the picture on the screen.
5. Connected Device: Play back the tape.
6. Press the ![]() /
/![]() button when the scene you wish to record appears.
button when the scene you wish to record appears.
Recording starts.
7. Press the  button to stop recording.
•Press the ![]() /
/![]() button to pause recording.
button to pause recording.
•Press the ![]() /
/![]() button again to restart recording.
button again to restart recording.
8.Connected Device: Stop playback.
Blank sections may be recorded as anomalous picture.
If the picture does not appear, reconnect the DV cable or turn the camcorder off and back on again.
You can only record signals from devices with the ![]() logo recording in SD system in SP or LP format (note that signals from identically shaped terminals may be of different format).
logo recording in SD system in SP or LP format (note that signals from identically shaped terminals may be of different format).
We recommend powering the camcorder from a household power source.
Editing
71