48TJF008-012, 48TJD008-014, 48TJE008-014 specifications
Carrier's 48TJD008-014, 48TJE008-014, and 48TJF008-012 series are high-performance packaged rooftop units engineered to meet the heating, ventilation, and air conditioning (HVAC) needs of commercial and industrial applications. These units are renowned for their reliability, energy efficiency, and advanced technologies, making them a popular choice among facility managers and HVAC professionals.One of the standout features of these Carrier units is their robust construction. Designed to withstand diverse environmental conditions, these units come with durable cabinets that are resistant to corrosion and UV degradation. This durability extends the product lifespan and reduces maintenance needs, providing long-term savings for facility operators.
The series includes models ranging from 8 to 14 tons, catering to a variety of space requirements. Each unit is equipped with a high-efficiency scroll compressor that enhances performance while minimizing energy consumption. This compressor technology guarantees quieter operation, reduced vibrations, and exceptional reliability, which are critical factors in commercial settings.
Energy efficiency is a hallmark of the 48TJD, 48TJE, and 48TJF series. These units come with high Seasonal Energy Efficiency Ratios (SEER) and Energy Efficiency Ratios (EER), which result in lower energy bills and a reduced carbon footprint. The incorporation of advanced digital controls allows for precise temperature management and integration with building management systems, ensuring optimal performance throughout the year.
In terms of comfort features, the Carrier series utilizes variable-speed technology, enabling the fan to adjust its speed according to the load requirements. This results in more consistent temperature control and enhanced indoor air quality. The units also include options for enhanced filtration systems, which can accommodate various filter types, ensuring the removal of airborne particles and allergens.
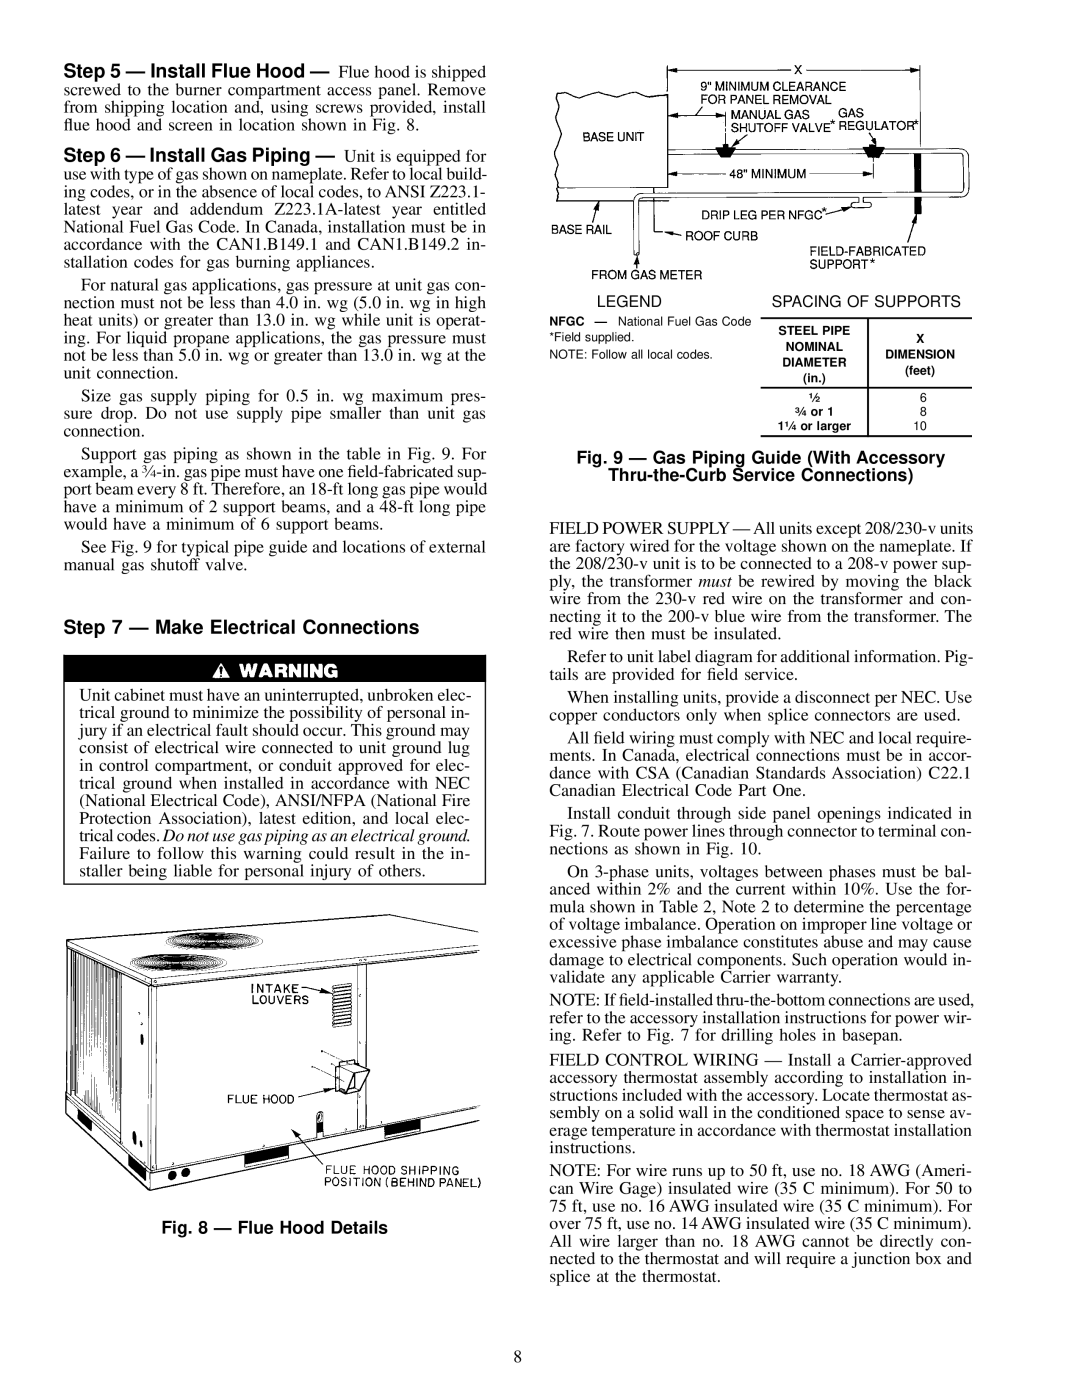
Installation is simplified with these packaged rooftop units. Their compact design fits well on rooftops or in limited spaces, and they come with factory-installed components, which streamline the setup process. Additionally, the units feature easy access panels for maintenance, allowing technicians to conduct service with minimal disruption to operations.
Finally, Carrier's dedication to innovation is evident in the incorporation of smart technologies within these units. Integrated diagnostics and monitoring systems provide real-time performance data, enabling proactive maintenance and reducing the likelihood of unexpected breakdowns.
In summary, Carrier's 48TJD008-014, 48TJE008-014, and 48TJF008-012 rooftop units are engineered for efficiency, reliability, and comfort. With their durable construction, advanced compressor technology, energy efficiency, comfort features, and ease of installation, these units are ideal for meeting the demanding HVAC needs of commercial spaces.

