c.If proper voltage is indicated at the contactor and con- tactor closes, the board is operating properly.
8.To verify compressor lockout logic:
a.Disconnect CLO sensor wires connected to CLO1 at the control board. Check wires for continuity. If there is no continuity, replace the sensor.
b.Connect the multimeter to read voltage between Pin X at plug P1 and ground.
c.Turn unit power on and check the multimeter. Within a few seconds the meter should indicate 24 v. If it does not, the control board is defective and must be replaced.
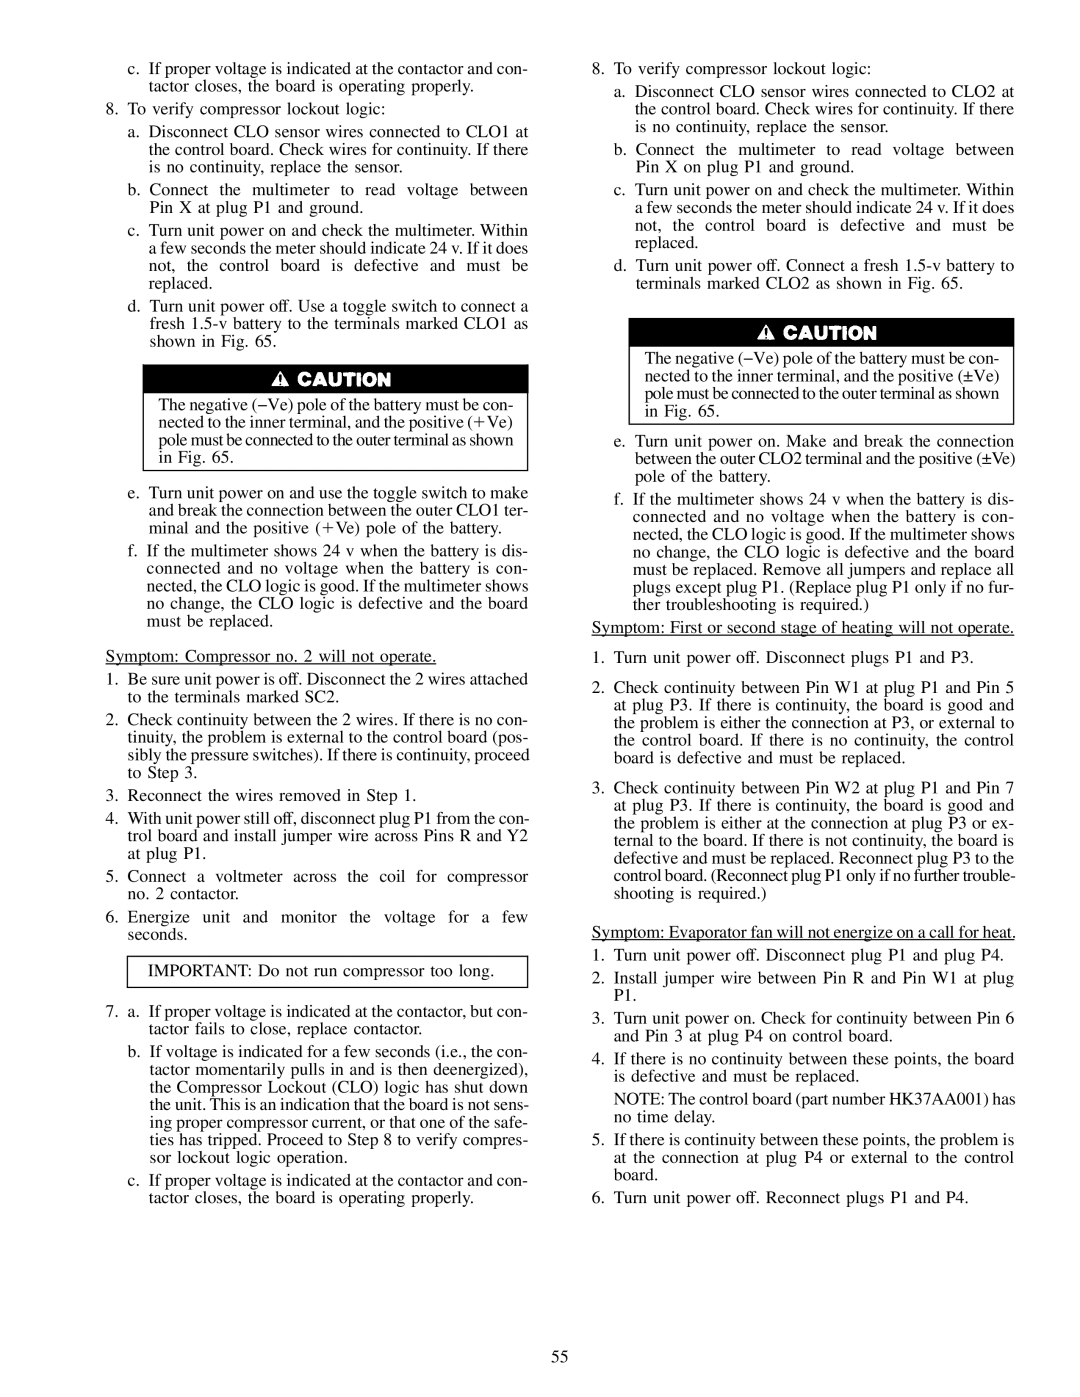
d.Turn unit power off. Use a toggle switch to connect a fresh 1.5-v battery to the terminals marked CLO1 as shown in Fig. 65.
The negative (−Ve) pole of the battery must be con- nected to the inner terminal, and the positive (1Ve) pole must be connected to the outer terminal as shown in Fig. 65.
e.Turn unit power on and use the toggle switch to make
and break the connection between the outer CLO1 ter- minal and the positive (1Ve) pole of the battery.
f.If the multimeter shows 24 v when the battery is dis- connected and no voltage when the battery is con- nected, the CLO logic is good. If the multimeter shows no change, the CLO logic is defective and the board must be replaced.
Symptom: Compressor no. 2 will not operate.
1.Be sure unit power is off. Disconnect the 2 wires attached to the terminals marked SC2.
2.Check continuity between the 2 wires. If there is no con- tinuity, the problem is external to the control board (pos- sibly the pressure switches). If there is continuity, proceed to Step 3.
3.Reconnect the wires removed in Step 1.
4.With unit power still off, disconnect plug P1 from the con- trol board and install jumper wire across Pins R and Y2 at plug P1.
5.Connect a voltmeter across the coil for compressor no. 2 contactor.
6.Energize unit and monitor the voltage for a few seconds.
IMPORTANT: Do not run compressor too long.
7.a. If proper voltage is indicated at the contactor, but con- tactor fails to close, replace contactor.
b.If voltage is indicated for a few seconds (i.e., the con- tactor momentarily pulls in and is then deenergized), the Compressor Lockout (CLO) logic has shut down the unit. This is an indication that the board is not sens- ing proper compressor current, or that one of the safe- ties has tripped. Proceed to Step 8 to verify compres- sor lockout logic operation.
c.If proper voltage is indicated at the contactor and con- tactor closes, the board is operating properly.
8.To verify compressor lockout logic:
a.Disconnect CLO sensor wires connected to CLO2 at the control board. Check wires for continuity. If there is no continuity, replace the sensor.
b.Connect the multimeter to read voltage between Pin X on plug P1 and ground.
c.Turn unit power on and check the multimeter. Within a few seconds the meter should indicate 24 v. If it does not, the control board is defective and must be replaced.
d.Turn unit power off. Connect a fresh 1.5-v battery to terminals marked CLO2 as shown in Fig. 65.
The negative (−Ve) pole of the battery must be con- nected to the inner terminal, and the positive (±Ve) pole must be connected to the outer terminal as shown in Fig. 65.
e.Turn unit power on. Make and break the connection between the outer CLO2 terminal and the positive (±Ve) pole of the battery.
f.If the multimeter shows 24 v when the battery is dis- connected and no voltage when the battery is con- nected, the CLO logic is good. If the multimeter shows no change, the CLO logic is defective and the board must be replaced. Remove all jumpers and replace all plugs except plug P1. (Replace plug P1 only if no fur- ther troubleshooting is required.)
Symptom: First or second stage of heating will not operate.
1.Turn unit power off. Disconnect plugs P1 and P3.
2.Check continuity between Pin W1 at plug P1 and Pin 5 at plug P3. If there is continuity, the board is good and the problem is either the connection at P3, or external to the control board. If there is no continuity, the control board is defective and must be replaced.
3.Check continuity between Pin W2 at plug P1 and Pin 7 at plug P3. If there is continuity, the board is good and the problem is either at the connection at plug P3 or ex- ternal to the board. If there is not continuity, the board is defective and must be replaced. Reconnect plug P3 to the control board. (Reconnect plug P1 only if no further trouble- shooting is required.)
Symptom: Evaporator fan will not energize on a call for heat.
1.Turn unit power off. Disconnect plug P1 and plug P4.
2.Install jumper wire between Pin R and Pin W1 at plug P1.
3.Turn unit power on. Check for continuity between Pin 6 and Pin 3 at plug P4 on control board.
4.If there is no continuity between these points, the board is defective and must be replaced.
NOTE: The control board (part number HK37AA001) has no time delay.
5.If there is continuity between these points, the problem is at the connection at plug P4 or external to the control board.
6.Turn unit power off. Reconnect plugs P1 and P4.