ADVANCED FEATURES | 15 |
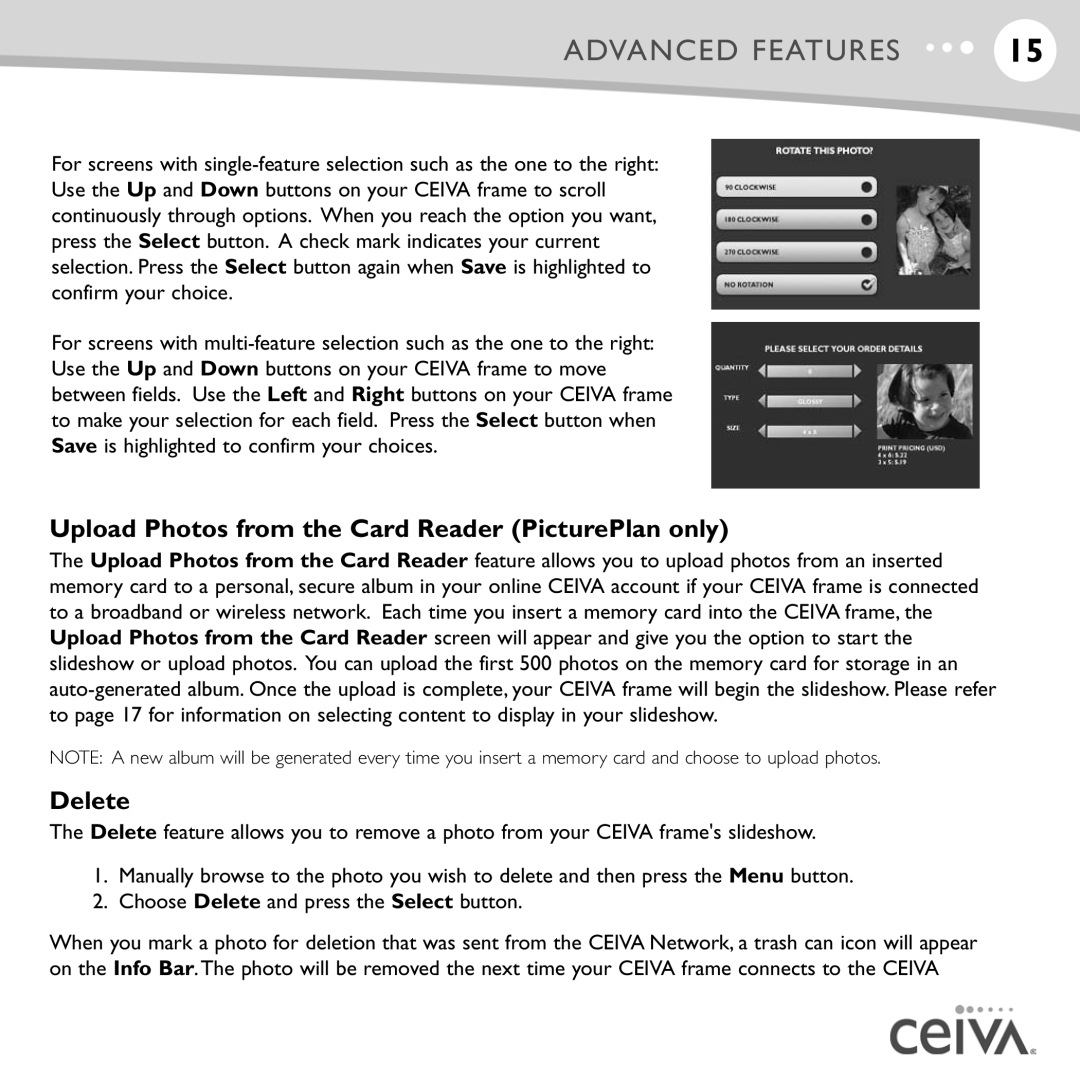
For screens with
For screens with
Upload Photos from the Card Reader (PicturePlan only)
The Upload Photos from the Card Reader feature allows you to upload photos from an inserted memory card to a personal, secure album in your online CEIVA account if your CEIVA frame is connected to a broadband or wireless network. Each time you insert a memory card into the CEIVA frame, the Upload Photos from the Card Reader screen will appear and give you the option to start the slideshow or upload photos. You can upload the first 500 photos on the memory card for storage in an
NOTE: A new album will be generated every time you insert a memory card and choose to upload photos.
Delete
The Delete feature allows you to remove a photo from your CEIVA frame's slideshow.
1.Manually browse to the photo you wish to delete and then press the Menu button.
2.Choose Delete and press the Select button.
When you mark a photo for deletion that was sent from the CEIVA Network, a trash can icon will appear on the Info Bar.The photo will be removed the next time your CEIVA frame connects to the CEIVA
