8GETTING STARTED
Insert a Memory Card to Display Photos
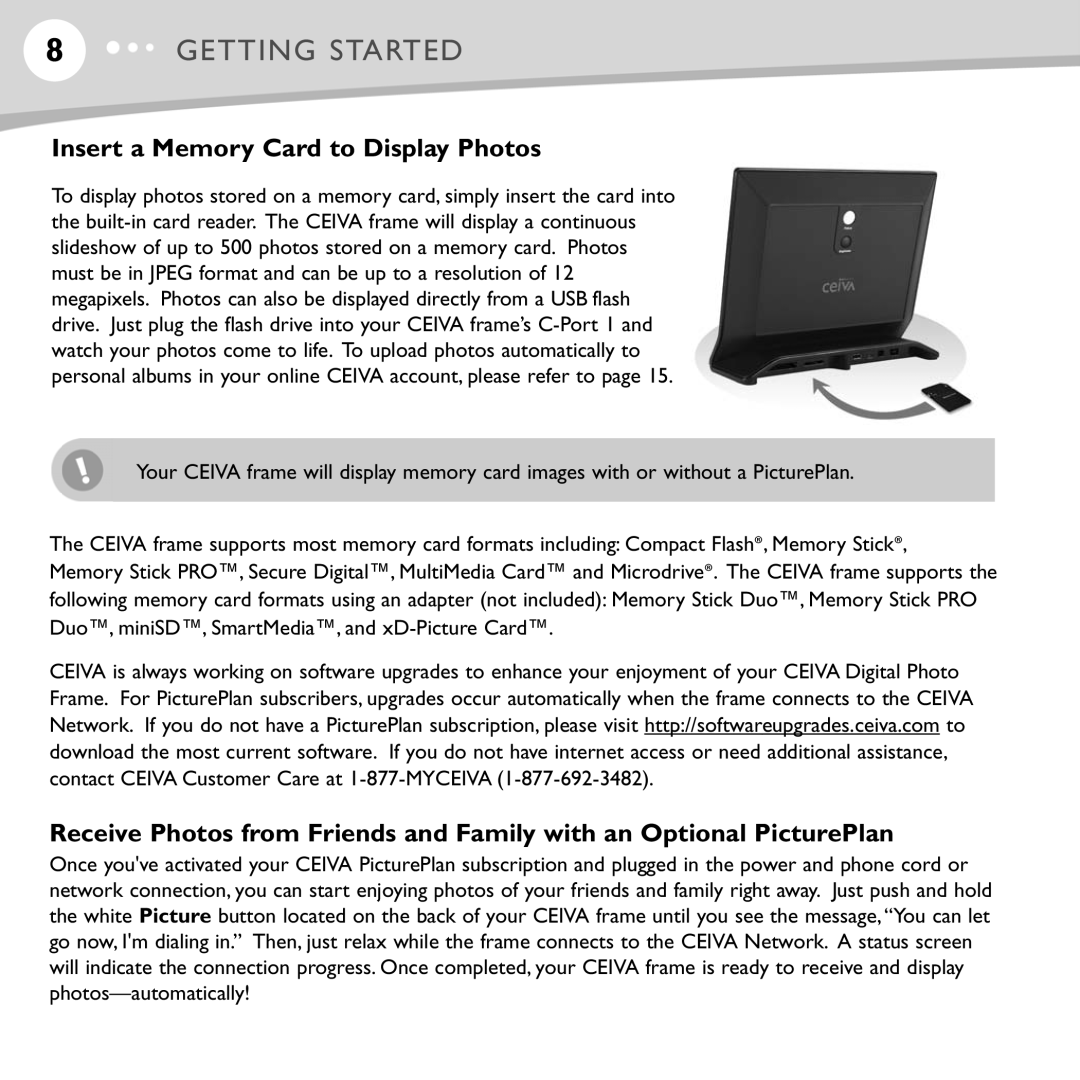
To display photos stored on a memory card, simply insert the card into the
Your CEIVA frame will display memory card images with or without a PicturePlan.
The CEIVA frame supports most memory card formats including: Compact Flash®, Memory Stick®,
Memory Stick PRO™, Secure Digital™, MultiMedia Card™ and Microdrive®. The CEIVA frame supports the following memory card formats using an adapter (not included): Memory Stick Duo™, Memory Stick PRO Duo™, miniSD™, SmartMedia™, and
CEIVA is always working on software upgrades to enhance your enjoyment of your CEIVA Digital Photo Frame. For PicturePlan subscribers, upgrades occur automatically when the frame connects to the CEIVA Network. If you do not have a PicturePlan subscription, please visit http://softwareupgrades.ceiva.com to download the most current software. If you do not have internet access or need additional assistance, contact CEIVA Customer Care at
Receive Photos from Friends and Family with an Optional PicturePlan
Once you've activated your CEIVA PicturePlan subscription and plugged in the power and phone cord or network connection, you can start enjoying photos of your friends and family right away. Just push and hold the white Picture button located on the back of your CEIVA frame until you see the message,“You can let go now, I'm dialing in.” Then, just relax while the frame connects to the CEIVA Network. A status screen will indicate the connection progress. Once completed, your CEIVA frame is ready to receive and display