1130AG specifications
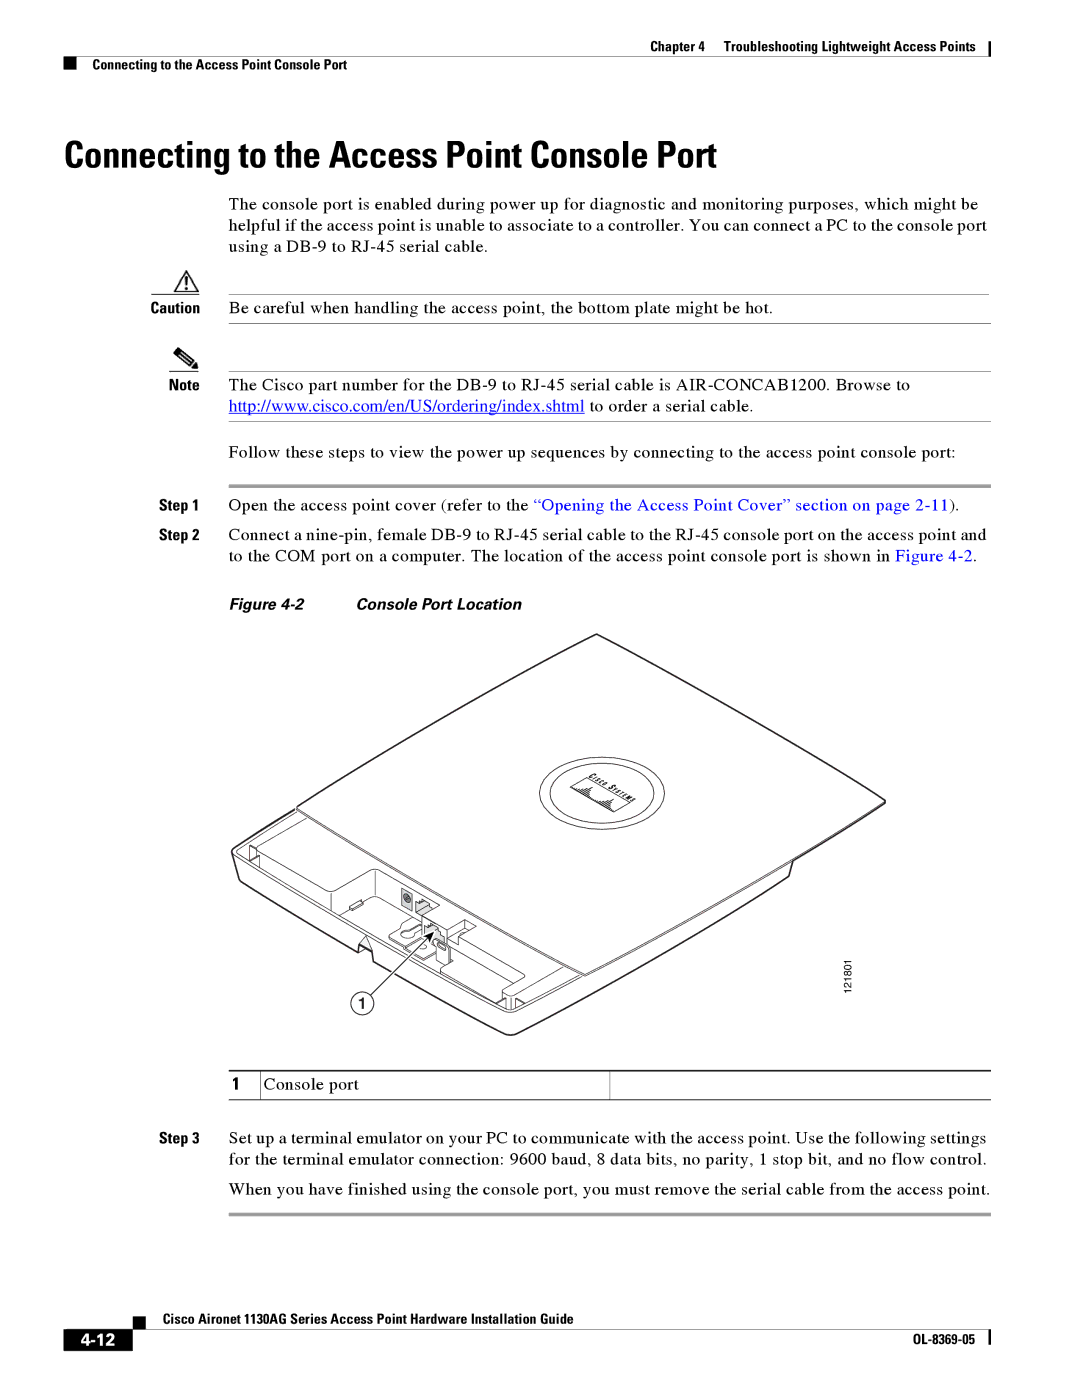
The Cisco Systems 1130AG access point is a robust networking device designed to provide reliable wireless connectivity in a variety of environments. Specifically engineered for both indoor and outdoor applications, the 1130AG is particularly well-suited for use in enterprise, education, and hospitality sectors, where seamless connectivity and coverage are essential.One of the standout features of the 1130AG is its dual-band operation. It supports both the 2.4 GHz and 5 GHz frequency bands, allowing it to utilize various channels for optimal performance and reduced interference. This dual-band capability enables it to service more devices simultaneously, accommodating the growing demand for wireless connectivity in mobile computing and Internet of Things (IoT) applications.
The access point incorporates advanced technologies such as IEEE 802.11a/g standards, which ensure compatibility with a wide array of wireless clients, ensuring widespread accessibility. The 1130AG also supports Power over Ethernet (PoE), simplifying installation by allowing power and data to be transmitted over a single Ethernet cable. This feature not only streamlines setup but also enhances flexibility, as access points can be installed in locations where power sources are limited.
Security is a paramount concern in wireless networking, and the Cisco 1130AG addresses this through robust security protocols. It supports WPA, WPA2, and other encryption standards, ensuring secure data transmission and protecting against unauthorized access. This is particularly important for organizations that handle sensitive information and require strict compliance with data protection regulations.
Another notable characteristic is the ability of the 1130AG to seamlessly integrate with Cisco's extensive range of network management tools such as Cisco Prime, allowing administrators to monitor and manage their wireless network effectively. This integration provides insights into network performance, user access patterns, and device health, enabling proactive management and troubleshooting.
Moreover, the access point's compact design and durability make it suitable for various deployment scenarios. Designed to withstand varying environmental conditions, the 1130AG can be installed in demanding settings without compromising reliability.
In conclusion, the Cisco Systems 1130AG access point embodies advanced features and technologies that cater to the needs of modern businesses. Its dual-band capabilities, strong security protocols, and ease of management, alongside its durable design, make it an essential component for creating a high-performing wireless network. Whether in office buildings, educational institutions, or hospitality venues, the 1130AG provides the performance and reliability necessary to support today’s connected world.

