Configuring the Location Appliance
#service network restart
5.Verify that the new IP addressing works properly and that the location appliance has connectivity back to the WCS by pinging the WCS’ IP address.
#ping [IP_Address]
If IP connectivity is verified between the location appliance and WCS, the location appliance is ready to be imported into WCS.
Importing the Location Appliance into WCS
To import a location appliance into WCS, follow the steps below.
1.Navigate to Locate > Location Servers. Choose Add Server from the
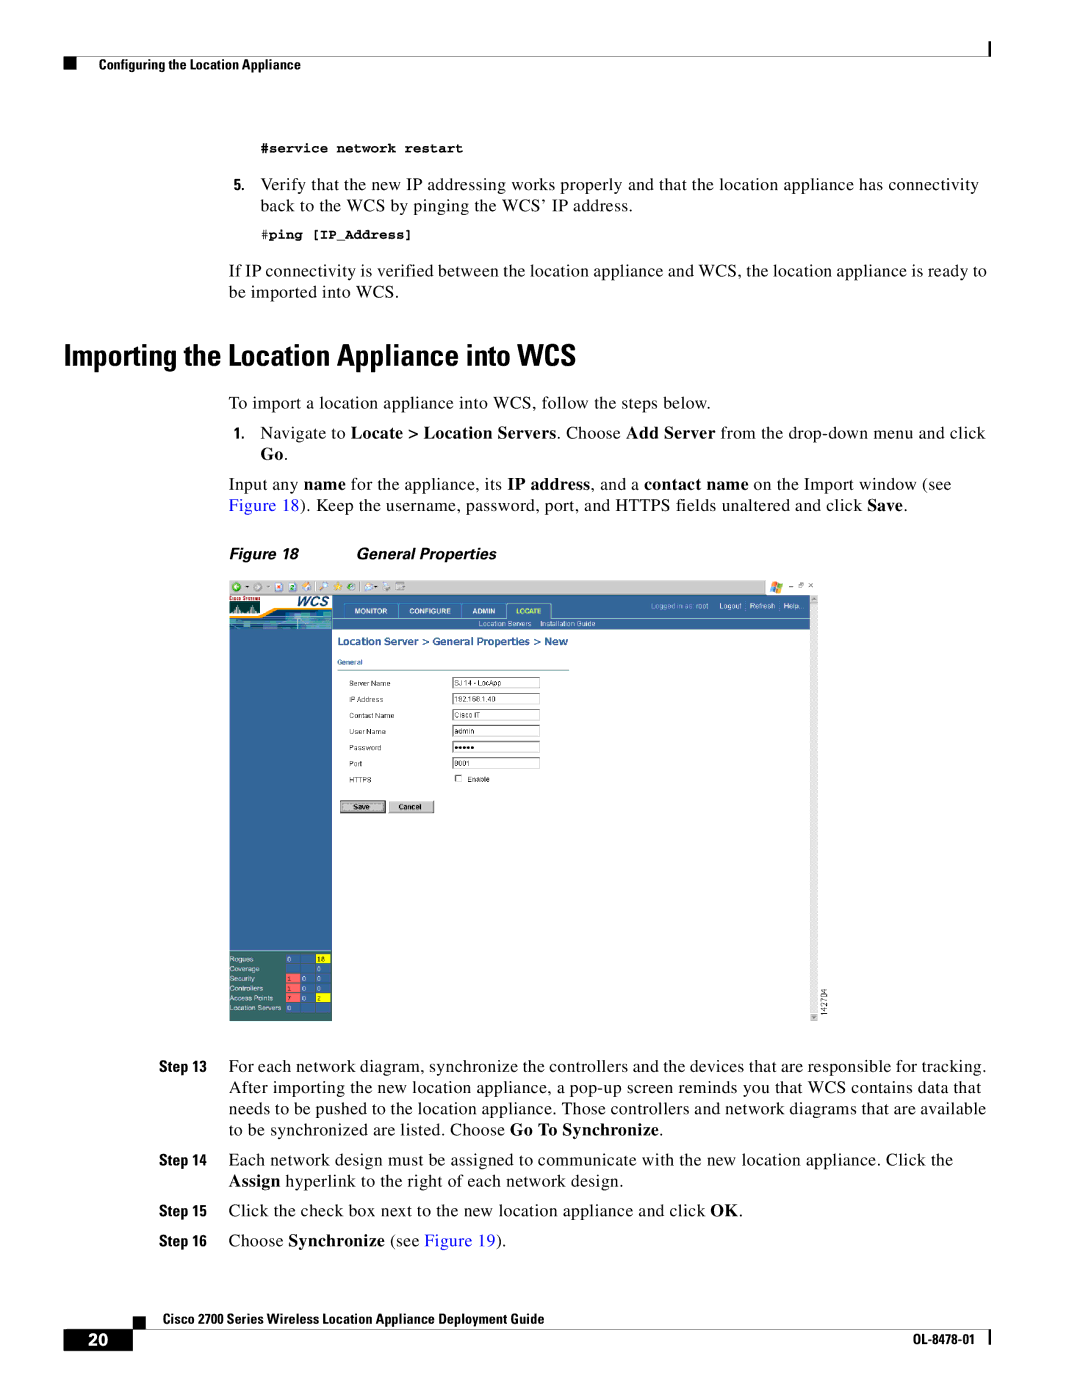
Input any name for the appliance, its IP address, and a contact name on the Import window (see Figure 18). Keep the username, password, port, and HTTPS fields unaltered and click Save.
Figure 18 | General Properties |
Step 13 For each network diagram, synchronize the controllers and the devices that are responsible for tracking. After importing the new location appliance, a
Step 14 Each network design must be assigned to communicate with the new location appliance. Click the Assign hyperlink to the right of each network design.
Step 15 Click the check box next to the new location appliance and click OK.
Step 16 Choose Synchronize (see Figure 19).
Cisco 2700 Series Wireless Location Appliance Deployment Guide
20 |
| |
|
