Configuring the Location Appliance
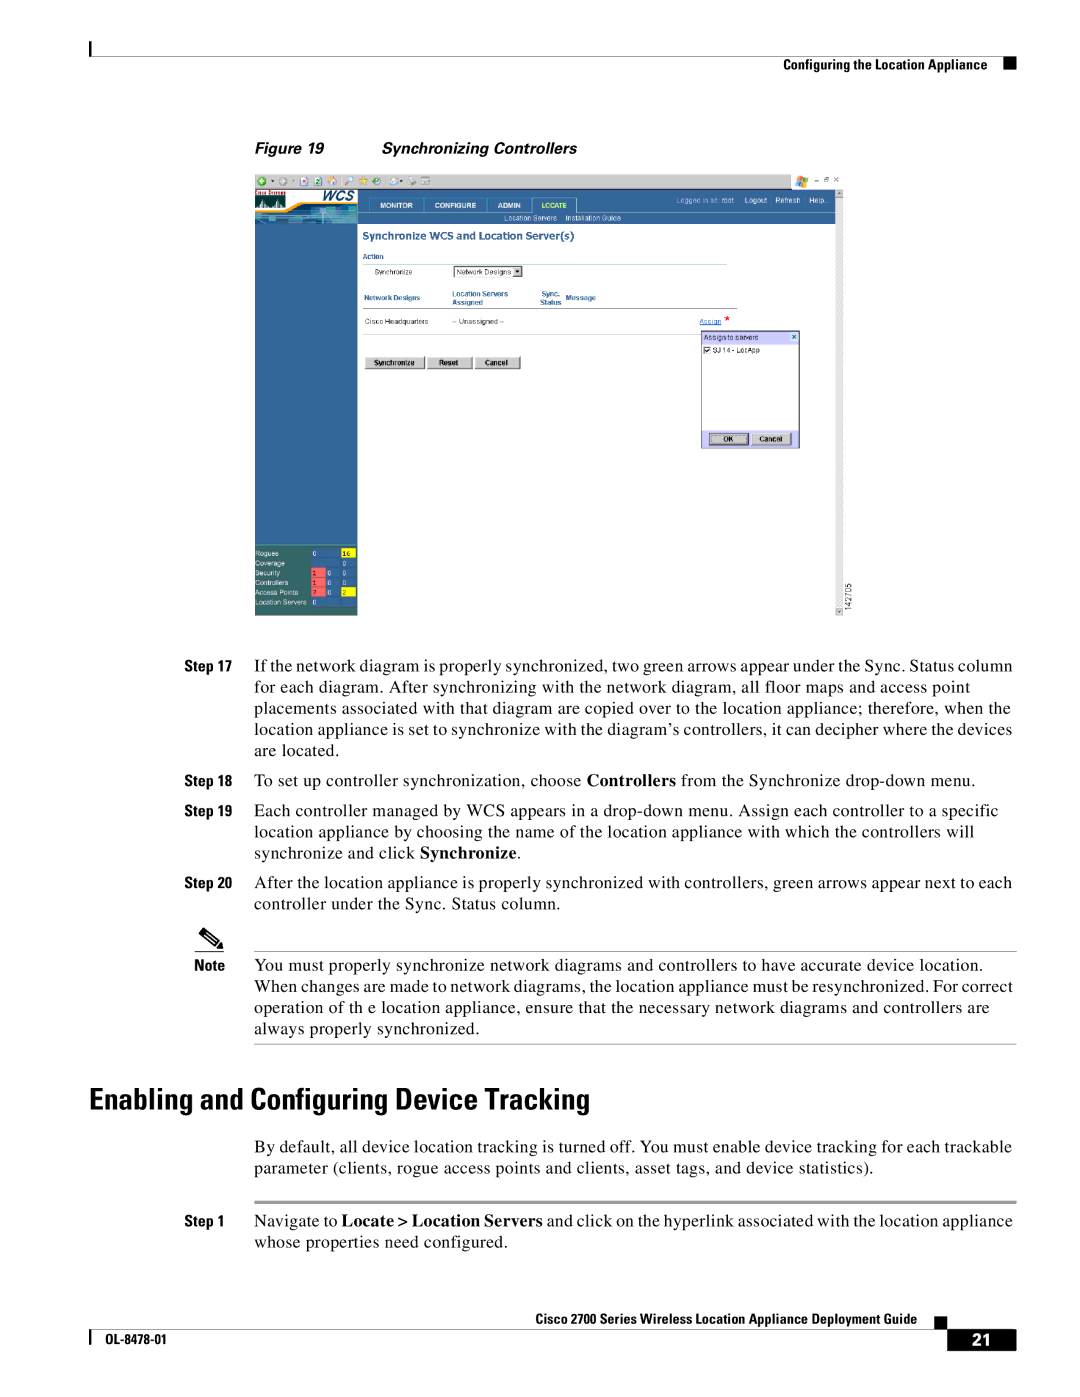
Figure 19 Synchronizing Controllers
Step 17 If the network diagram is properly synchronized, two green arrows appear under the Sync. Status column for each diagram. After synchronizing with the network diagram, all floor maps and access point placements associated with that diagram are copied over to the location appliance; therefore, when the location appliance is set to synchronize with the diagram’s controllers, it can decipher where the devices are located.
Step 18 To set up controller synchronization, choose Controllers from the Synchronize
Step 19 Each controller managed by WCS appears in a
Step 20 After the location appliance is properly synchronized with controllers, green arrows appear next to each controller under the Sync. Status column.
Note You must properly synchronize network diagrams and controllers to have accurate device location. When changes are made to network diagrams, the location appliance must be resynchronized. For correct operation of th e location appliance, ensure that the necessary network diagrams and controllers are always properly synchronized.
Enabling and Configuring Device Tracking
By default, all device location tracking is turned off. You must enable device tracking for each trackable parameter (clients, rogue access points and clients, asset tags, and device statistics).
Step 1 Navigate to Locate > Location Servers and click on the hyperlink associated with the location appliance whose properties need configured.
Cisco 2700 Series Wireless Location Appliance Deployment Guide
| 21 |
| |
|
|
