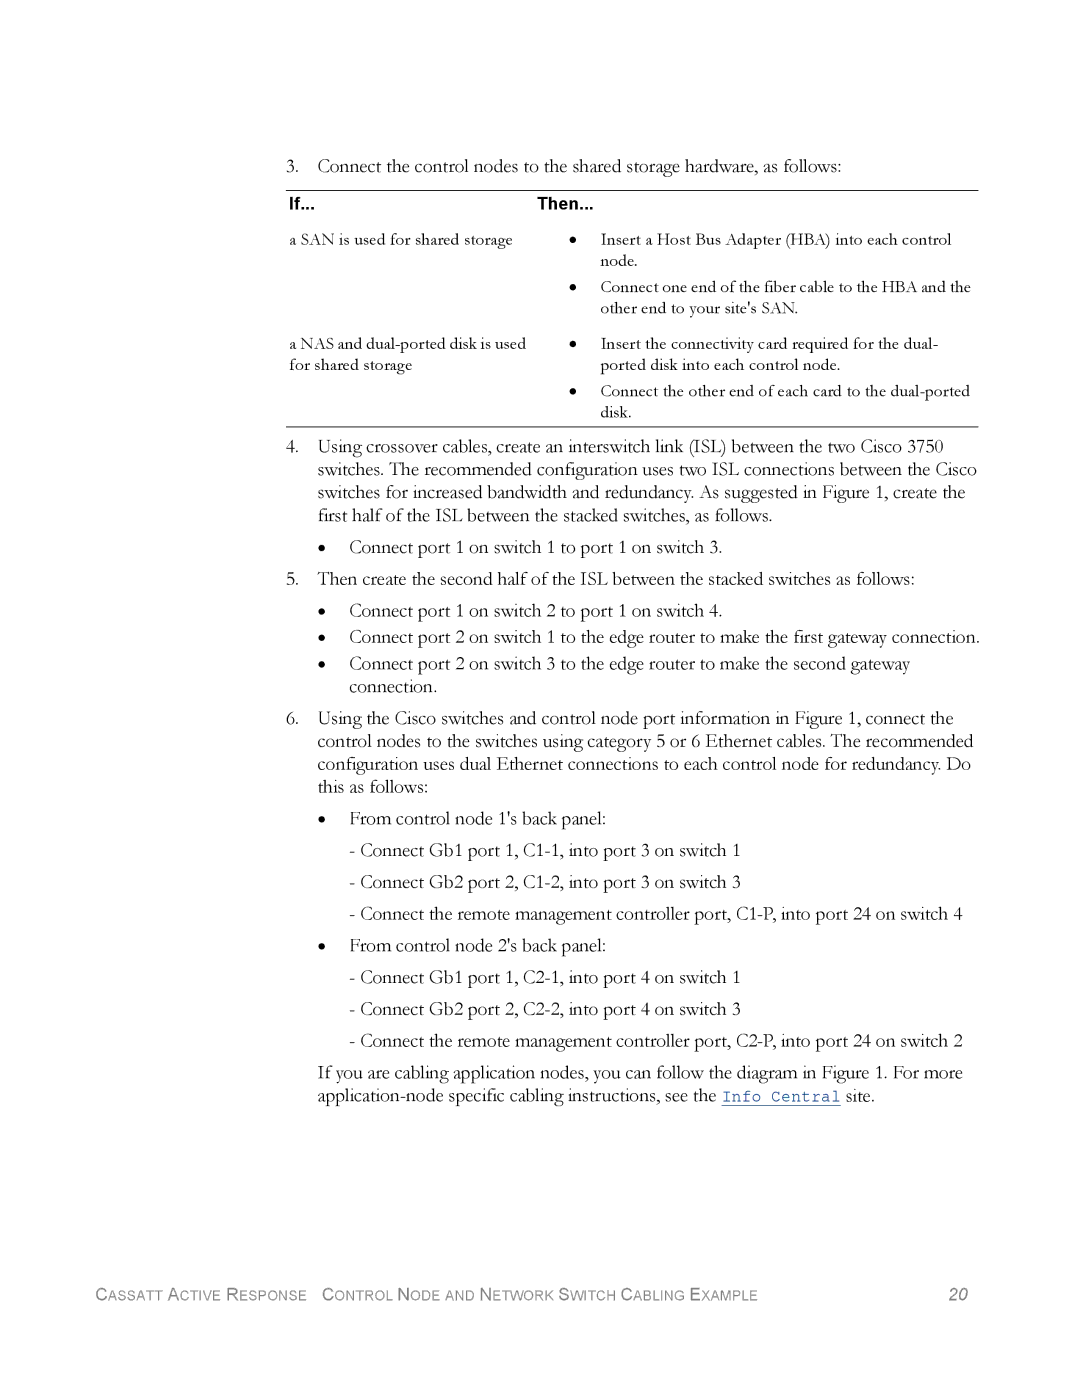
3. Connect the control nodes to the shared storage hardware, as follows:
If... | Then... |
a SAN is used for shared storage | • Insert a Host Bus Adapter (HBA) into each control |
| node. |
| • Connect one end of the fiber cable to the HBA and the |
| other end to your site's SAN. |
a NAS and | • Insert the connectivity card required for the dual- |
for shared storage | ported disk into each control node. |
•Connect the other end of each card to the
4.Using crossover cables, create an interswitch link (ISL) between the two Cisco 3750 switches. The recommended configuration uses two ISL connections between the Cisco switches for increased bandwidth and redundancy. As suggested in Figure 1, create the first half of the ISL between the stacked switches, as follows.
•Connect port 1 on switch 1 to port 1 on switch 3.
5.Then create the second half of the ISL between the stacked switches as follows:
•Connect port 1 on switch 2 to port 1 on switch 4.
•Connect port 2 on switch 1 to the edge router to make the first gateway connection.
•Connect port 2 on switch 3 to the edge router to make the second gateway connection.
6.Using the Cisco switches and control node port information in Figure 1, connect the control nodes to the switches using category 5 or 6 Ethernet cables. The recommended configuration uses dual Ethernet connections to each control node for redundancy. Do this as follows:
•From control node 1's back panel:
-Connect Gb1 port 1,
-Connect Gb2 port 2,
-Connect the remote management controller port,
•From control node 2's back panel:
-Connect Gb1 port 1,
-Connect Gb2 port 2,
-Connect the remote management controller port,
If you are cabling application nodes, you can follow the diagram in Figure 1. For more
CASSATT ACTIVE RESPONSE CONTROL NODE AND NETWORK SWITCH CABLING EXAMPLE | 20 |
