Chapter 3 Installing the Client Adapter
Installing the Client Adapter Software
Step 31 Check the Enable Cisco Aironet System Tray Utility (ASTU) check box if you want to be able to use ASTU even though you have chosen to configure your client adapter through a
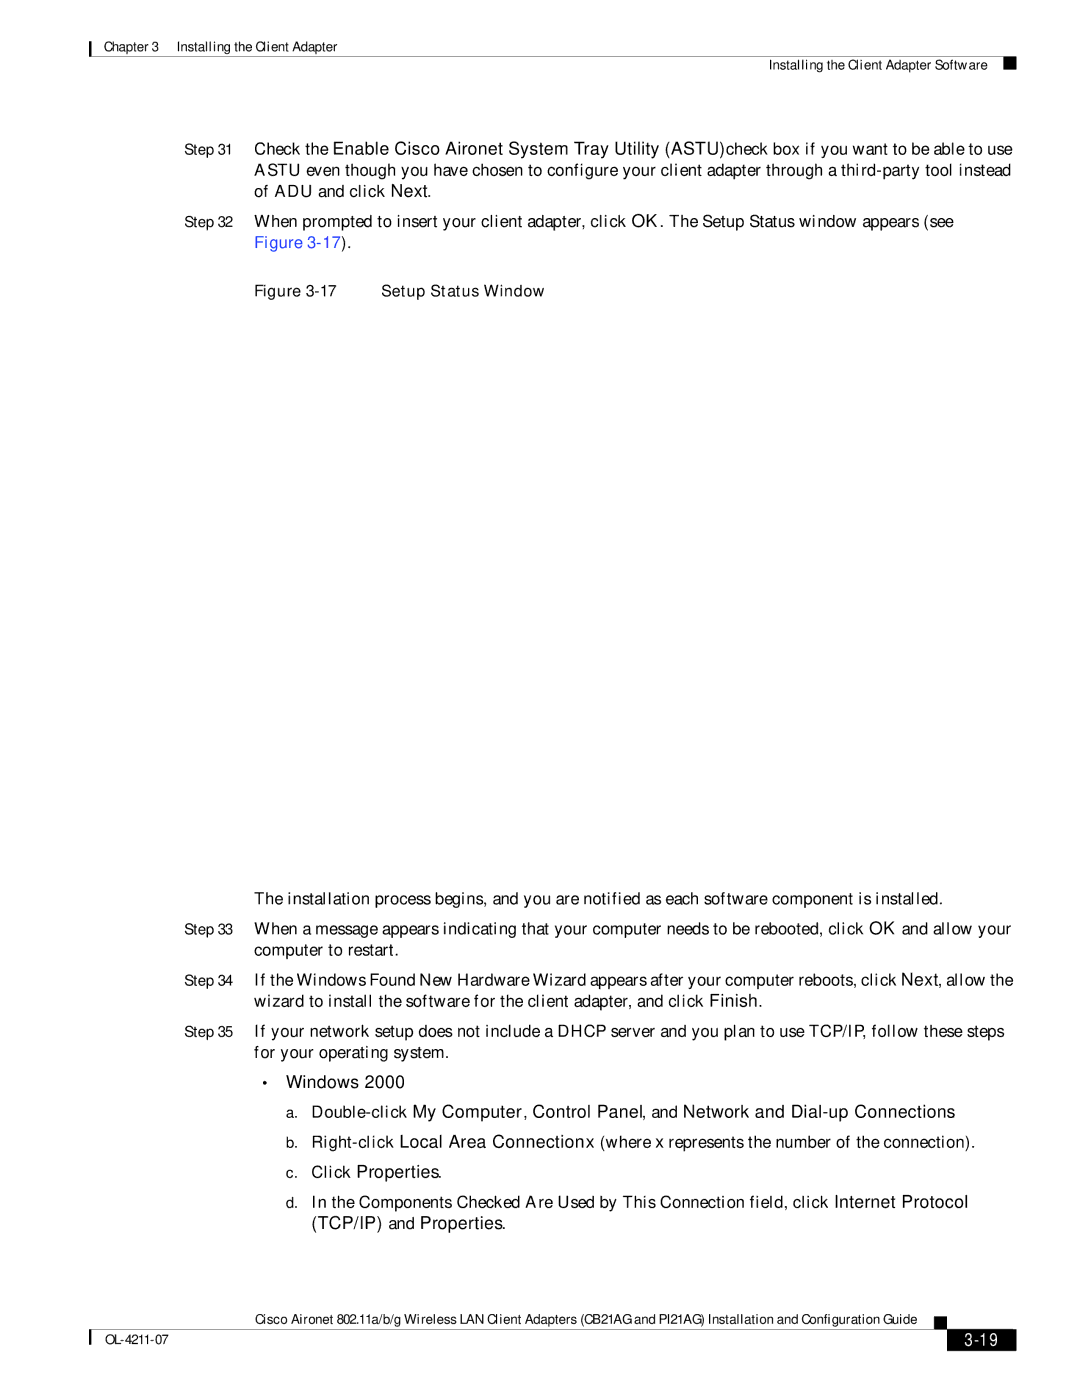
Step 32 When prompted to insert your client adapter, click OK. The Setup Status window appears (see Figure
Figure 3-17 Setup Status Window
The installation process begins, and you are notified as each software component is installed.
Step 33 When a message appears indicating that your computer needs to be rebooted, click OK and allow your computer to restart.
Step 34 If the Windows Found New Hardware Wizard appears after your computer reboots, click Next, allow the wizard to install the software for the client adapter, and click Finish.
Step 35 If your network setup does not include a DHCP server and you plan to use TCP/IP, follow these steps for your operating system.
•Windows 2000
a.
b.
c.Click Properties.
d.In the Components Checked Are Used by This Connection field, click Internet Protocol (TCP/IP) and Properties.
Cisco Aironet 802.11a/b/g Wireless LAN Client Adapters (CB21AG and PI21AG) Installation and Configuration Guide
|
| ||
|
|