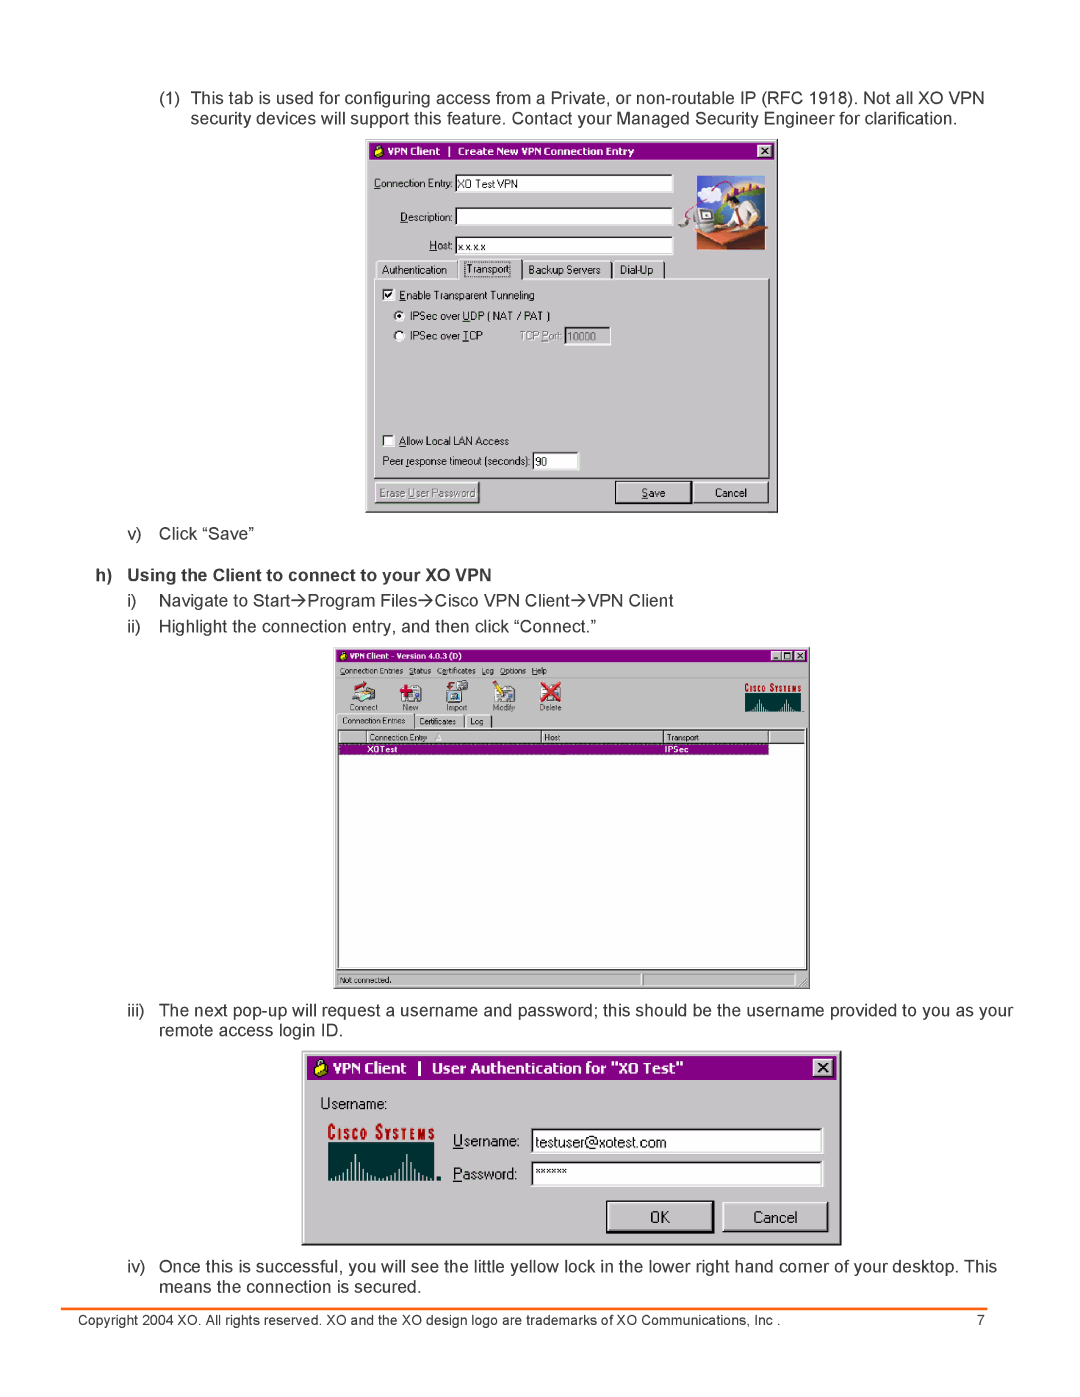
(1)This tab is used for configuring access from a Private, or
v)Click “Save”
h)Using the Client to connect to your XO VPN
i)Navigate to StartÆProgram FilesÆCisco VPN ClientÆVPN Client
ii)Highlight the connection entry, and then click “Connect.”
iii)The next
iv)Once this is successful, you will see the little yellow lock in the lower right hand corner of your desktop. This means the connection is secured.
Copyright 2004 XO. All rights reserved. XO and the XO design logo are trademarks of XO Communications, Inc . | 7 |
