Getting Started Guide
Step 3: Select the photo size
Press the Menu button to move from the Photo Select menu to the Photo Size menu. Use the Up and Down arrow buttons to find a photo size, and the Enter button to select it.
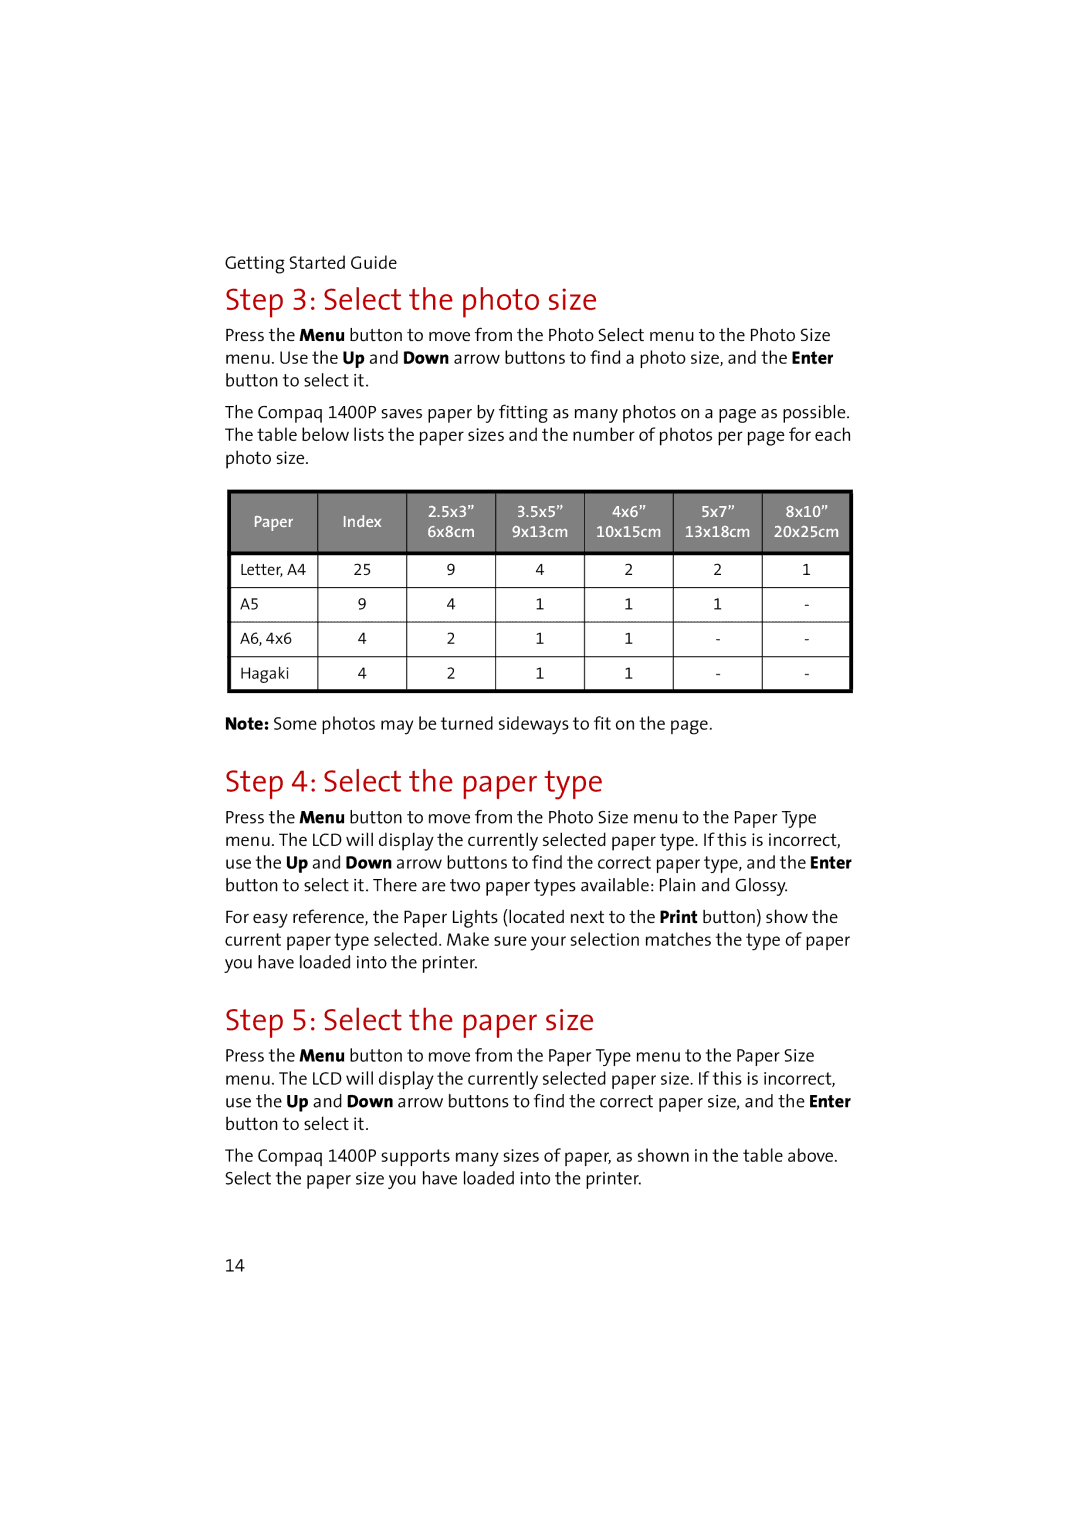
The Compaq 1400P saves paper by fitting as many photos on a page as possible. The table below lists the paper sizes and the number of photos per page for each photo size.
Paper | Index | 2.5x3” | 3.5x5” | 4x6” | 5x7” | 8x10” | |
6x8cm | 9x13cm | 10x15cm | 13x18cm | 20x25cm | |||
|
| ||||||
|
|
|
|
|
|
| |
Letter, A4 | 25 | 9 | 4 | 2 | 2 | 1 | |
|
|
|
|
|
|
| |
A5 | 9 | 4 | 1 | 1 | 1 | - | |
|
|
|
|
|
|
| |
A6, 4x6 | 4 | 2 | 1 | 1 | - | - | |
|
|
|
|
|
|
| |
Hagaki | 4 | 2 | 1 | 1 | - | - | |
|
|
|
|
|
|
|
Note: Some photos may be turned sideways to fit on the page.
Step 4: Select the paper type
Press the Menu button to move from the Photo Size menu to the Paper Type menu. The LCD will display the currently selected paper type. If this is incorrect, use the Up and Down arrow buttons to find the correct paper type, and the Enter button to select it. There are two paper types available: Plain and Glossy.
For easy reference, the Paper Lights (located next to the Print button) show the current paper type selected. Make sure your selection matches the type of paper you have loaded into the printer.
Step 5: Select the paper size
Press the Menu button to move from the Paper Type menu to the Paper Size menu. The LCD will display the currently selected paper size. If this is incorrect, use the Up and Down arrow buttons to find the correct paper size, and the Enter button to select it.
The Compaq 1400P supports many sizes of paper, as shown in the table above. Select the paper size you have loaded into the printer.
14
