Archer C7 AC1750 Wireless Dual Band Gigabit Router
Chapter 3. Quick Installation Guide
This chapter will show you how to configure the basic functions of your AC1750 Wireless Dual Band Gigabit Router using Quick Setup Wizard within minutes.
3.1TCP/IP Configuration
The default IP address of the router is 192.168.0.1 and the default Subnet Mask is 255.255.255.0. These values can be changed as you desire. In this guide, we use all the default values for description.
Connect the local PC to the Ethernet ports of the router and then you can configure the IP address for your PC by the following method: Set up the TCP/IP Protocol in "Obtain an IP address automatically" mode on your PC. If you need instructions as to how to do this, please refer to Appendix B: Configuring the PC. Then the
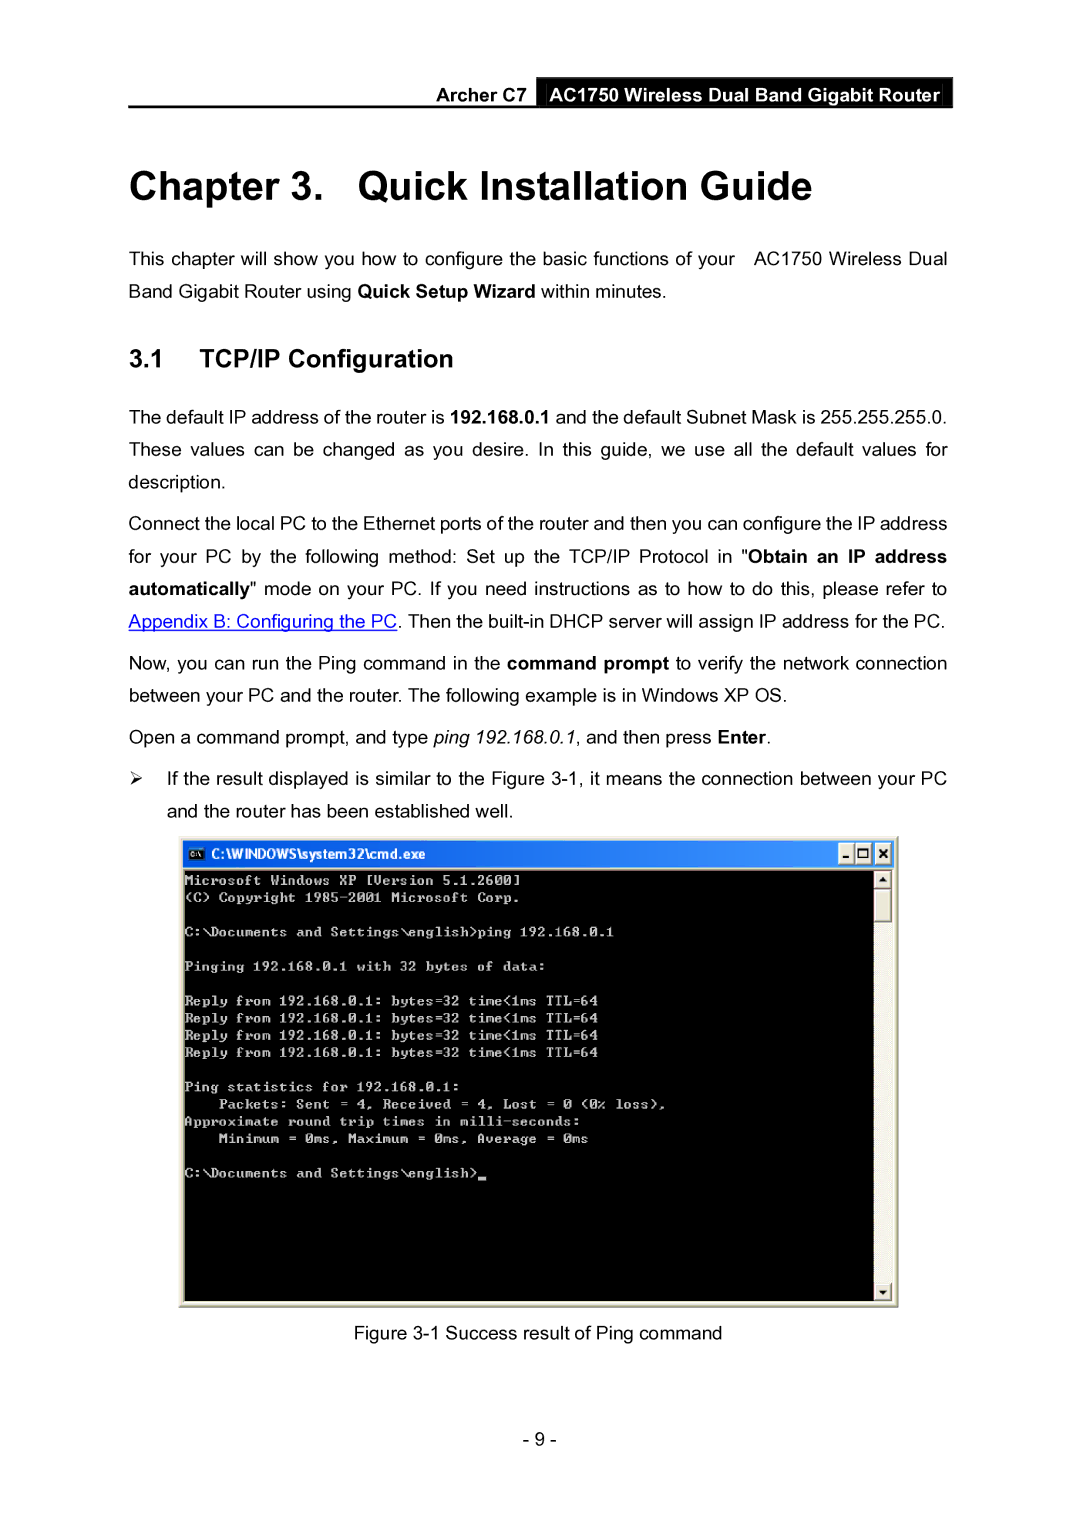
Now, you can run the Ping command in the command prompt to verify the network connection between your PC and the router. The following example is in Windows XP OS.
Open a command prompt, and type ping 192.168.0.1, and then press Enter.
If the result displayed is similar to the Figure
Figure 3-1 Success result of Ping command
- 9 -