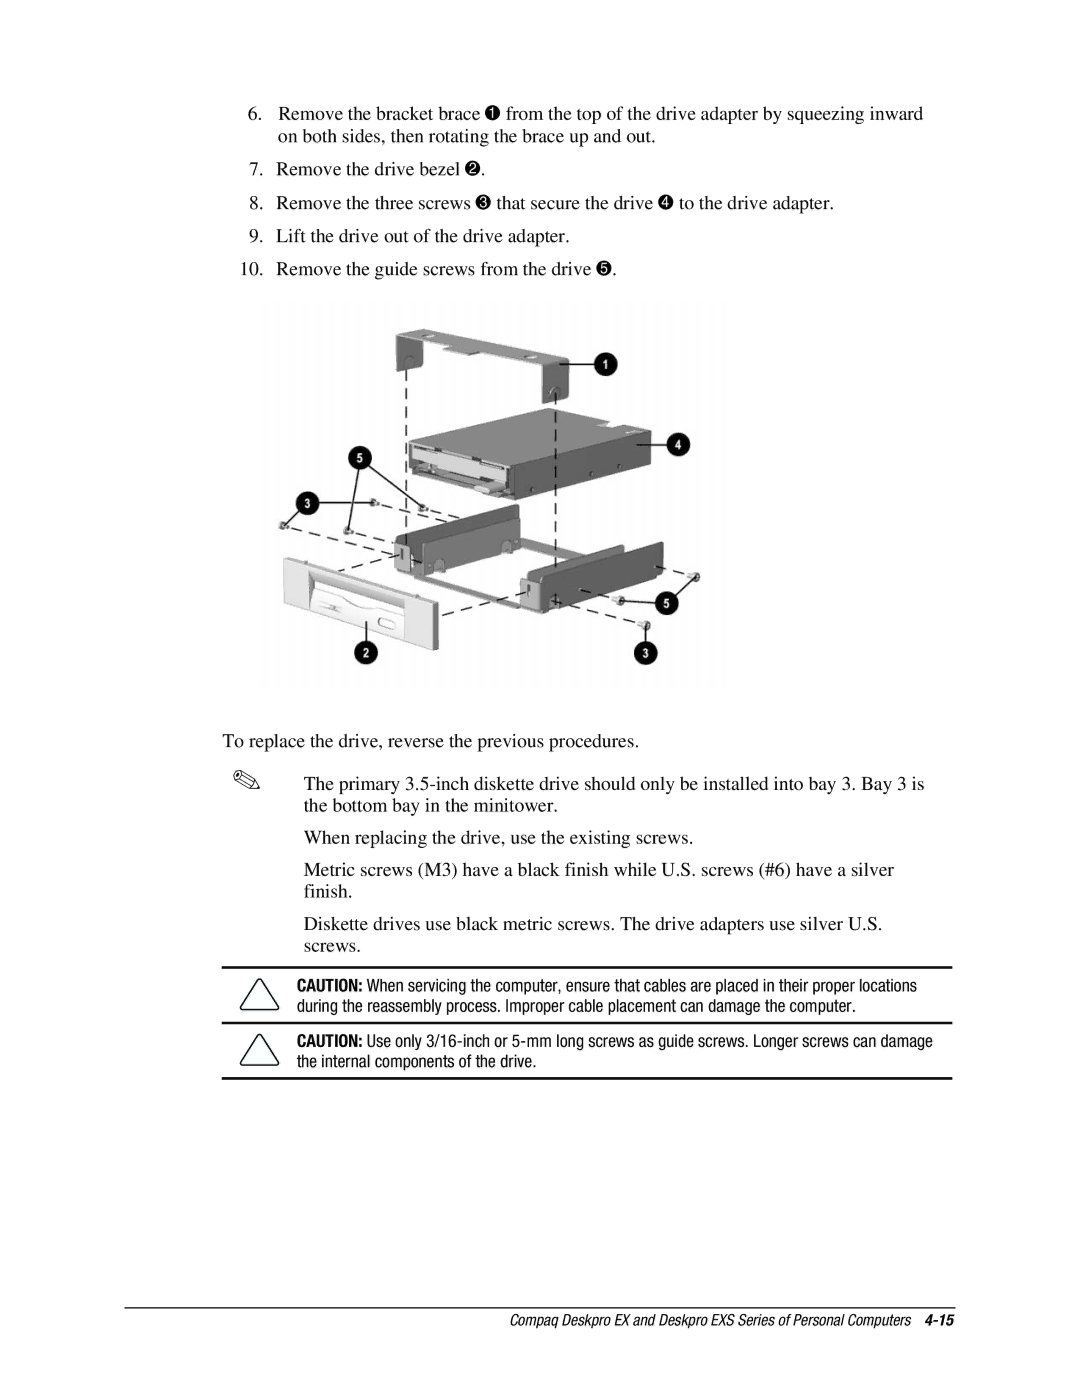
6.Remove the bracket brace 1 from the top of the drive adapter by squeezing inward on both sides, then rotating the brace up and out.
7.Remove the drive bezel 2.
8.Remove the three screws 3 that secure the drive 4 to the drive adapter.
9.Lift the drive out of the drive adapter.
10.Remove the guide screws from the drive 5.
To replace the drive, reverse the previous procedures.
✎The primary
When replacing the drive, use the existing screws.
Metric screws (M3) have a black finish while U.S. screws (#6) have a silver finish.
Diskette drives use black metric screws. The drive adapters use silver U.S. screws.
CAUTION: When servicing the computer, ensure that cables are placed in their proper locations during the reassembly process. Improper cable placement can damage the computer.
CAUTION: Use only
Compaq Deskpro EX and Deskpro EXS Series of Personal Computers