315.21212 specifications
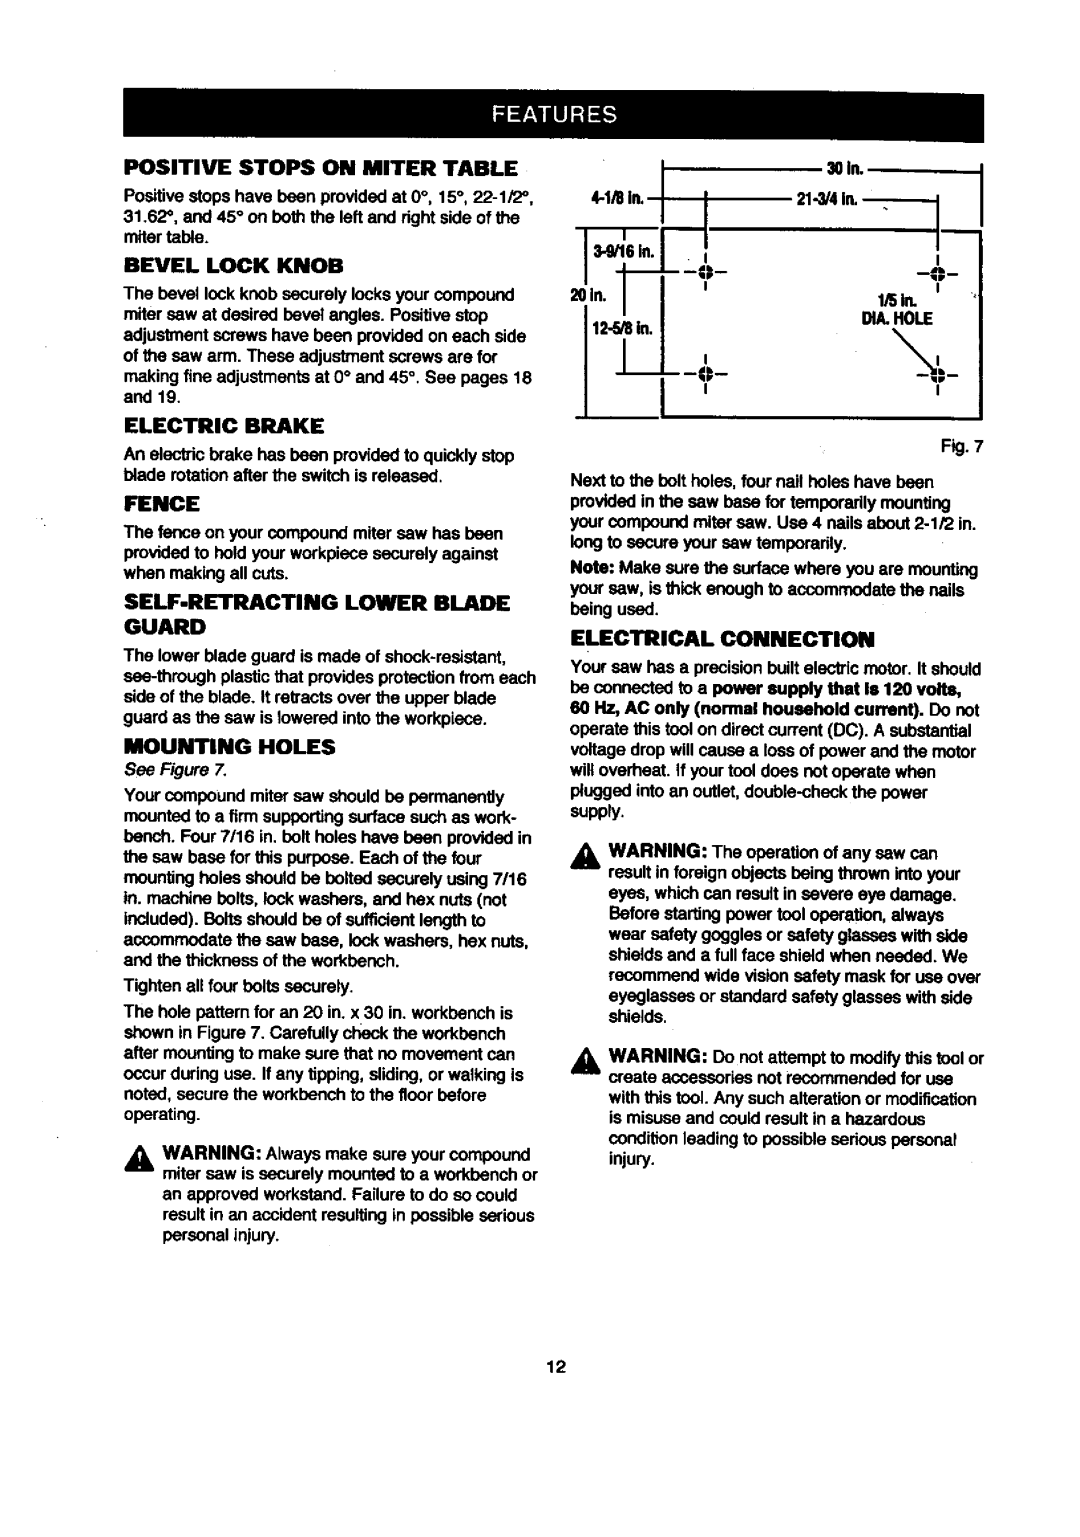
The Craftsman 315.21212 is a remarkable tool designed to provide efficiency and reliability for a variety of home improvement tasks. This powerful electric tool is primarily known for its precision and versatility, making it a favorite among DIY enthusiasts and professional users alike.One of the standout features of the Craftsman 315.21212 is its robust motor. With an output of 5.5 amps, this tool delivers sufficient power to handle an array of drilling and cutting applications. Whether you are working on wood, metal, or plastic, its impressive torque offers the strength needed to complete the task with ease, allowing users to efficiently tackle their projects without any downtime.
Another significant characteristic of the Craftsman 315.21212 is its ergonomically designed handle. Built for comfort and grip, the handle minimizes fatigue during prolonged use. This thoughtful design ensures that users can maintain better control and precision, leading to high-quality results, even during extended working hours.
The tool also features a variable speed control mechanism that allows users to adjust the speed according to the specific needs of their project. This flexibility is essential for achieving optimal performance across different materials. Users can quickly switch from higher speeds for quick drilling to lower speeds for more delicate tasks, demonstrating the versatility of the Craftsman 315.21212.
In terms of technology, the Craftsman 315.21212 incorporates a keyless chuck system, making it incredibly convenient to change the drill bits. This feature saves time and enhances productivity, as it eliminates the hassle of using additional tools to swap bits. Plus, the built-in LED light is a practical addition that illuminates the workspace, ensuring precision in dimly lit areas.
The Craftsman 315.21212 also boasts a compact design, making it easy to maneuver in tight spaces. It is lightweight yet durable, ensuring that it can withstand the rigors of frequent use. Overall, this tool combines advanced features with user-friendly aspects, making it a top choice for both casual users and professionals looking for reliable performance in their toolkit. Whether handling home repairs or intricate woodworking projects, the Craftsman 315.21212 is equipped to deliver outstanding results.

