1. Connection to the network
1.4 Manual network connection setting - Wireless LAN - (continued)
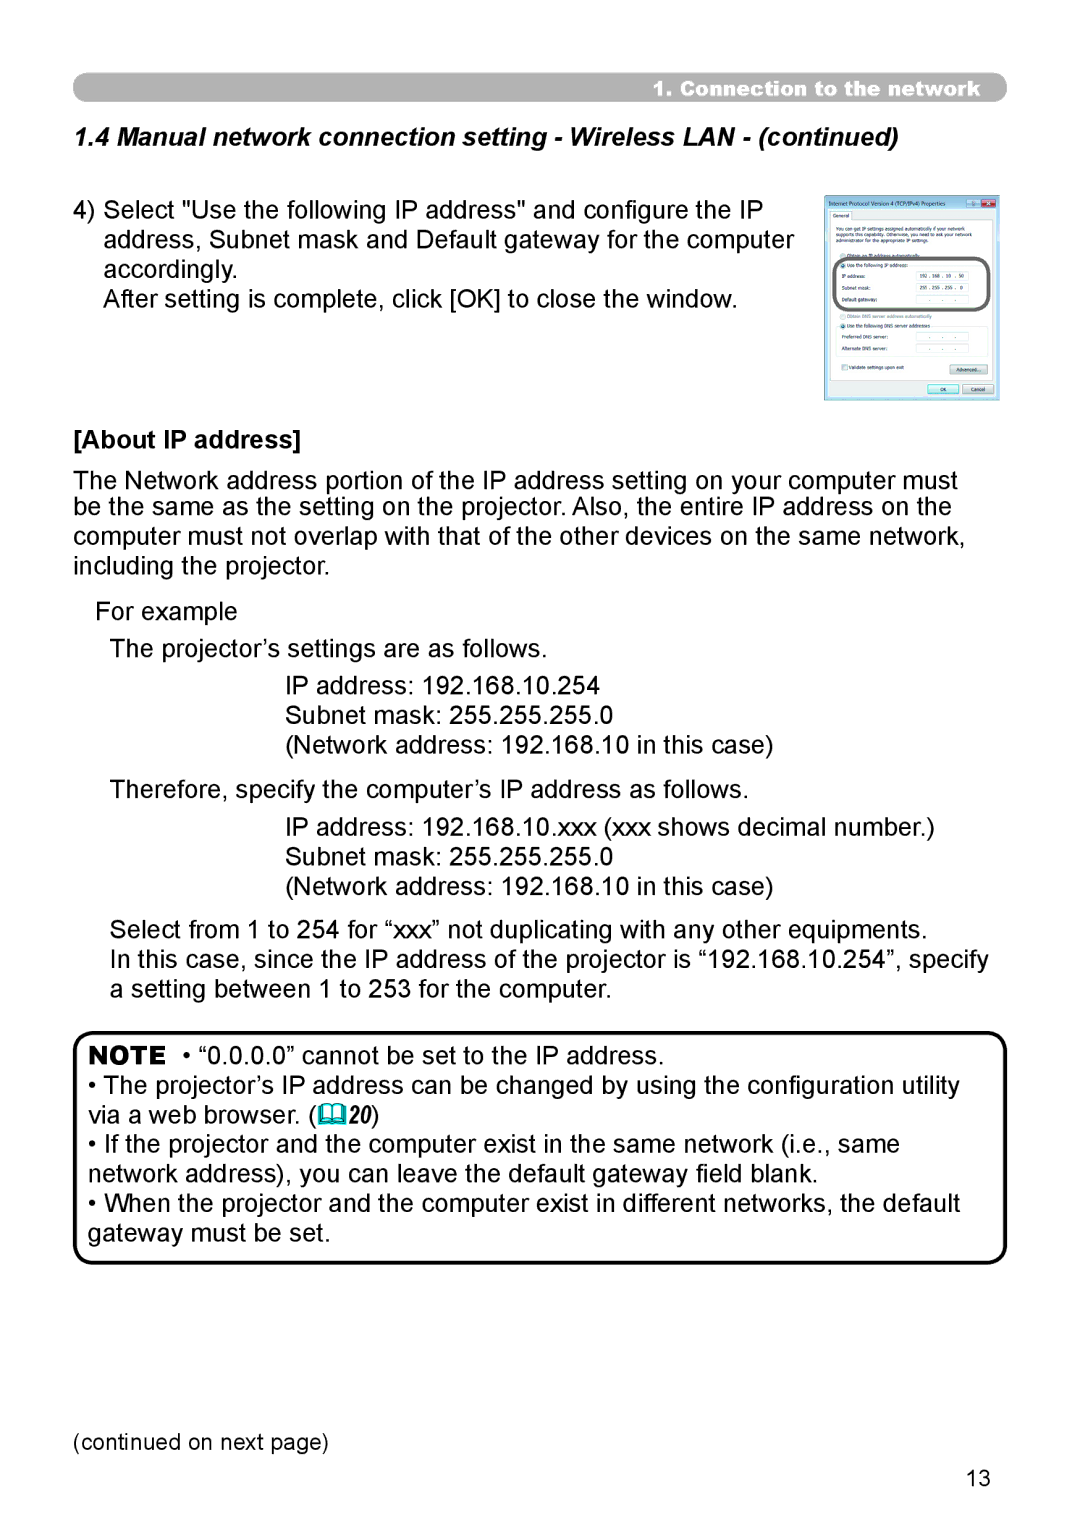
4)Select "Use the following IP address" and configure the IP address, Subnet mask and Default gateway for the computer accordingly.
After setting is complete, click [OK] to close the window.
[About IP address]
The Network address portion of the IP address setting on your computer must be the same as the setting on the projector. Also, the entire IP address on the computer must not overlap with that of the other devices on the same network, including the projector.
For example
The projector’s settings are as follows.
IP address: 192.168.10.254
Subnet mask: 255.255.255.0
(Network address: 192.168.10 in this case)
Therefore, specify the computer’s IP address as follows.
IP address: 192.168.10.xxx (xxx shows decimal number.)
Subnet mask: 255.255.255.0
(Network address: 192.168.10 in this case)
Select from 1 to 254 for “xxx” not duplicating with any other equipments.
In this case, since the IP address of the projector is “192.168.10.254”, specify a setting between 1 to 253 for the computer.
NOTE • “0.0.0.0” cannot be set to the IP address.
•The projector’s IP address can be changed by using the configuration utility via a web browser. (&20)
•If the projector and the computer exist in the same network (i.e., same network address), you can leave the default gateway field blank.
•When the projector and the computer exist in different networks, the default gateway must be set.
(continued on next page)
13
