FOR WINDOWS XP (Home and Professional)
1.Click on Start then click on Control Panel.
2.
3.Set the manufacturer to None.
4.Exit to the desktop and then shutdown your computer.
5.Connect the serial cable to Serial Port II on the UPS and an open serial port on your computer. You must use the serial cable that was provided with the unit.
6.Plug the UPS into an AC outlet, turn the UPS on and then start your computer.
7.Insert the PowerPanelTM disk into the floppy drive.
8.Click on Start then click Control Panel.
9.
10.Click on Add New Programs, then click the CD or Floppy Button.
11.Follow the
12.When the installation is complete, remove the floppy disk and restart your computer.
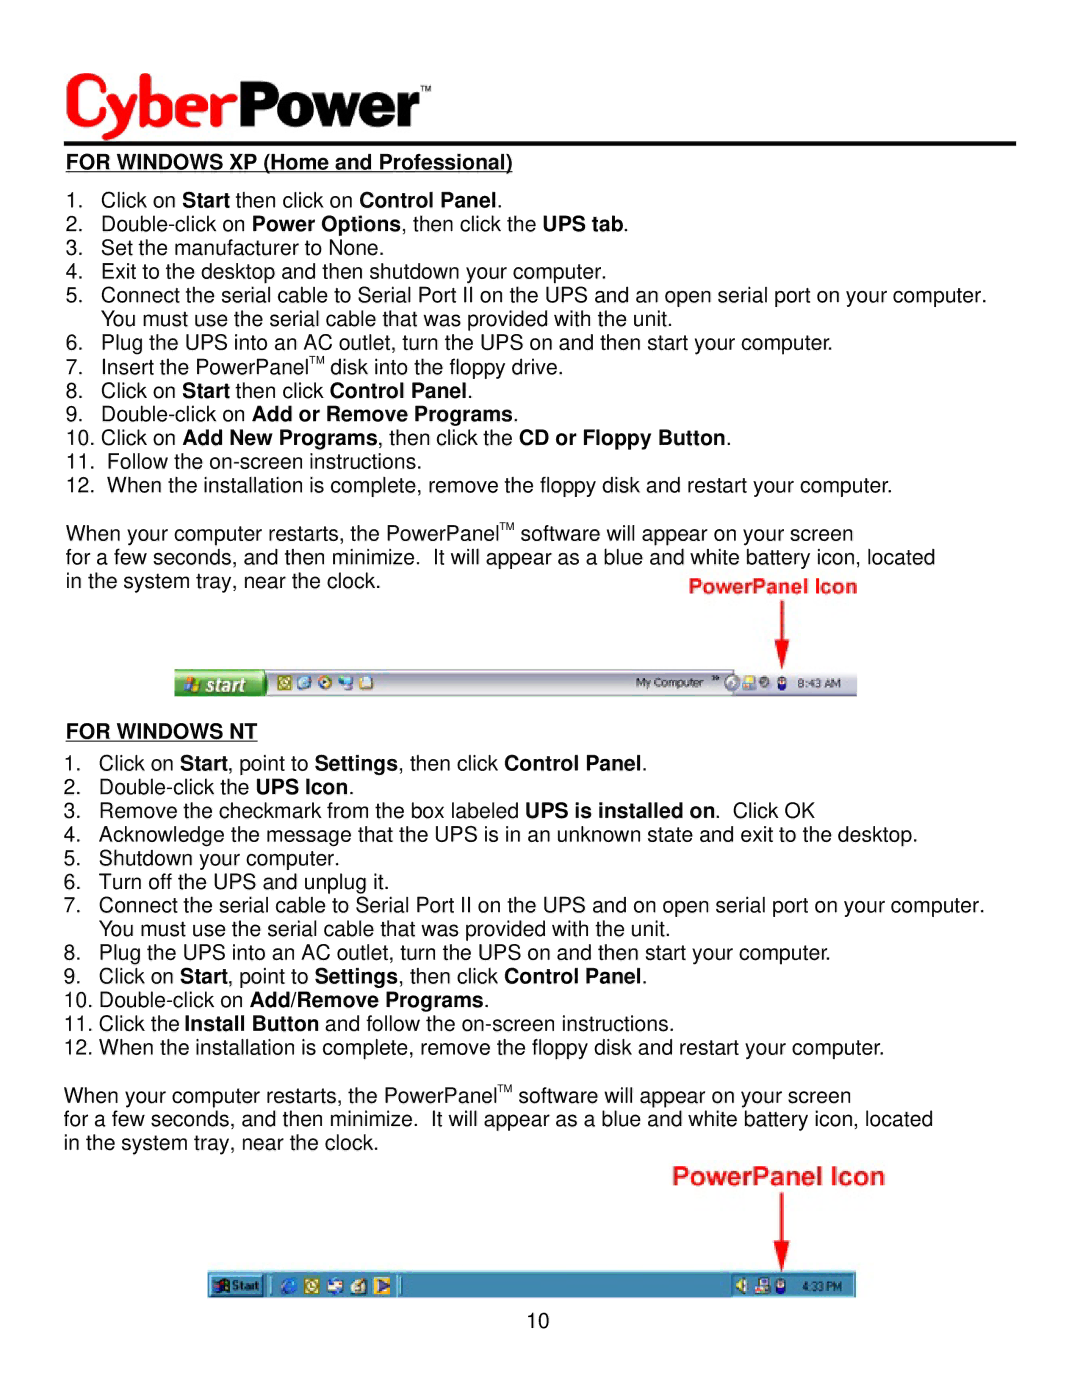
When your computer restarts, the PowerPanelTM software will appear on your screen
for a few seconds, and then minimize. It will appear as a blue and white battery icon, located in the system tray, near the clock.
FOR WINDOWS NT
1.Click on Start, point to Settings, then click Control Panel.
2.
3.Remove the checkmark from the box labeled UPS is installed on. Click OK
4.Acknowledge the message that the UPS is in an unknown state and exit to the desktop.
5.Shutdown your computer.
6.Turn off the UPS and unplug it.
7.Connect the serial cable to Serial Port II on the UPS and on open serial port on your computer. You must use the serial cable that was provided with the unit.
8.Plug the UPS into an AC outlet, turn the UPS on and then start your computer.
9.Click on Start, point to Settings, then click Control Panel.
10.Double-click on Add/Remove Programs.
11.Click the Install Button and follow the
12.When the installation is complete, remove the floppy disk and restart your computer.
When your computer restarts, the PowerPanelTM software will appear on your screen
for a few seconds, and then minimize. It will appear as a blue and white battery icon, located in the system tray, near the clock.
10
