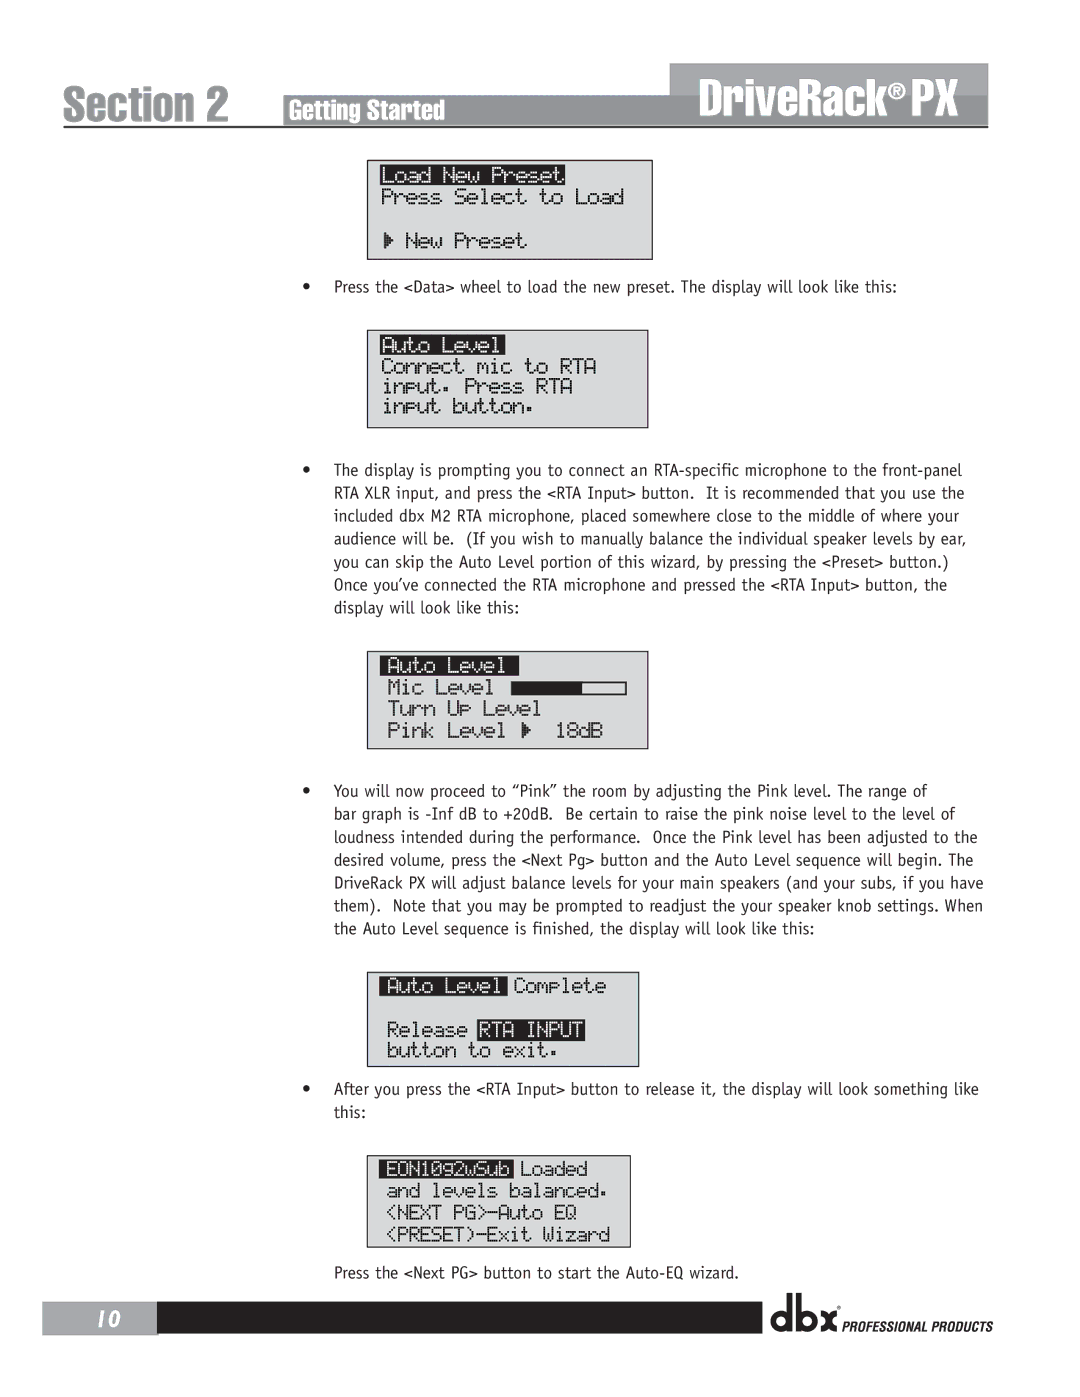
Load New Preset
Press Select to Load
> New Preset
•Press the <Data> wheel to load the new preset. The display will look like this:
Auto Level
Connect mic to RTA input. Press RTA input button.
•The display is prompting you to connect an RTA-specific microphone to the front-panel RTA XLR input, and press the <RTA Input> button. It is recommended that you use the included dbx M2 RTA microphone, placed somewhere close to the middle of where your audience will be. (If you wish to manually balance the individual speaker levels by ear, you can skip the Auto Level portion of this wizard, by pressing the <Preset> button.)
Once you’ve connected the RTA microphone and pressed the <RTA Input> button, the display will look like this:
Auto Level
•You will now proceed to “Pink” the room by adjusting the Pink level. The range of bar graph is -Inf dB to +20dB. Be certain to raise the pink noise level to the level of loudness intended during the performance. Once the Pink level has been adjusted to the desired volume, press the <Next Pg> button and the Auto Level sequence will begin. The DriveRack PX will adjust balance levels for your main speakers (and your subs, if you have them). Note that you may be prompted to readjust the your speaker knob settings. When the Auto Level sequence is finished, the display will look like this:
Auto Level Complete
Release RTA INPUT button to exit.
•After you press the <RTA Input> button to release it, the display will look something like this:
EON10g2wSub Loaded and levels balanced. <NEXT PG>-Auto EQ <PRESET)-Exit Wizard
Press the <Next PG> button to start the Auto-EQ wizard.
®