DriveRack® PX
Getting Started | Section 2 |
•You will now use the <DATA> wheel to select the number of fixed filters. This will range from values
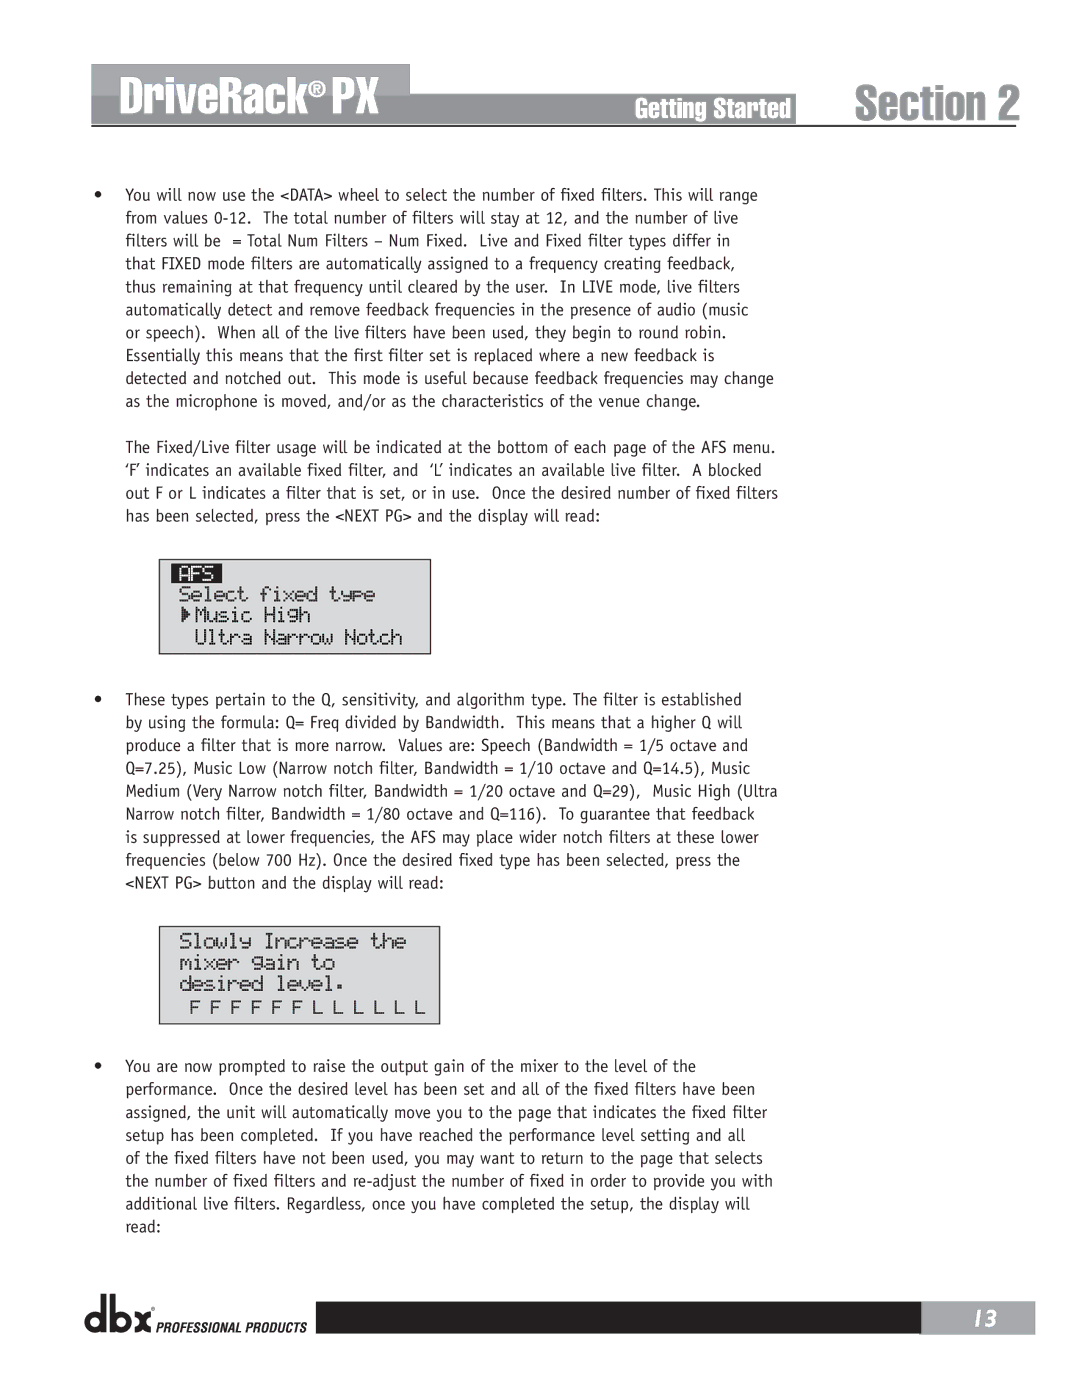
The Fixed/Live filter usage will be indicated at the bottom of each page of the AFS menu. ‘F’ indicates an available fixed filter, and ‘L’ indicates an available live filter. A blocked out F or L indicates a filter that is set, or in use. Once the desired number of fixed filters has been selected, press the <NEXT PG> and the display will read:
 Music High
Ultra Narrow Notch
•These types pertain to the Q, sensitivity, and algorithm type. The filter is established by using the formula: Q= Freq divided by Bandwidth. This means that a higher Q will produce a filter that is more narrow. Values are: Speech (Bandwidth = 1/5 octave and Q=7.25), Music Low (Narrow notch filter, Bandwidth = 1/10 octave and Q=14.5), Music Medium (Very Narrow notch filter, Bandwidth = 1/20 octave and Q=29), Music High (Ultra Narrow notch filter, Bandwidth = 1/80 octave and Q=116). To guarantee that feedback is suppressed at lower frequencies, the AFS may place wider notch filters at these lower frequencies (below 700 Hz). Once the desired fixed type has been selected, press the <NEXT PG> button and the display will read:
•You are now prompted to raise the output gain of the mixer to the level of the performance. Once the desired level has been set and all of the fixed filters have been assigned, the unit will automatically move you to the page that indicates the fixed filter setup has been completed. If you have reached the performance level setting and all of the fixed filters have not been used, you may want to return to the page that selects the number of fixed filters and
® |
| 13 |
|
|
|