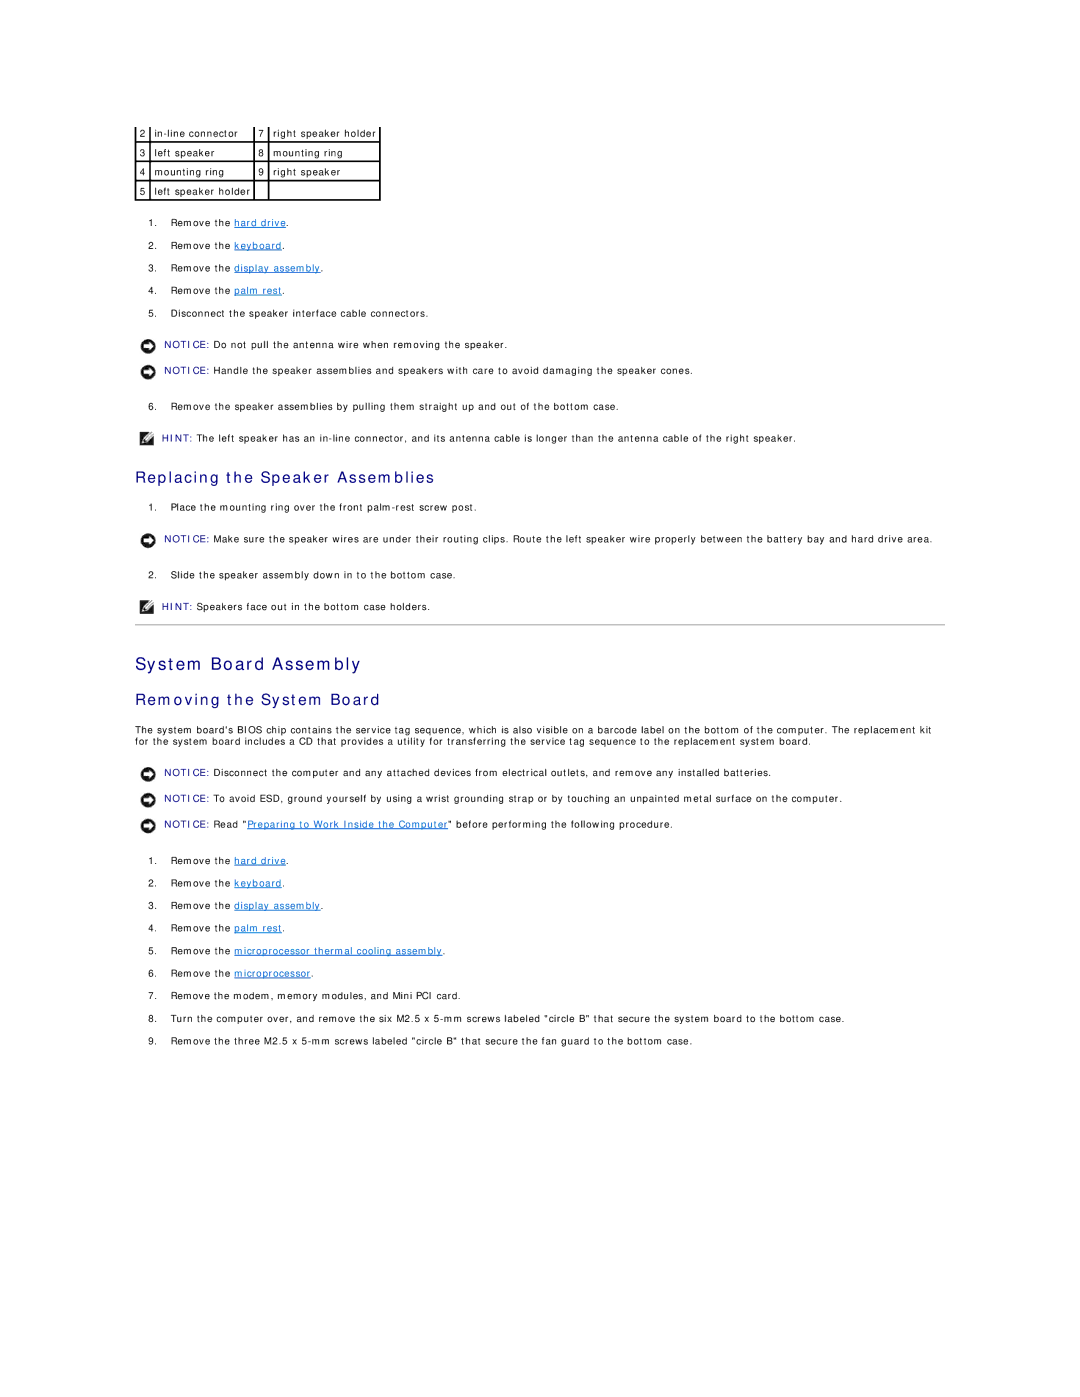
2 | 7 | right speaker holder | |
3 | left speaker | 8 | mounting ring |
|
|
|
|
4 | mounting ring | 9 | right speaker |
|
|
|
|
5 | left speaker holder |
|
|
|
|
|
|
1.Remove the hard drive.
2.Remove the keyboard.
3.Remove the display assembly.
4.Remove the palm rest.
5.Disconnect the speaker interface cable connectors.
NOTICE: Do not pull the antenna wire when removing the speaker.
NOTICE: Handle the speaker assemblies and speakers with care to avoid damaging the speaker cones.
6.Remove the speaker assemblies by pulling them straight up and out of the bottom case.
HINT: The left speaker has an
Replacing the Speaker Assemblies
1.Place the mounting ring over the front
NOTICE: Make sure the speaker wires are under their routing clips. Route the left speaker wire properly between the battery bay and hard drive area.
2.Slide the speaker assembly down in to the bottom case.
HINT: Speakers face out in the bottom case holders.
System Board Assembly
Removing the System Board
The system board's BIOS chip contains the service tag sequence, which is also visible on a barcode label on the bottom of the computer. The replacement kit for the system board includes a CD that provides a utility for transferring the service tag sequence to the replacement system board.
NOTICE: Disconnect the computer and any attached devices from electrical outlets, and remove any installed batteries.
NOTICE: To avoid ESD, ground yourself by using a wrist grounding strap or by touching an unpainted metal surface on the computer.
NOTICE: Read "Preparing to Work Inside the Computer" before performing the following procedure.
1.Remove the hard drive.
2.Remove the keyboard.
3.Remove the display assembly.
4.Remove the palm rest.
5.Remove the microprocessor thermal cooling assembly.
6.Remove the microprocessor.
7.Remove the modem, memory modules, and Mini PCI card.
8.Turn the computer over, and remove the six M2.5 x
9.Remove the three M2.5 x
