960 specifications
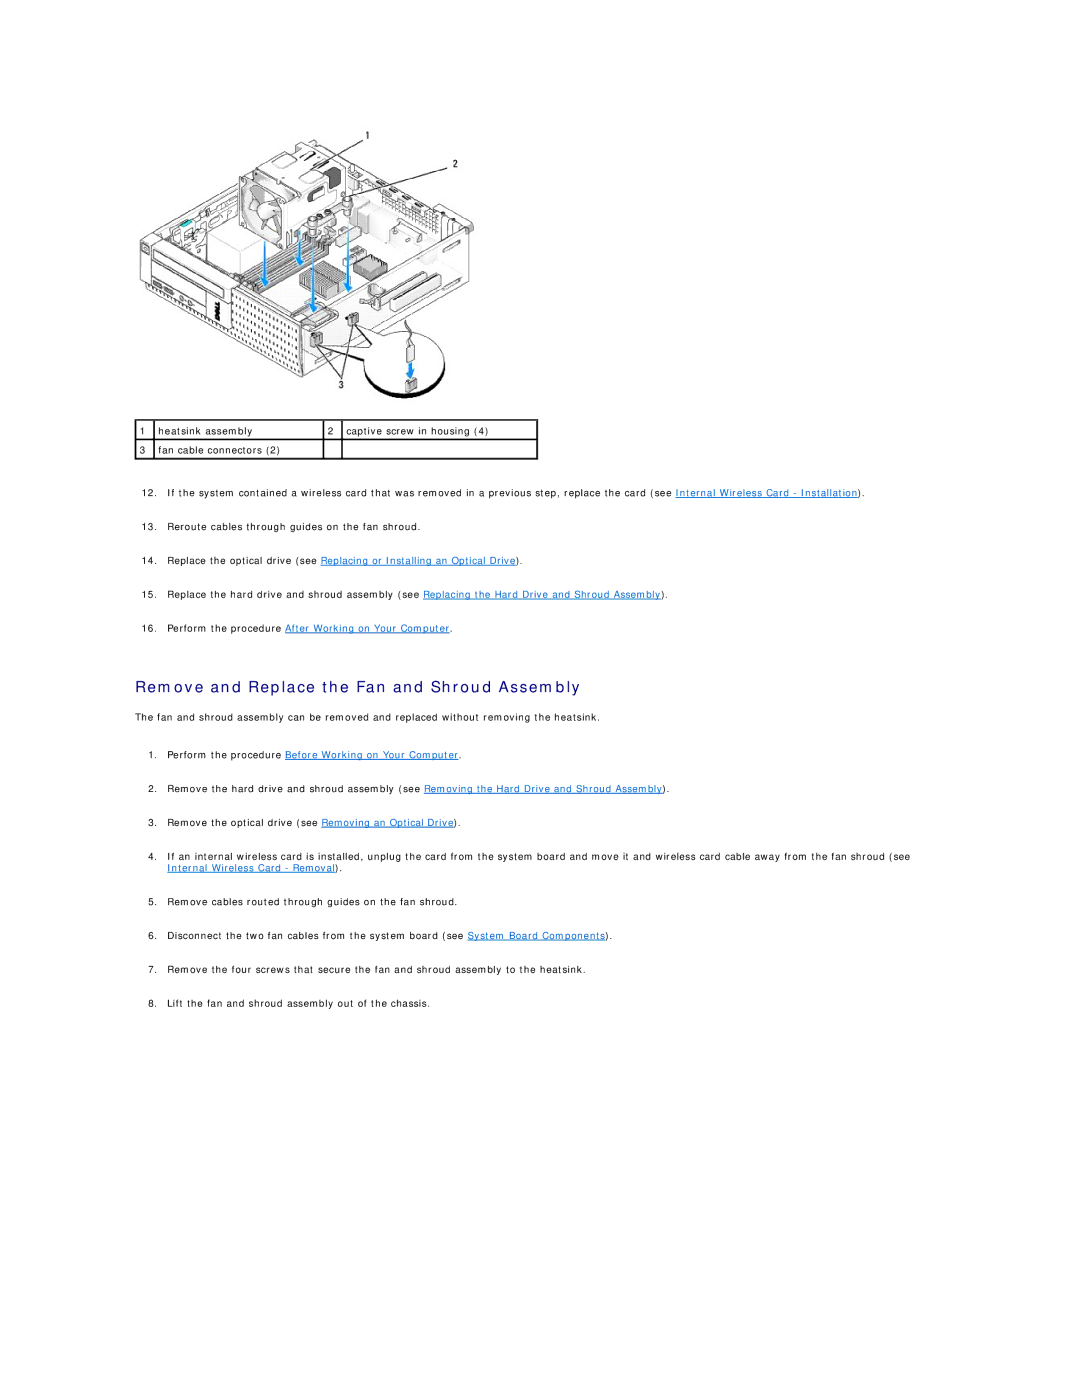
The Dell 960 is a powerful and efficient desktop computer designed for business environments and professional users seeking reliability and performance. This model is part of Dell's OptiPlex line, which is known for its focus on security, manageability, and sustainability.One of the standout features of the Dell 960 is its compact design, which enables it to fit comfortably in various office environments without occupying much space. This small form factor is not only convenient for limited desk space but also enhances the aesthetic appeal of professional settings.
In terms of performance, the Dell 960 is equipped with Intel Core 2 Duo processors, offering dual-core processing capabilities that optimize multitasking and enhance overall system responsiveness. This makes it well-suited for running multiple applications simultaneously, an essential requirement in many business operations.
Memory options are customizable, allowing users to equip the Dell 960 with up to 8 GB of RAM. This flexibility ensures that the system can handle demanding applications and workloads with ease. Additionally, the desktop features various hard drive configurations, including both traditional hard disk drives (HDD) and solid-state drives (SSD), providing choices that balance performance and storage capacity.
The Dell 960 also prioritizes energy efficiency and eco-friendliness. It is Energy Star certified, meaning it meets stringent energy efficiency guidelines set by the U.S. Environmental Protection Agency. This certification helps organizations reduce their energy costs and carbon footprint, contributing to more sustainable operations.
For connectivity, the Dell 960 comes with a variety of ports, including USB 2.0 ports, audio jacks, and Ethernet ports, ensuring seamless communication with peripherals and networks. The inclusion of integrated graphics offers sufficient performance for standard business applications, while expansion slots allow for graphics upgrades when necessary.
Security features are robust in the Dell 960, with optional hardware-based security systems that safeguard sensitive data. With features like Trusted Platform Module (TPM) support and lockable chassis options, businesses can protect their valuable information from unauthorized access.
In summary, the Dell 960 blends performance, compactness, and energy efficiency, making it a suitable choice for offices and professional environments. Its customizable features ensure that users can tailor the desktop to meet their specific needs, while its emphasis on security and sustainability aligns well with modern corporate values.

