D630 specifications
The Dell Latitude D630 is a well-regarded laptop that represents a blend of performance, portability, and durability, making it a popular choice among business professionals and students alike. Released in the mid-2000s, the D630 is equipped with features that cater to the needs of users who demand reliability and functionality.At the heart of the D630 is its Intel Core 2 Duo processor, which delivers efficient performance for multitasking and running demanding applications. The laptop supports up to 8GB of RAM, ensuring smooth operation even with multiple programs running simultaneously. This combination of processing power and memory allows users to tackle productivity tasks with ease, whether in spreadsheet applications, word processing, or web browsing.
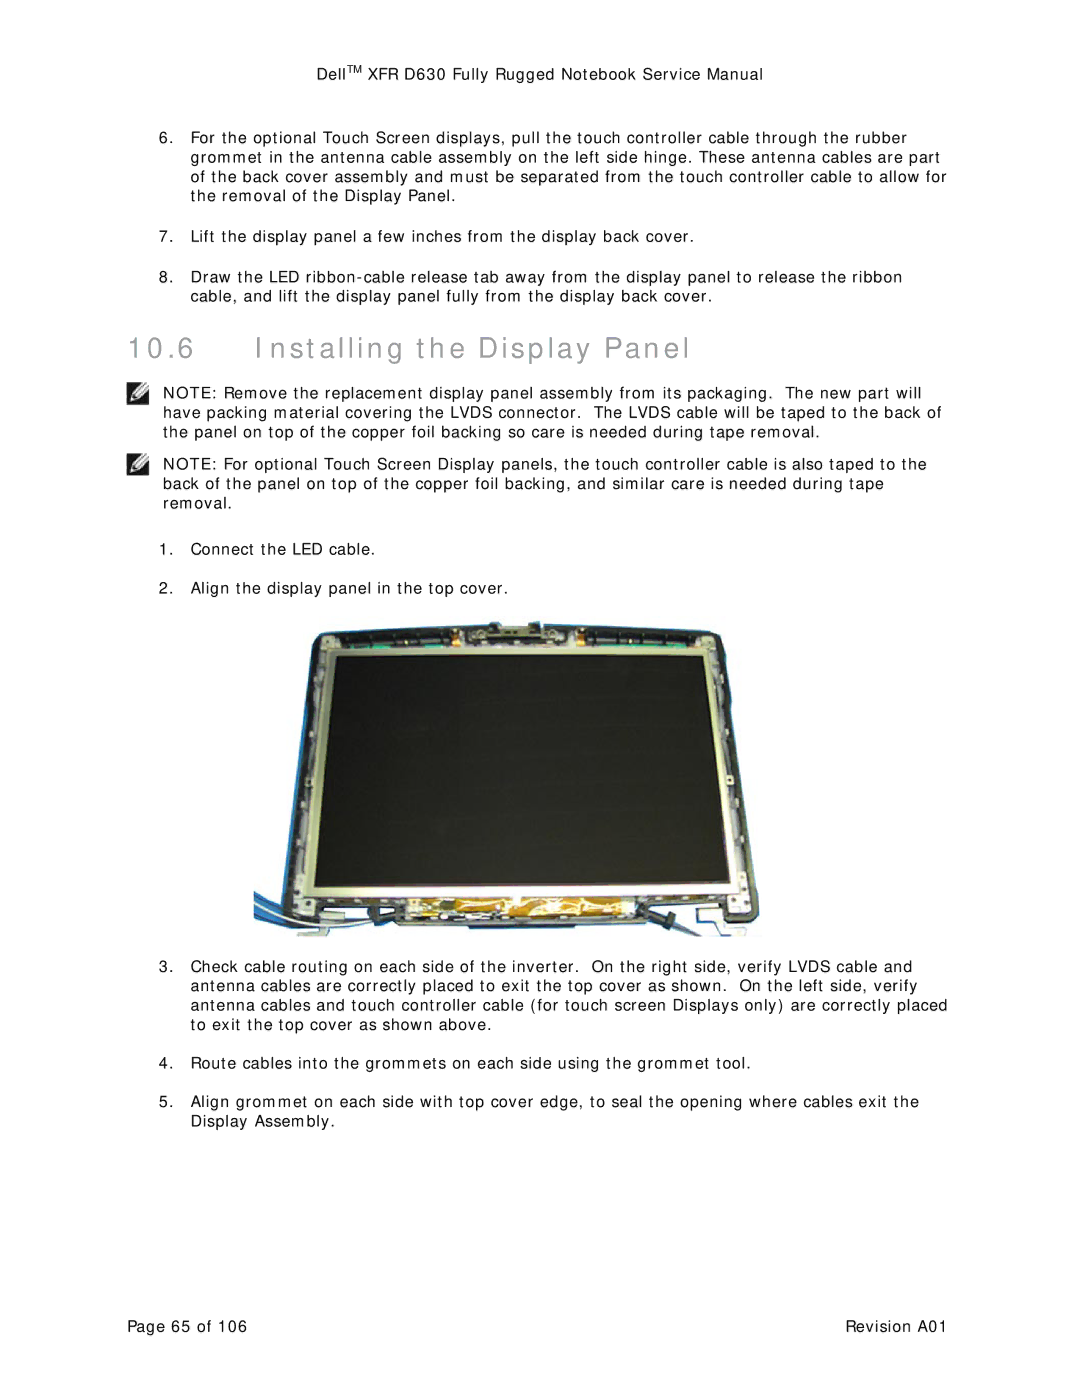
The D630 features a 14.1-inch display, providing a balance between size and portability. With a resolution of 1440x900 pixels, the screen offers clear visuals and adequate screen real estate for various tasks. The laptop also comes with an optional LED backlight that enhances visibility and reduces power consumption.
One standout characteristic of the D630 is its durability. The laptop is constructed with a robust chassis that meets military specifications for ruggedness, ensuring it can withstand the rigors of everyday use. Additionally, the D630 features a spill-resistant keyboard, which adds a layer of protection against accidental spills, a common concern for mobile users.
Another important aspect of the D630 is its array of connectivity options. It is equipped with multiple USB ports, a secure digital (SD) card reader, and VGA and DisplayPort outputs, allowing for easy connection to external devices. Furthermore, Wi-Fi and Bluetooth capabilities enable users to stay connected wirelessly to networks and peripherals.
The D630 also supports various battery configurations, providing users with the choice between standard and extended batteries, depending on their mobility needs. The extended battery option is particularly useful for those who require longer battery life during extensive travel or work sessions.
In summary, the Dell Latitude D630 is a reliable laptop that features a powerful Intel Core 2 Duo processor, a durable design, an optional LED-backlit display, various connectivity options, and versatile battery configurations. Its combination of performance and resilience continues to make it a relevant choice for users seeking a dependable laptop for professional use.

