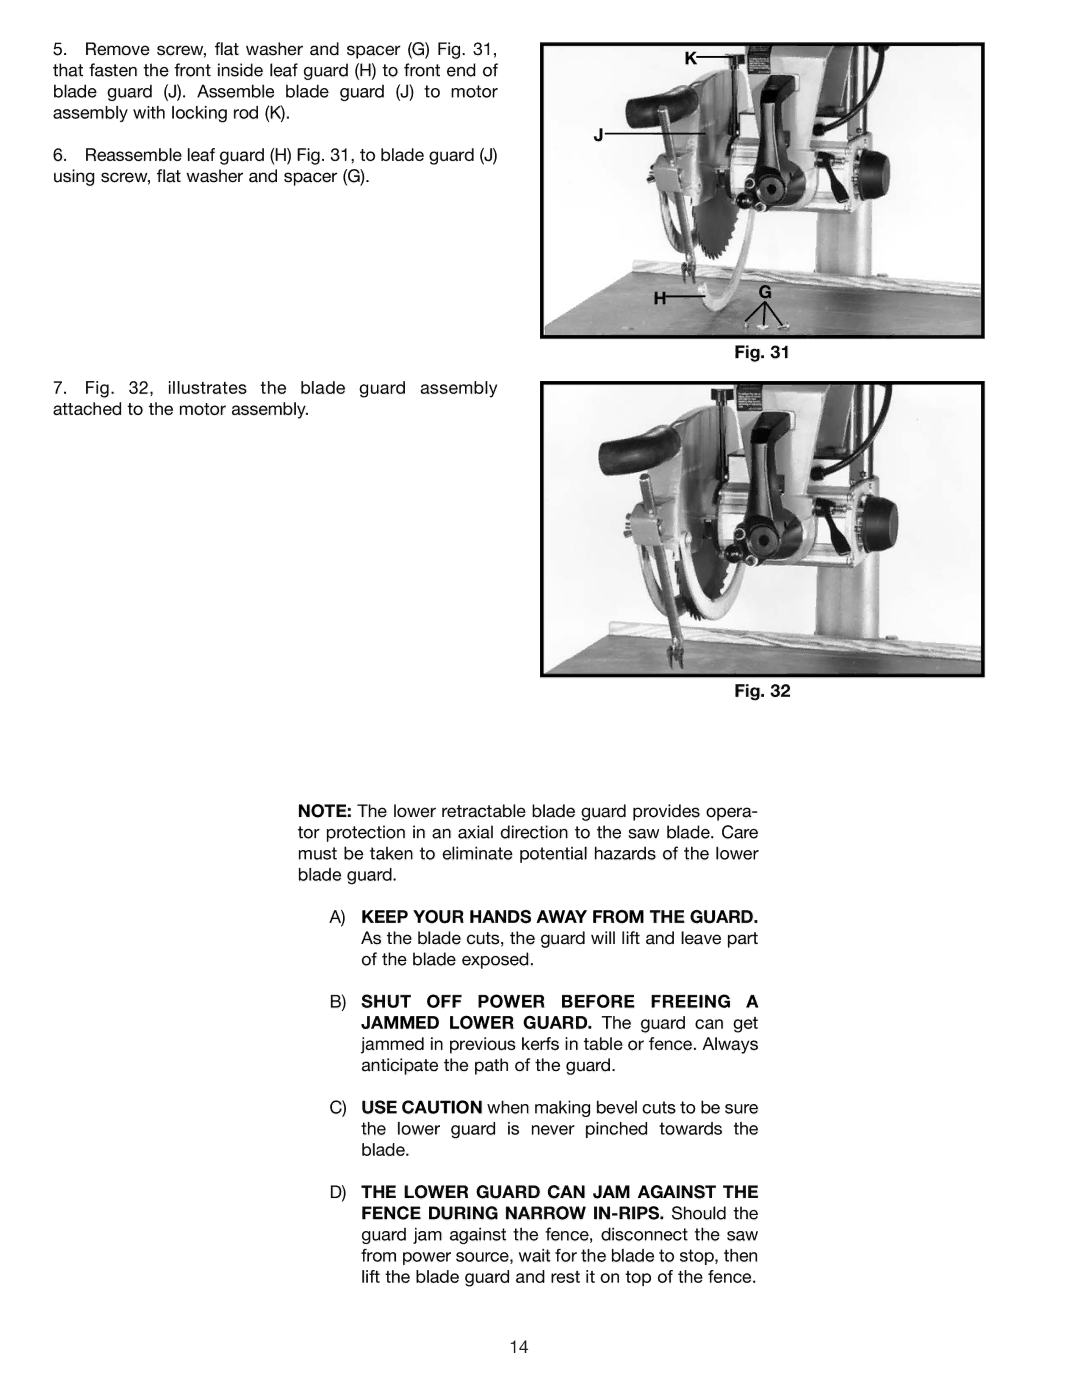
5.Remove screw, flat washer and spacer (G) Fig. 31, that fasten the front inside leaf guard (H) to front end of blade guard (J). Assemble blade guard (J) to motor assembly with locking rod (K).
6.Reassemble leaf guard (H) Fig. 31, to blade guard (J) using screw, flat washer and spacer (G).
7.Fig. 32, illustrates the blade guard assembly attached to the motor assembly.
K
J
HG
Fig. 31
Fig. 32
NOTE: The lower retractable blade guard provides opera- tor protection in an axial direction to the saw blade. Care must be taken to eliminate potential hazards of the lower blade guard.
A)KEEP YOUR HANDS AWAY FROM THE GUARD. As the blade cuts, the guard will lift and leave part of the blade exposed.
B)SHUT OFF POWER BEFORE FREEING A JAMMED LOWER GUARD. The guard can get jammed in previous kerfs in table or fence. Always anticipate the path of the guard.
C)USE CAUTION when making bevel cuts to be sure the lower guard is never pinched towards the blade.
D)THE LOWER GUARD CAN JAM AGAINST THE FENCE DURING NARROW
14
