10.If using the saw on a workbench (See Fig. 68) or on saw horses (See Fig. 70),
2x 4 wooden extensions (See Fig. 71), push in the four table extension rods, two of which are shown at (O) Fig. 66, and lock in place. In this case it is not necessary to replace the table extensions (J).
O
O
J
Fig. 66
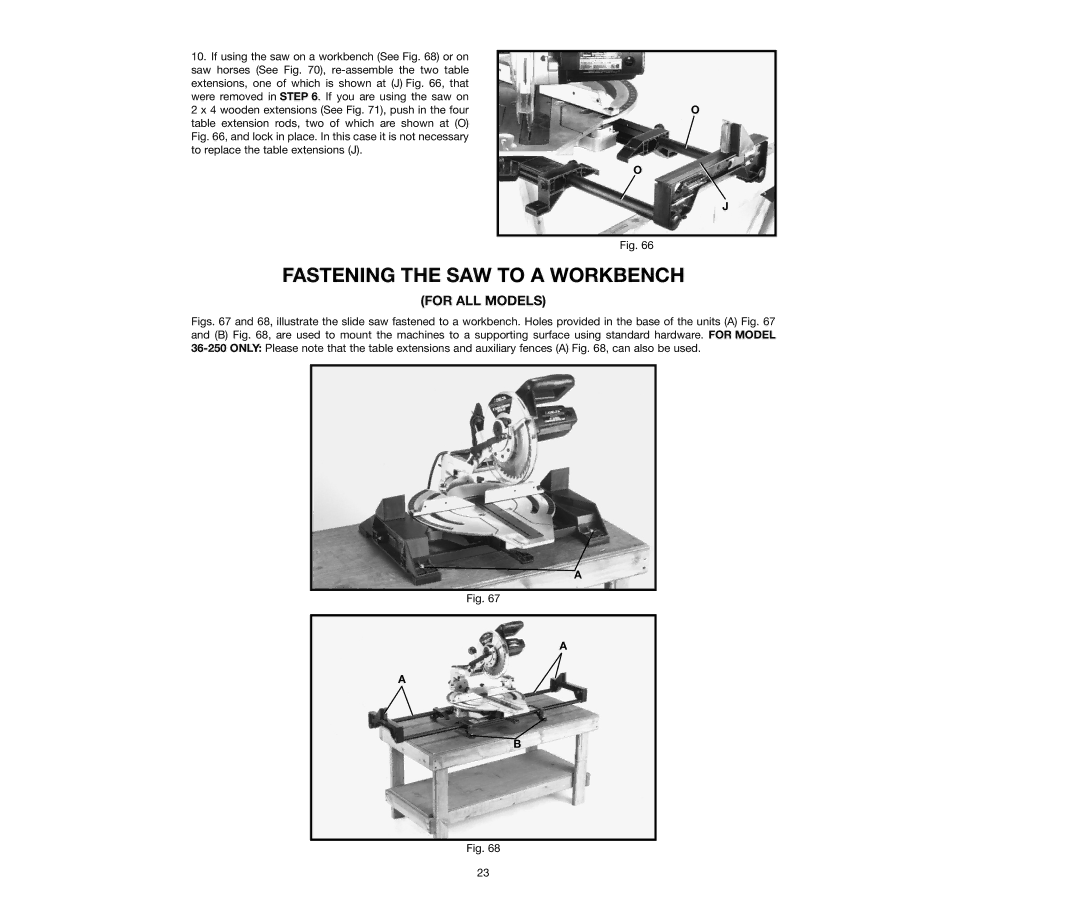
FASTENING THE SAW TO A WORKBENCH
(FOR ALL MODELS)
Figs. 67 and 68, illustrate the slide saw fastened to a workbench. Holes provided in the base of the units (A) Fig. 67 and (B) Fig. 68, are used to mount the machines to a supporting surface using standard hardware. FOR MODEL
A
Fig. 67
A
A
B
Fig. 68
23