L i n u x b o o t p r o c e s s
Step 1: Download the new image file to RAM
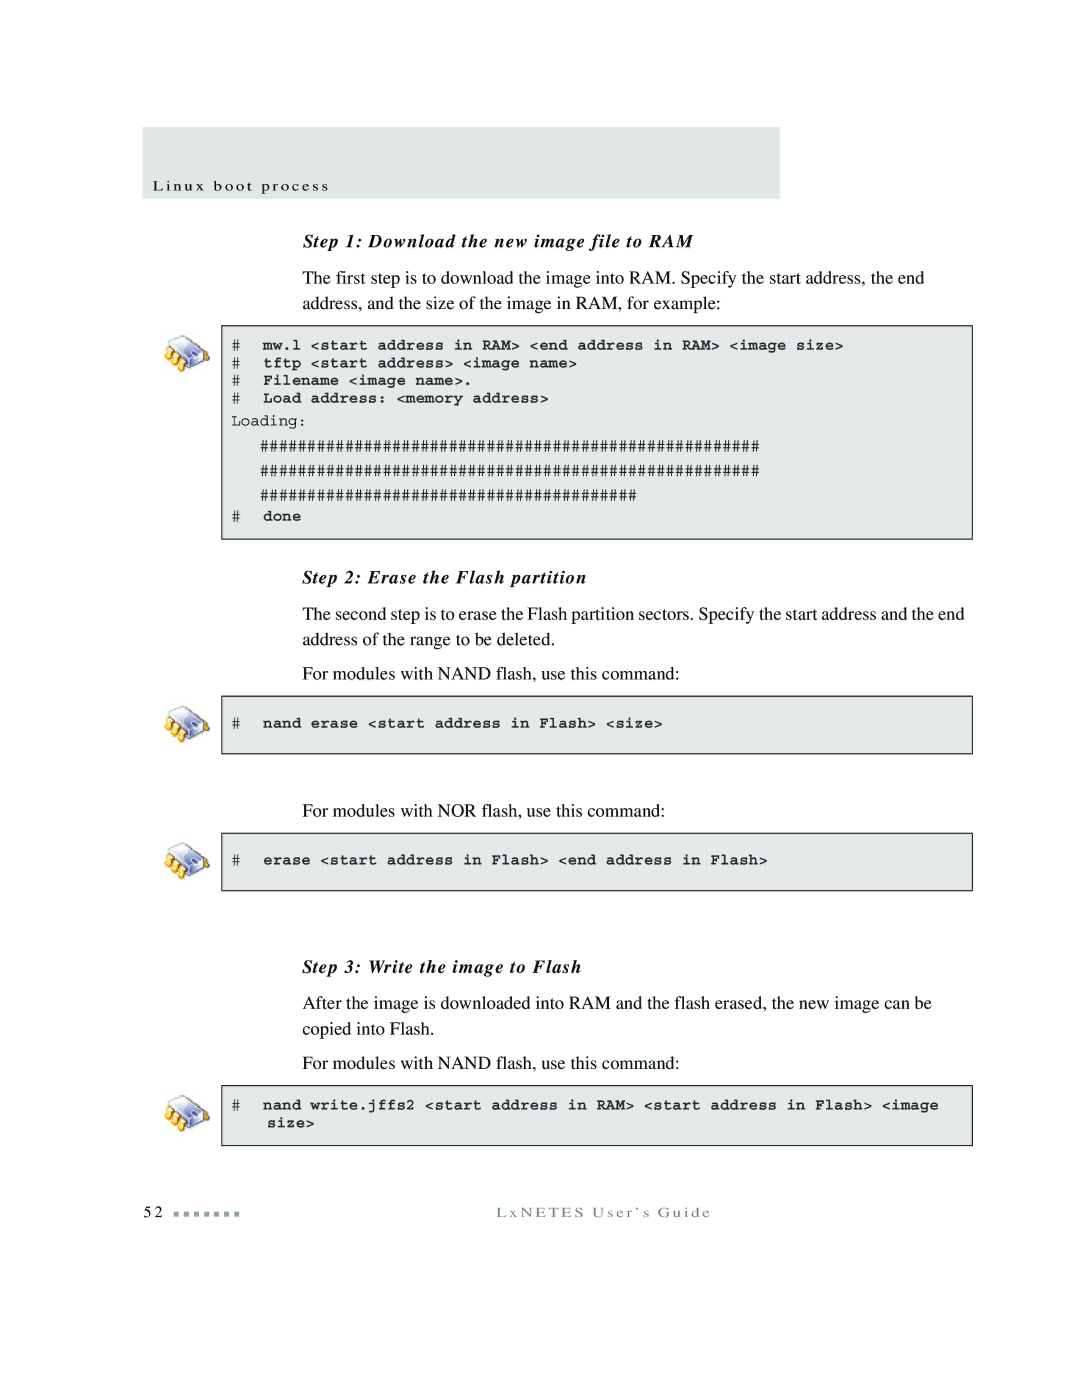
The first step is to download the image into RAM. Specify the start address, the end address, and the size of the image in RAM, for example:
#mw.l <start address in RAM> <end address in RAM> <image size>
#tftp <start address> <image name>
#Filename <image name>.
#Load address: <memory address>
Loading:
#####################################################
#####################################################
########################################
#done
Step 2: Erase the Flash partition
The second step is to erase the Flash partition sectors. Specify the start address and the end address of the range to be deleted.
For modules with NAND flash, use this command:
#nand erase <start address in Flash> <size>
For modules with NOR flash, use this command:
#erase <start address in Flash> <end address in Flash>
Step 3: Write the image to Flash
After the image is downloaded into RAM and the flash erased, the new image can be copied into Flash.
For modules with NAND flash, use this command:
#nand write.jffs2 <start address in RAM> <start address in Flash> <image size>
5 2 | L x N E T E S U s e r ’ s G u i d e |