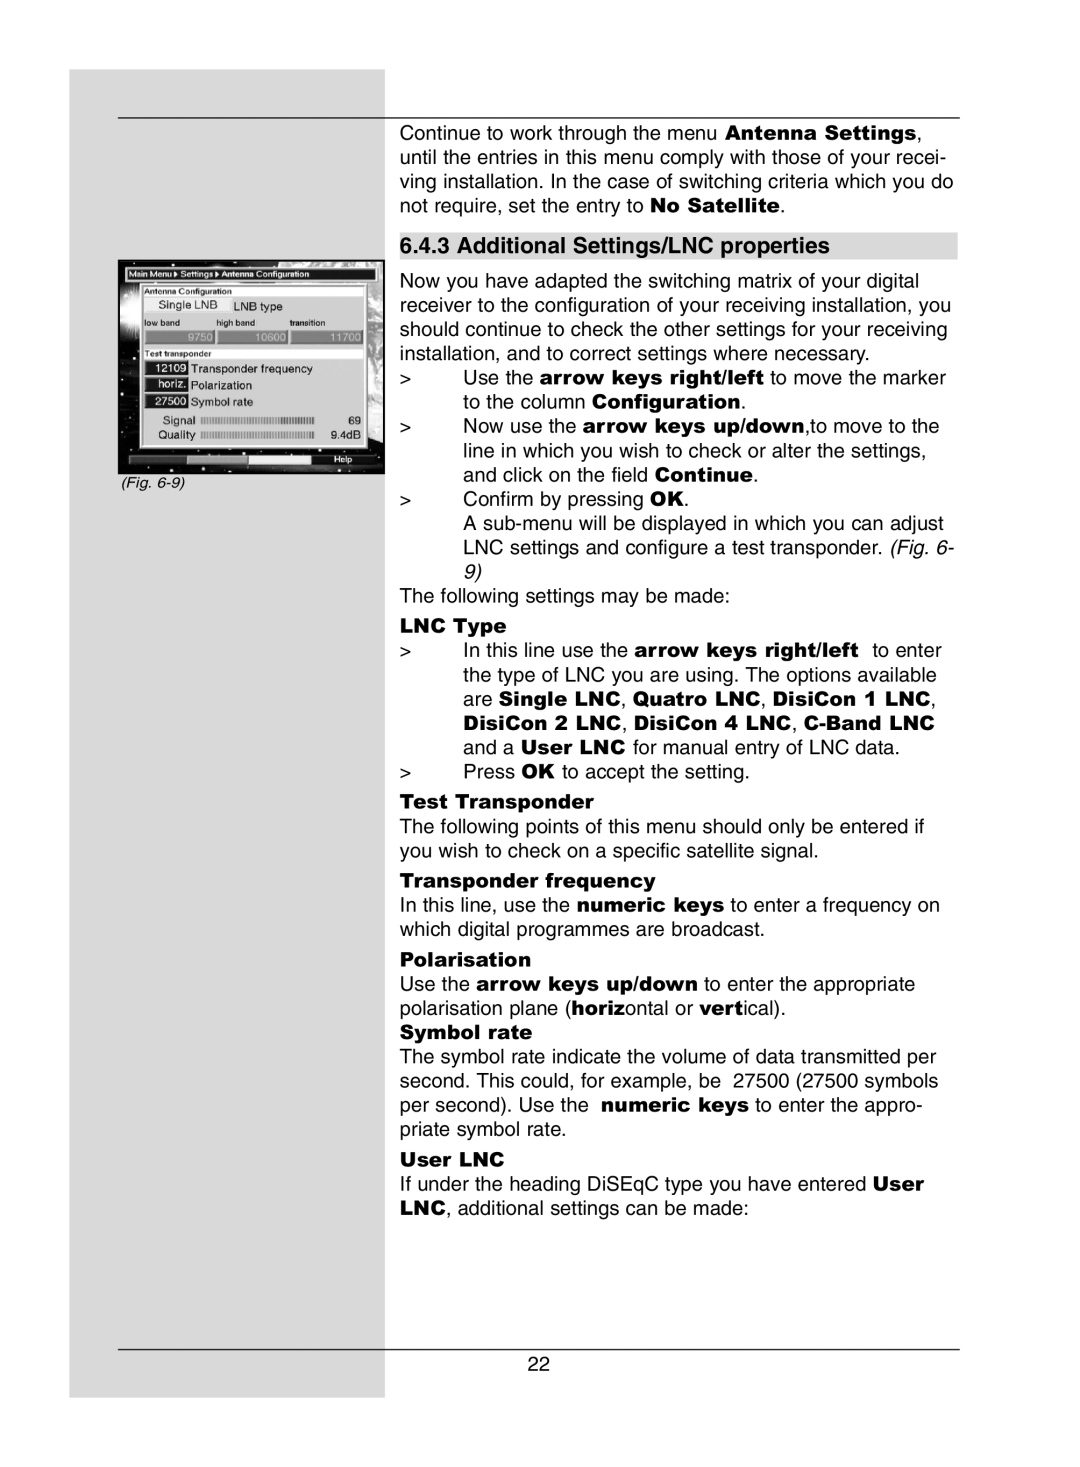
Continue to work through the menu Antenna Settings, until the entries in this menu comply with those of your recei- ving installation. In the case of switching criteria which you do not require, set the entry to No Satellite.
6.4.3 Additional Settings/LNC properties
Now you have adapted the switching matrix of your digital receiver to the configuration of your receiving installation, you should continue to check the other settings for your receiving installation, and to correct settings where necessary.
> | Use the arrow keys right/left to move the marker | |
|
| to the column Configuration. |
> | Now use the arrow keys up/down,to move to the | |
|
| line in which you wish to check or alter the settings, |
|
| and click on the field Continue. |
(Fig. | ||
> | Confirm by pressing OK. | |
|
| A |
LNC settings and configure a test transponder. (Fig. 6- 9)
The following settings may be made:
LNC Type
>In this line use the arrow keys right/left to enter the type of LNC you are using. The options available are Single LNC, Quatro LNC, DisiCon 1 LNC, DisiCon 2 LNC, DisiCon 4 LNC,
>Press OK to accept the setting.
Test Transponder
The following points of this menu should only be entered if you wish to check on a specific satellite signal.
Transponder frequency
In this line, use the numeric keys to enter a frequency on which digital programmes are broadcast.
Polarisation
Use the arrow keys up/down to enter the appropriate polarisation plane (horizontal or vertical).
Symbol rate
The symbol rate indicate the volume of data transmitted per second. This could, for example, be 27500 (27500 symbols per second). Use the numeric keys to enter the appro- priate symbol rate.
User LNC
If under the heading DiSEqC type you have entered User
LNC, additional settings can be made:
22
