Climatizzatore a tetto
Dachklimaanlage
Air conditioning roof unit
Climatiseur de toit Aire acondicionado de techo
Dometic
Dometic CA1000
IACA1000.book Seite 4 Freitag, 30. Januar 2009 1112
IACA1000.book Seite 5 Freitag, 30. Januar 2009 1112
IACA1000.book Seite 6 Freitag, 30. Januar 2009 1112
Hinweise zur Benutzung der Anleitung
Inhaltsverzeichnis
Umgang mit dem Gerät
Sicherheitshinweise
Umgang mit elektrischen Leitungen
Zielgruppe
Zubehör
Lieferumfang
Bestimmungsgemäßer Gebrauch
Kennzeichnungsschilder
Hinweise zur Installation
Installation
IACA1000.book Seite 12 Freitag, 30. Januar 2009 1112
Dachluke entfernen
Installationsschritte
Neue Öffnung herstellen
Einbau in eine vorhandene Dachlukenöffnung
Vormontage der Dachklimaanlage
Verlegen der Versorgungsleitung Abb , Seite
Befestigung der Anlage Abb , Seite
Montage der Dachklimaanlage
Werks Einstellung
Konfiguration der Anlagen-Software
Montage der Luftauslasseinheit
Menü Parameter Bedeutung
2 Menüebene 1 Vorgabe Temperatur-Sollwert
Starten und Beenden des Konfigurationsmodus
4 Menüebene 3 Vorgabe Betriebsmodus
3 Menüebene 2 Umschaltung von AC- zu AC/DC-Betrieb
5 Menüebene 4 Raumfaktor
Mögliche Störung Ursachen Abhilfen Fehlermeldung F02
Entsorgung
Störungsbeseitigung
6 Menüebene 5 Werkseinstellung
Prüfungen/Zertifikate
Dometic CA1000
Contents
Using the device
Safety instructions
Electronic devices are not toys
Handling electrical cables
Target group
Labels
Accessories
Scope of delivery
Proper use
Installation instructions
Making a new opening
Steps for installation
Removing the roof hatch
Installation in an existing sunroof opening
Laying the power cable ,
Pre-assembly of the roof air conditioner
Fastening the system ,
Installing the roof air conditioner
Menu Parameter Explanation
Configuration of system software
Installing the air outlet unit
Default setting
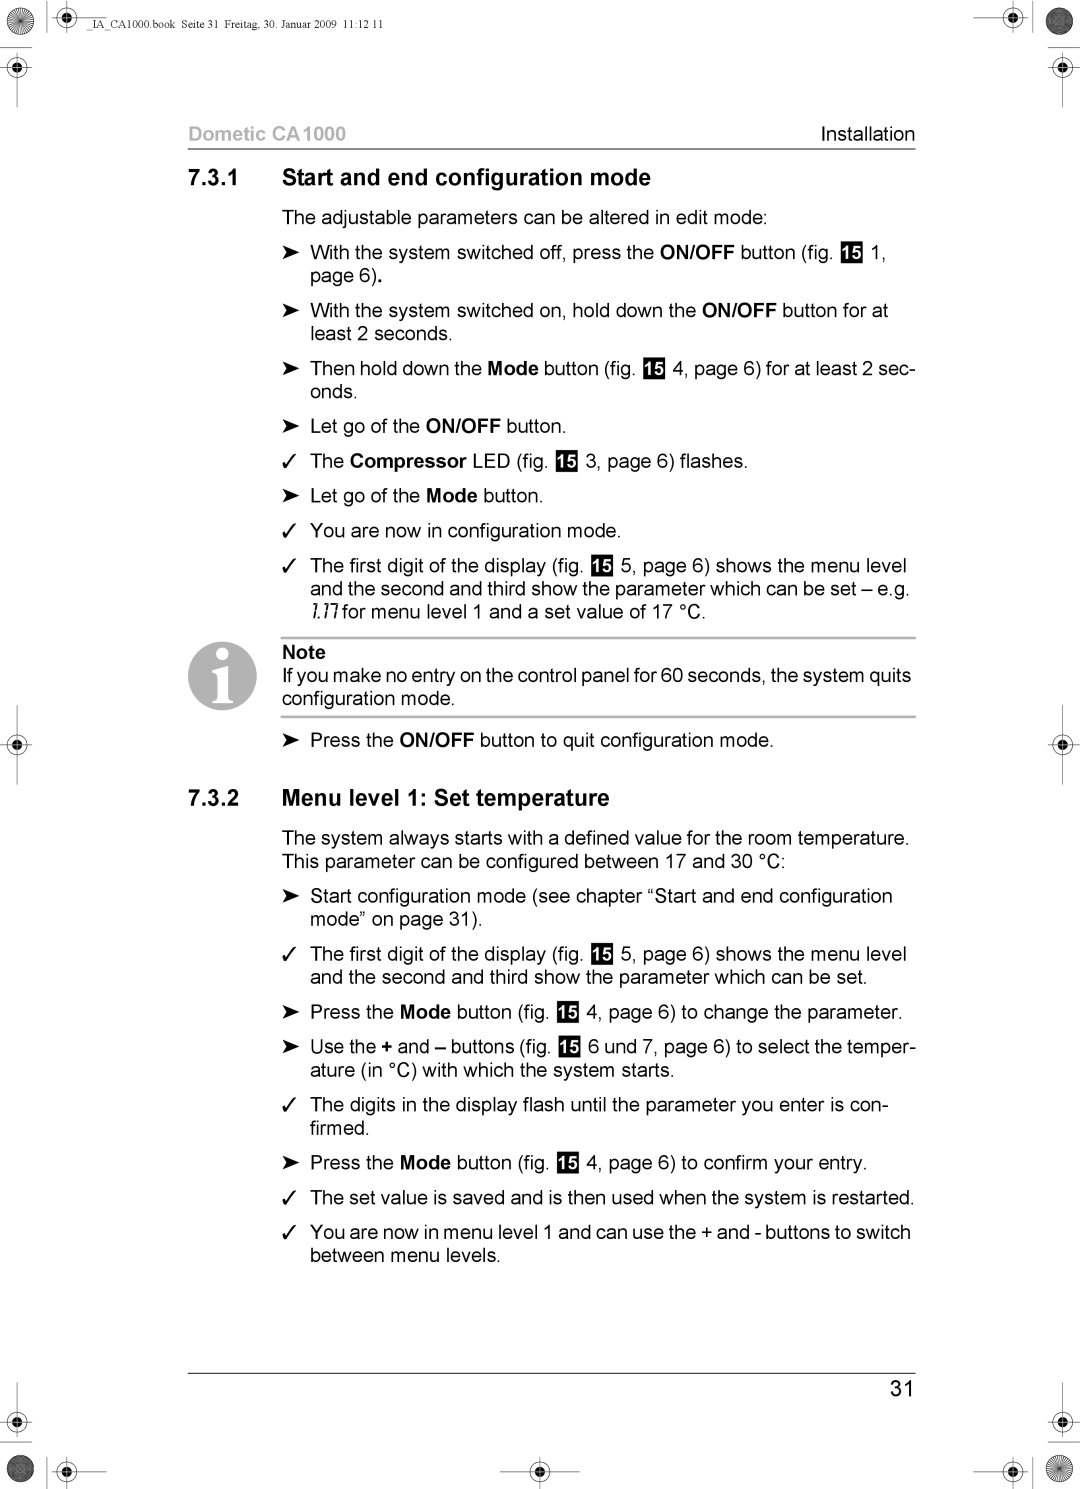
Menu level 1 Set temperature
Start and end configuration mode
Menu level 3 Operating mode
Menu level 2 Switching from AC to AC/DC operation
Menu level 4 Space factor
Menu level 5 Default setting
Disposal
Troubleshooting
Possible malfunction Cause Error message F02
Error message F04
Technical data
Remarques sur lutilisation de cette notice
Table des matières
Précautions d’usage
Consignes de sécurité
Respectez également les consignes de sécurité suivantes
Précautions concernant les lignes électriques
Groupe cible
Plaquettes de spécifications
Accessoires
Pièces fournies
Usage conforme
Consignes de sécurité concernant l’installation
IACA1000.book Seite 41 Freitag, 30. Januar 2009 1112
Démonter le lanterneau
Opérations
Percement d’une nouvelle ouverture
Montage dans une ouverture de lanterneau existante
4 Prémontage du climatiseur
Pose de la ligne d’alimentation ,
Fixation du climatiseur ,
Montage du climatiseur de toit
Réglage Usine
Configuration du logiciel du système
Montage de l’unité de sortie d’air
Niveau Paramètre Signification Menu
Relâchez la touche mode de fonctionnement
Mise en marche et à l’arrêt du mode configuration
Niveau de menu 1 température de consigne
Niveau de menu 3 mode de fonctionnement
Niveau de menu 4 facteur ambiant
Niveau de menu 5 réglages usine
Retraitement
Caractéristiques techniques
Dépannage
Certifications
Indicaciones relativas a las instrucciones de uso
Índice
Manipulación del aparato
Indicaciones de seguridad
¡Los aparatos eléctricos no son juguetes
Manipulación de los cables eléctricos
Destinatarios
Descripción de las piezas Número de artículo
Volumen de entrega
Uso adecuado
Accesorios
Instalación
Placas de identificación
Indicaciones para la instalación
Instalación
Practicar una nueva abertura
Pasos de instalación
Instalación en una abertura de techo solar ya existente
Premontaje del equipo de aire acondicionado de techo
Colocación del cable de alimentación , página
Extraer el techo solar
Fijación del equipo , página
Montaje del equipo de aire acondicionado de techo
Ajuste de Fábrica
Configuración del software del equipo
Montaje de la unidad de salida de aire
Parámetro Significado Menú
Nivel de menú 1 valor nominal de temperatura por defecto
Inicio y finalización de modo de configuración
Suelte la tecla modo de funcionamiento
Nivel de menú 3 modo de funcionamiento por defecto
Nivel de menú 2 cambio del funcionamiento en CA a CA/CC
Nivel de menú 4 factor espacial
Posible avería Causas
Eliminación de desechos
Solución de averías
Nivel de menú 5 ajuste de fábrica
Inspecciones/certificados
Datos técnicos
Indicazioni per luso del manuale di istruzioni
Indice
Utilizzo dell’apparecchio
Indicazioni di sicurezza
Gli elettrodomestici non sono giocattoli
Utilizzo delle linee elettriche
Gruppi target
Targhetta di identificazione
Accessori
Dotazione
Uso conforme alla destinazione
Indicazioni sull’installazione
Installazione
IACA1000.book Seite 71 Freitag, 30. Januar 2009 1112
Rimozione dell’oblò del tetto
Procedura di installazione
Realizzazione di una nuova apertura
Montaggio nell’apertura esistente dell’oblò del tetto
Premontaggio del climatizzatore a tetto
Posa della linea di alimentazione , pagina
Fissaggio dell’impianto , pagina
Montaggio del climatizzatore a tetto
Imposta Zione di fabbrica
Configurazione del software dell’impianto
Montaggio dell’unità di fuoriuscita dell’aria
Parametro Significato
Avvio e fine della modalità di configurazione
Livello di menu 3 modo operativo impostato
Livello di menu 4 fattore spazio
Livello di menu 5 impostazione di fabbrica
Smaltimento
F02
Possibile disturbo Cause Messaggio d’errore
Eliminazione dei disturbi
Controlli/certificati
IACA1000.book Seite 81 Freitag, 30. Januar 2009 1112
Instructies voor het gebruik van de handleiding
Inhoudsopgave
Elektrische toestellen zijn geen speelgoed
Veiligheidsinstructies
Gebruik van het toestel
Neem ook de volgende veiligheidsinstructies in acht
Omgang met elektrische leidingen
Doelgroep
Toebehoren
Omvang van de levering
Gebruik volgens de voorschriften
Identificatiebordjes
Aanwijzingen voor de installatie
Installatie
IACA1000.book Seite 87 Freitag, 30. Januar 2009 1112
Dakraam verwijderen
Installatiestappen
Nieuwe opening maken
Montage in een aanwezige dakraamopening
Voormontage van de airconditioning voor dakinbouw
Plaatsen van de voedingsleiding afb , pag
Montage van de airconditioning voor dakinbouw
Bevestiging van de installatie afb , pag
Montage van de luchtuitlaateenheid
Configuratie van de software van de installatie
Menuniveau 1 Opgave instelwaarde temperatuur
Starten en beëindigen van de configuratiemodus
Menuniveau 3 Opgave bedrijfsmodus
Menuniveau 2 Omschakeling van AC- naar AC/DC- modus
Menuniveau 4 Ruimtefactor
Verhelpen van storingen
Afvoer
Menuniveau 5 Fabrieksinstelling
Controles/certificaten
Technische gegevens
Henvisninger vedr. brug af vejledningen
Indholdsfortegnelse
Overhold også de efterfølgende sikkerhedshenvisninger
Omgang med apparatetet
Sikkerhedshenvisninger
El-apparater er ikke legetøj
Delenes betegnelse Artikelnummer
Målgruppe
Leveringsomfang
Omgang med elektriske ledninger
100
Korrekt brug
Identifikationsskilte
Tilbehør
101
Henvisninger vedr. installationen
Etablering af ny åbning
Installationsforløb
102
103
Installation i en eksisterende taglugeåbning
3 Trækning af forsyningsledningen , side
Formontering af klimaanlægget til tagmontering
Fastgørelse af anlægget , side
Montering af klimaanlægget til tagmontering
104
Menuni Parameter Betydning Fabriksindstilling
Konfiguration af anlæggets software
Montering af luftudstrømningsenheden
105
Menuniveau 1 Standardværdi for nom. temperatur
Start og afslutning af konfigurationsmodusen
106
Menuniveau 3 Standarddriftsmodus
Menuniveau 2 Omskiftning fra AC- til AC/DC-funktion
107
Menuniveau 5 Fabriksindstilling
Menuniveau 4 Rumfaktor
108
Mulig fejl Årsager
Bortskaffelse
Udbedring af fejl
109
110
Tekniske data
Godkendelser/certifikater
Beakta även nedanstående säkerhetsanvisningar
Innehållsförteckning
Information om bruksanvisningen
111
Elapparater är inga leksaker
Säkerhetsanvisningar
Handhavande
112
Elledningar
Målgrupp
113
Tillbehör
Leveransomfattning
Ändamålsenlig användning
Typskyltar
115
Information om installationen
1 Ny öppning
Installation
116
117
Montering i existerande öppning för taklucka
Dra elkabeln bild 7, sida
4 Förmontera klimatanläggningen
Fastsättning bild 0, sida
Montera klimatanläggningen
118
Meny Parameter Betydelse
Konfiguration av programvaran till anläggningen
Montera luftenheten
119
Menynivå 1 förinställning börvärde för temperatur
Starta och avsluta konfigurationsläget
120
Menynivå 3 förinställning driftläge
Menynivå 2 omställning från AC- till AC/DC-drift
121
122
Menynivå 4 rumsfaktor
123
Avfallshantering
Felsökning
Menynivå 5 inställningar från fabrik
124
Tekniska data
Provningar/certifikat
Følg også de følgende sikkerhetsreglene
Innhold
Tips for bruk av bruksanvisningen
125
Elektriske apparater er ikke beregnet for barn
Sikkerhetsregler
Behandling av apparatet
126
127
Håndtering av elektriske ledninger
Delebeskrivelse Artikkelnummer
Tiltenkt bruk
Merkeskilt
128
Råd vedrørende installasjon
Installasjon
129
Lage ny åpning
Installasjonstrinn
130
131
Innbygging i en eksisterende taklukeåpning
Legge forsyningsledningen , side
Forhåndsmontering av takklimaanlegget
Feste av anlegget , side
Montering av takklimaanlegget
132
Meny Parameter Betegnelse Fabrikkinn
Konfigurering av anleggsprogrammet
Montering av luftutslippsenheten
133
Menynivå 1 Standard settpunkt for tilførselstemperatur
Starte og slutte konfigurasjonsmodus
134
Menynivå 3 Standard driftsmåte
Menynivå 2 Omkobling fra AC- til AC/DC-drift
135
Menynivå 5 Fabrikkinnstilling
Menynivå 4 Romfaktor
136
Mulig feil
Deponering
Feilretting
137
Tester/sertifikater
138
Noudata myös seuraavia turvallisuusohjeita
Sisällysluettelo
Neuvoja käyttöohjeen käyttämiseen
139
Sähkölaitteet eivät ole lasten leluja
Turvallisuusohjeet
Laitteen käsittely
140
141
Kohderyhmä
Toimituskokonaisuus
Sähköjohtimien käsitteleminen
Lisävarusteet
Tarkoituksenmukainen käyttö
Merkkikilvet
Asennus
143
144
Asennusvaiheet
Uuden aukon tekeminen
Asennus olemassa olevaan kattoluukkuaukkoon
Kattoluukun poistaminen
3 Syöttöjohtimen vetäminen kuva 7, sivulla
Kattoilmastointilaitteen esiasennus
145
146
Kattoilmastointilaitteen asennus
Laitteiston kiinnitys kuva 0, sivulla
Ilmanpoistoyksikön asennus
Muuttuja Merkitys Taso
Laitteen ohjelmiston kokoonpano
Kokoonpanotilan käynnistys ja lopetus
147
Valikkotaso 2 Vaihto AC-käytöstä AC/DC-käyttöön
Valikkotaso 1 Lämpötilan halutun arvon syöttö
148
Valikkotaso 4 Tilatekijä
Valikkotaso 3 Syöttö toimintatila
149
150
Valikkotaso 5 Tehdasasetukset
151
Hävittäminen
Häiriöiden poistaminen
Tekniset tiedot
Europe