7.1.5.Video Recording
This utility allows you record the video in AVI format files. There are two ways of video recording – Manual Recording and Schedule Recording.
Manual Recording
You can manually record the video stream into an assigned video file.
Click “Record”, then the viewer utility will start to record the video stream. You can assign the path in the setting dialog. If you want to stop recording, click “Stop”.
Note: Before manual recording, you have to click the camera button to select the Internet Camera that you want to record first and make sure that the viewer is successfully connecting to the Internet Camera.
Schedule Recording
You can assign a schedule and let this viewer automatically recording the video stream into video files. Please refer to Section 7.8 to see how to setup schedule for the recording. The file name of the recorded video file is the start time of recording. For example, the file name
7.1.6.Change Resolution
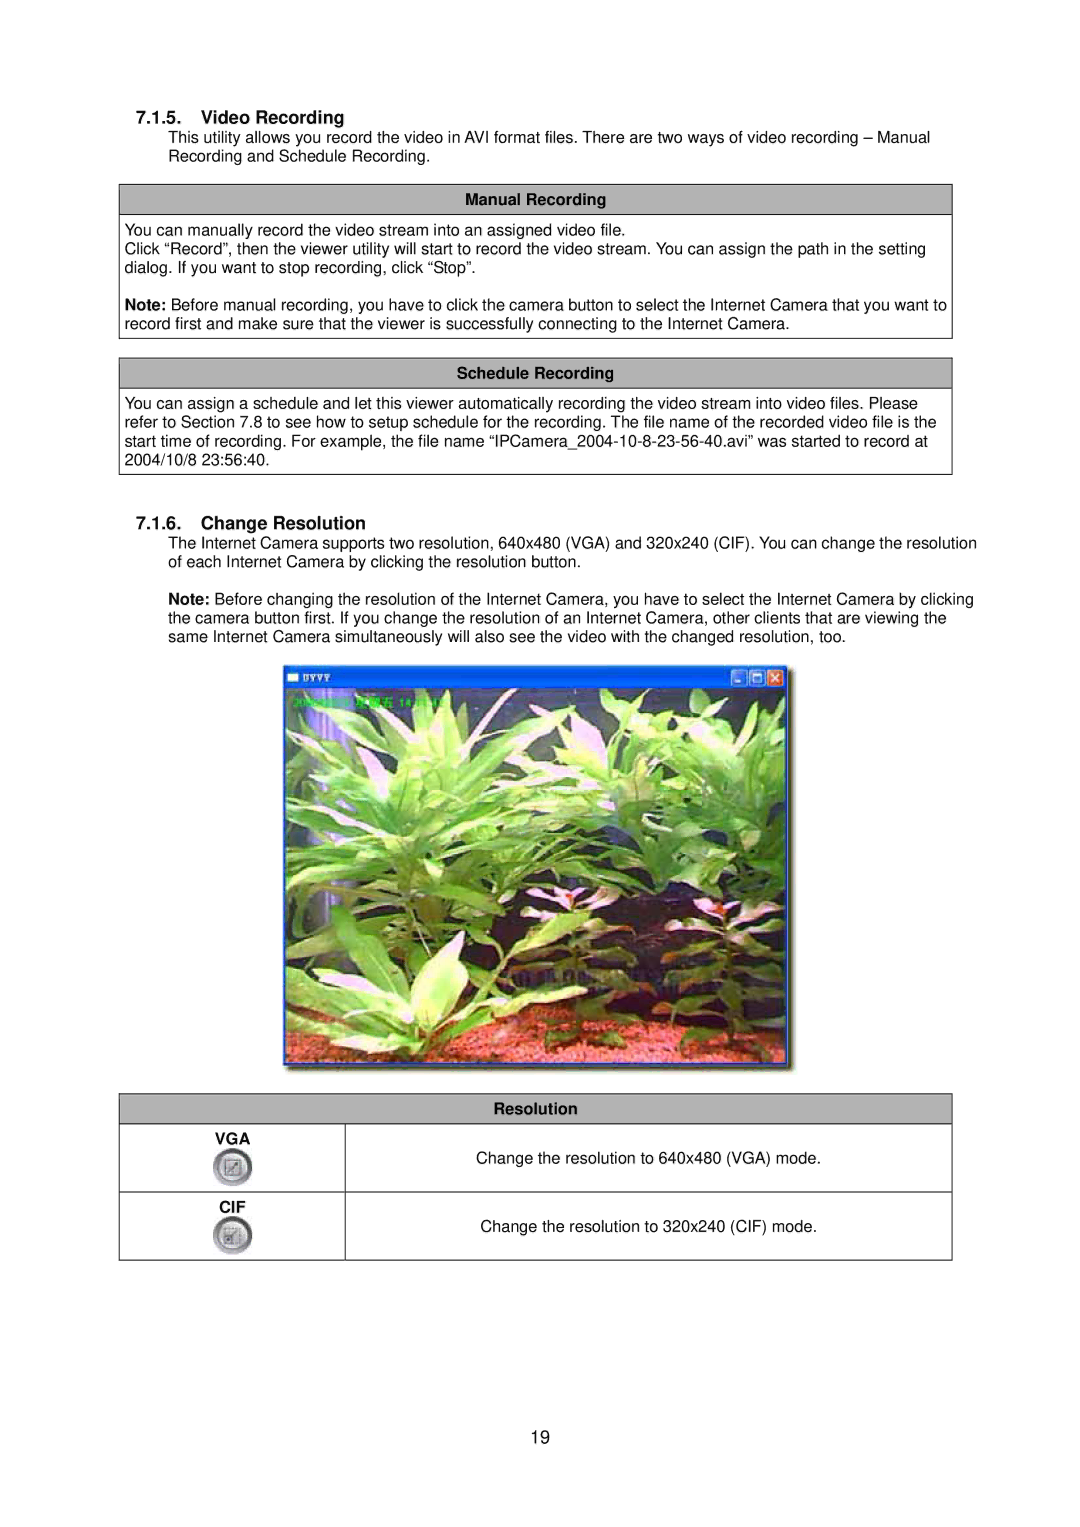
The Internet Camera supports two resolution, 640x480 (VGA) and 320x240 (CIF). You can change the resolution of each Internet Camera by clicking the resolution button.
Note: Before changing the resolution of the Internet Camera, you have to select the Internet Camera by clicking the camera button first. If you change the resolution of an Internet Camera, other clients that are viewing the same Internet Camera simultaneously will also see the video with the changed resolution, too.
Resolution
VGA
Change the resolution to 640x480 (VGA) mode.
CIF
Change the resolution to 320x240 (CIF) mode.
19