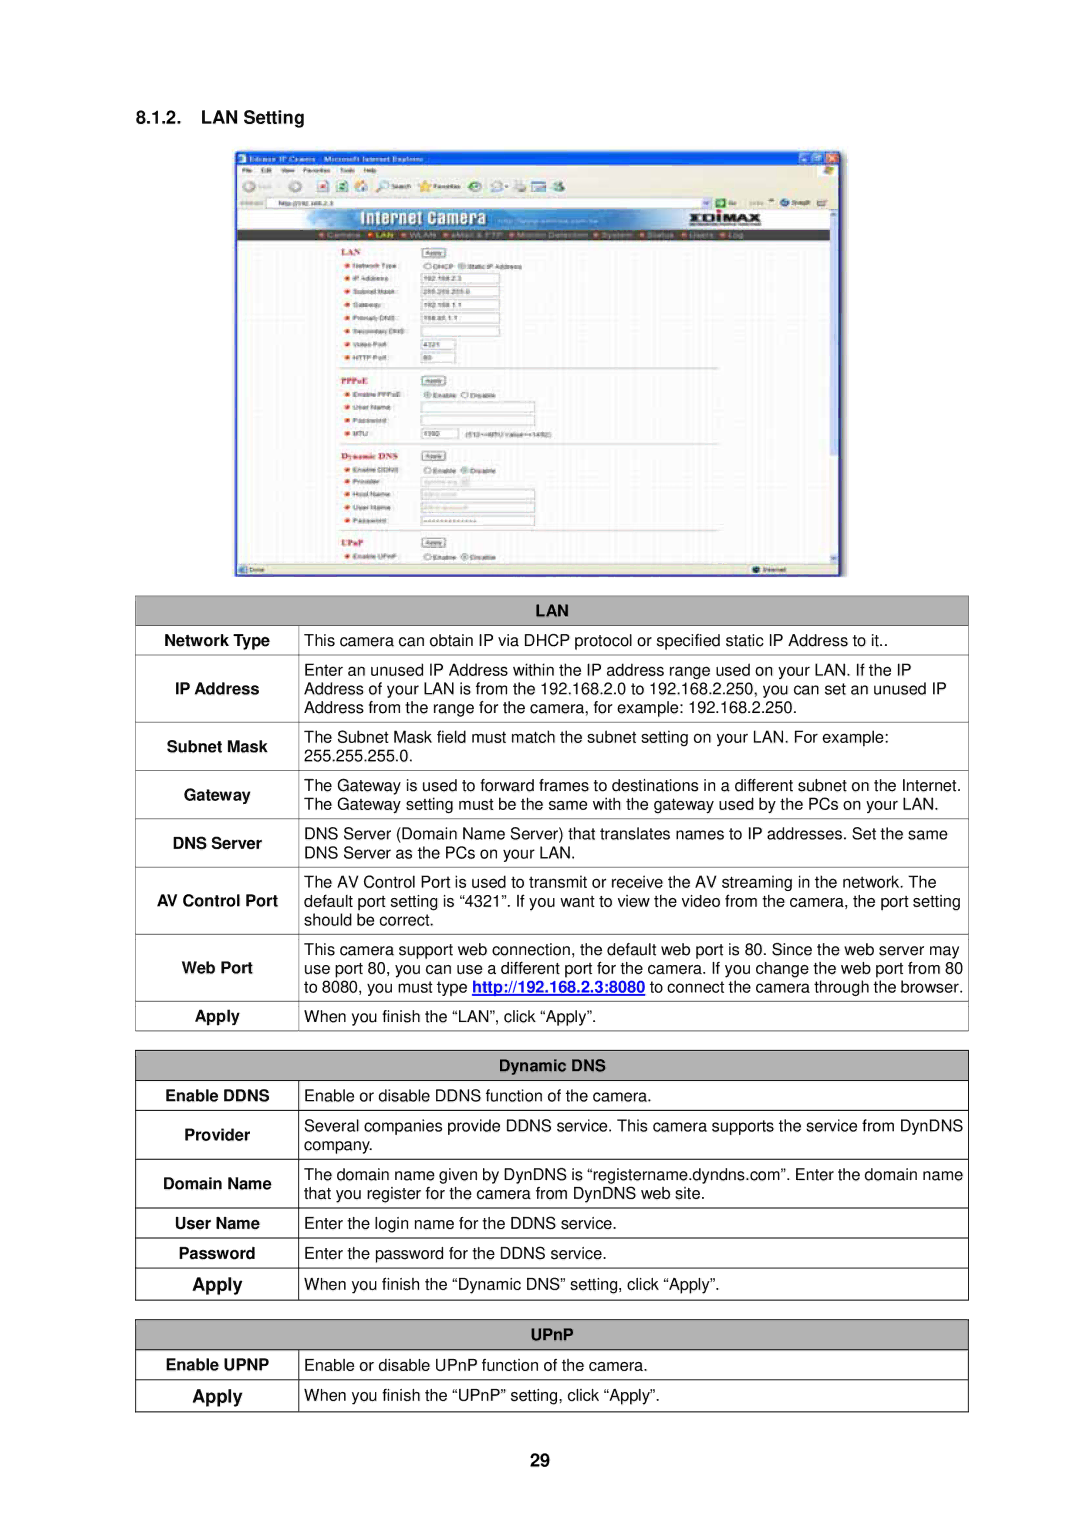
8.1.2.LAN Setting
|
| LAN |
| Network Type | This camera can obtain IP via DHCP protocol or specified static IP Address to it.. |
|
|
|
| IP Address | Enter an unused IP Address within the IP address range used on your LAN. If the IP |
| Address of your LAN is from the 192.168.2.0 to 192.168.2.250, you can set an unused IP | |
|
| Address from the range for the camera, for example: 192.168.2.250. |
| Subnet Mask | The Subnet Mask field must match the subnet setting on your LAN. For example: |
| 255.255.255.0. | |
|
| |
|
|
|
| Gateway | The Gateway is used to forward frames to destinations in a different subnet on the Internet. |
| The Gateway setting must be the same with the gateway used by the PCs on your LAN. | |
|
| |
| DNS Server | DNS Server (Domain Name Server) that translates names to IP addresses. Set the same |
| DNS Server as the PCs on your LAN. | |
|
| |
|
|
|
| AV Control Port | The AV Control Port is used to transmit or receive the AV streaming in the network. The |
| default port setting is “4321”. If you want to view the video from the camera, the port setting | |
|
| should be correct. |
| Web Port | This camera support web connection, the default web port is 80. Since the web server may |
| use port 80, you can use a different port for the camera. If you change the web port from 80 | |
|
| to 8080, you must type http://192.168.2.3:8080 to connect the camera through the browser. |
| Apply | When you finish the “LAN”, click “Apply”. |
|
|
|
|
|
|
|
| Dynamic DNS |
| Enable DDNS | Enable or disable DDNS function of the camera. |
|
|
|
| Provider | Several companies provide DDNS service. This camera supports the service from DynDNS |
| company. | |
|
| |
| Domain Name | The domain name given by DynDNS is “registername.dyndns.com”. Enter the domain name |
| that you register for the camera from DynDNS web site. | |
|
| |
| User Name | Enter the login name for the DDNS service. |
|
|
|
| Password | Enter the password for the DDNS service. |
|
|
|
| Apply | When you finish the “Dynamic DNS” setting, click “Apply”. |
|
|
|
|
|
|
|
| UPnP |
| Enable UPNP | Enable or disable UPnP function of the camera. |
|
|
|
| Apply | When you finish the “UPnP” setting, click “Apply”. |
|
|
|
|
| 29 |