7.Click “Finish” to complete the software installation.
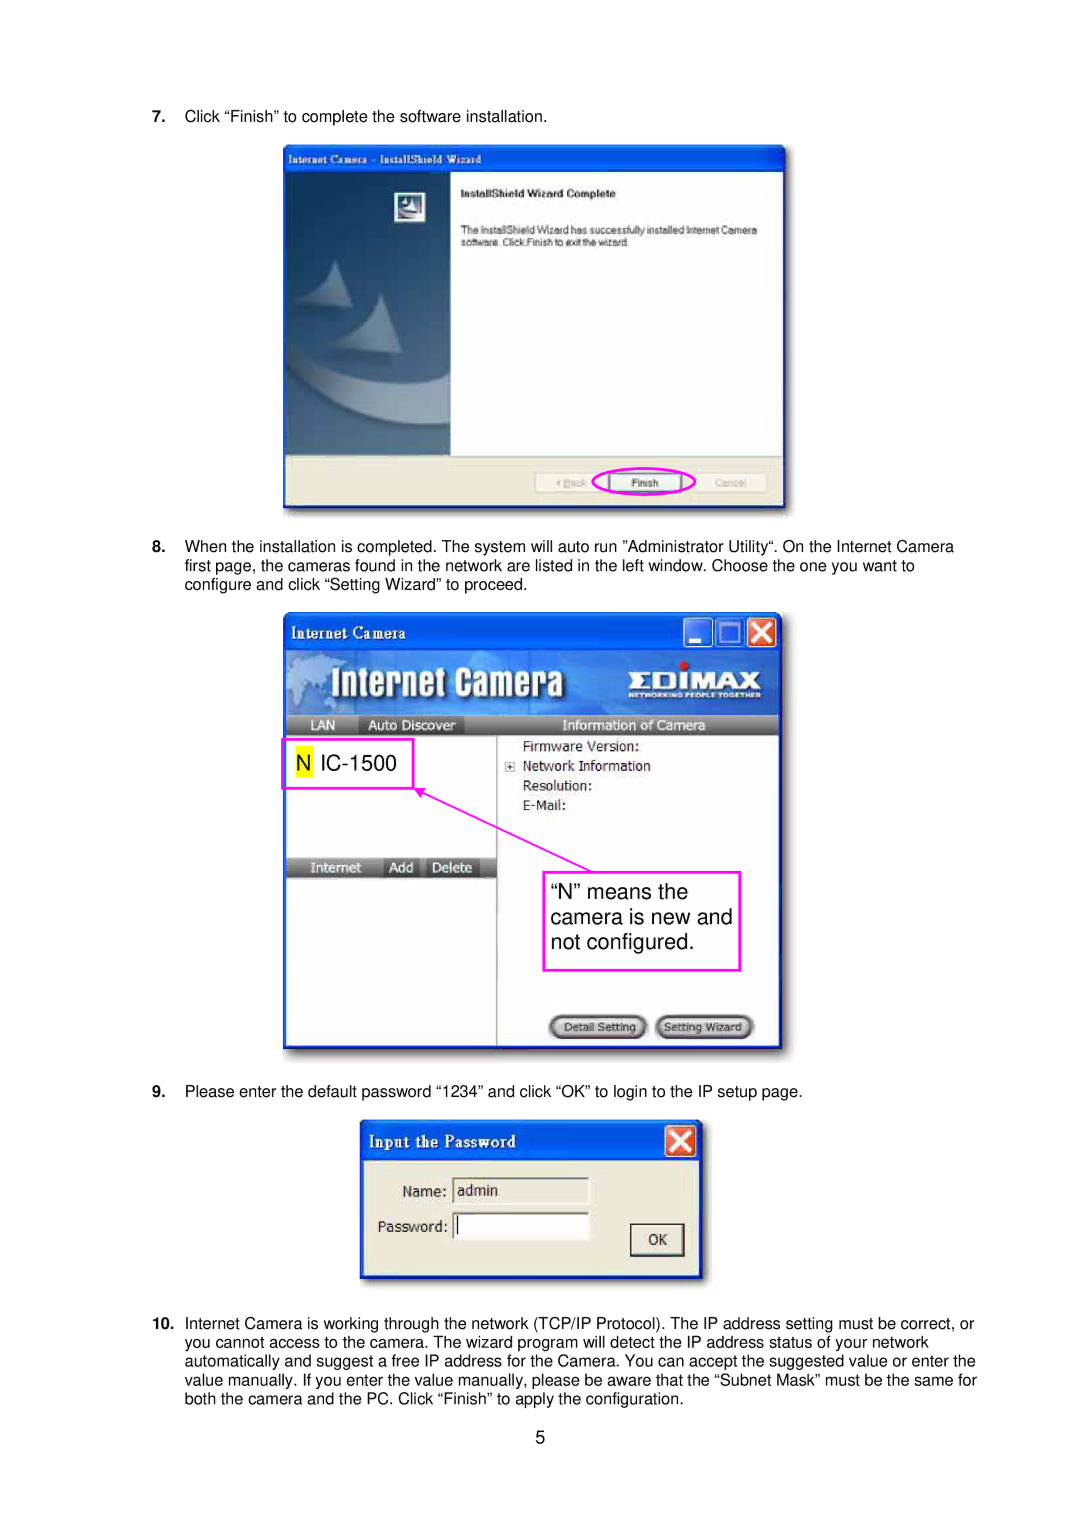
8.When the installation is completed. The system will auto run ”Administrator Utility“. On the Internet Camera first page, the cameras found in the network are listed in the left window. Choose the one you want to configure and click “Setting Wizard” to proceed.
NIC-1500
“N” means the camera is new and not configured.
9.Please enter the default password “1234” and click “OK” to login to the IP setup page.
10.Internet Camera is working through the network (TCP/IP Protocol). The IP address setting must be correct, or you cannot access to the camera. The wizard program will detect the IP address status of your network automatically and suggest a free IP address for the Camera. You can accept the suggested value or enter the value manually. If you enter the value manually, please be aware that the “Subnet Mask” must be the same for both the camera and the PC. Click “Finish” to apply the configuration.
5