4 INSTALLATION
Installation of the Unit
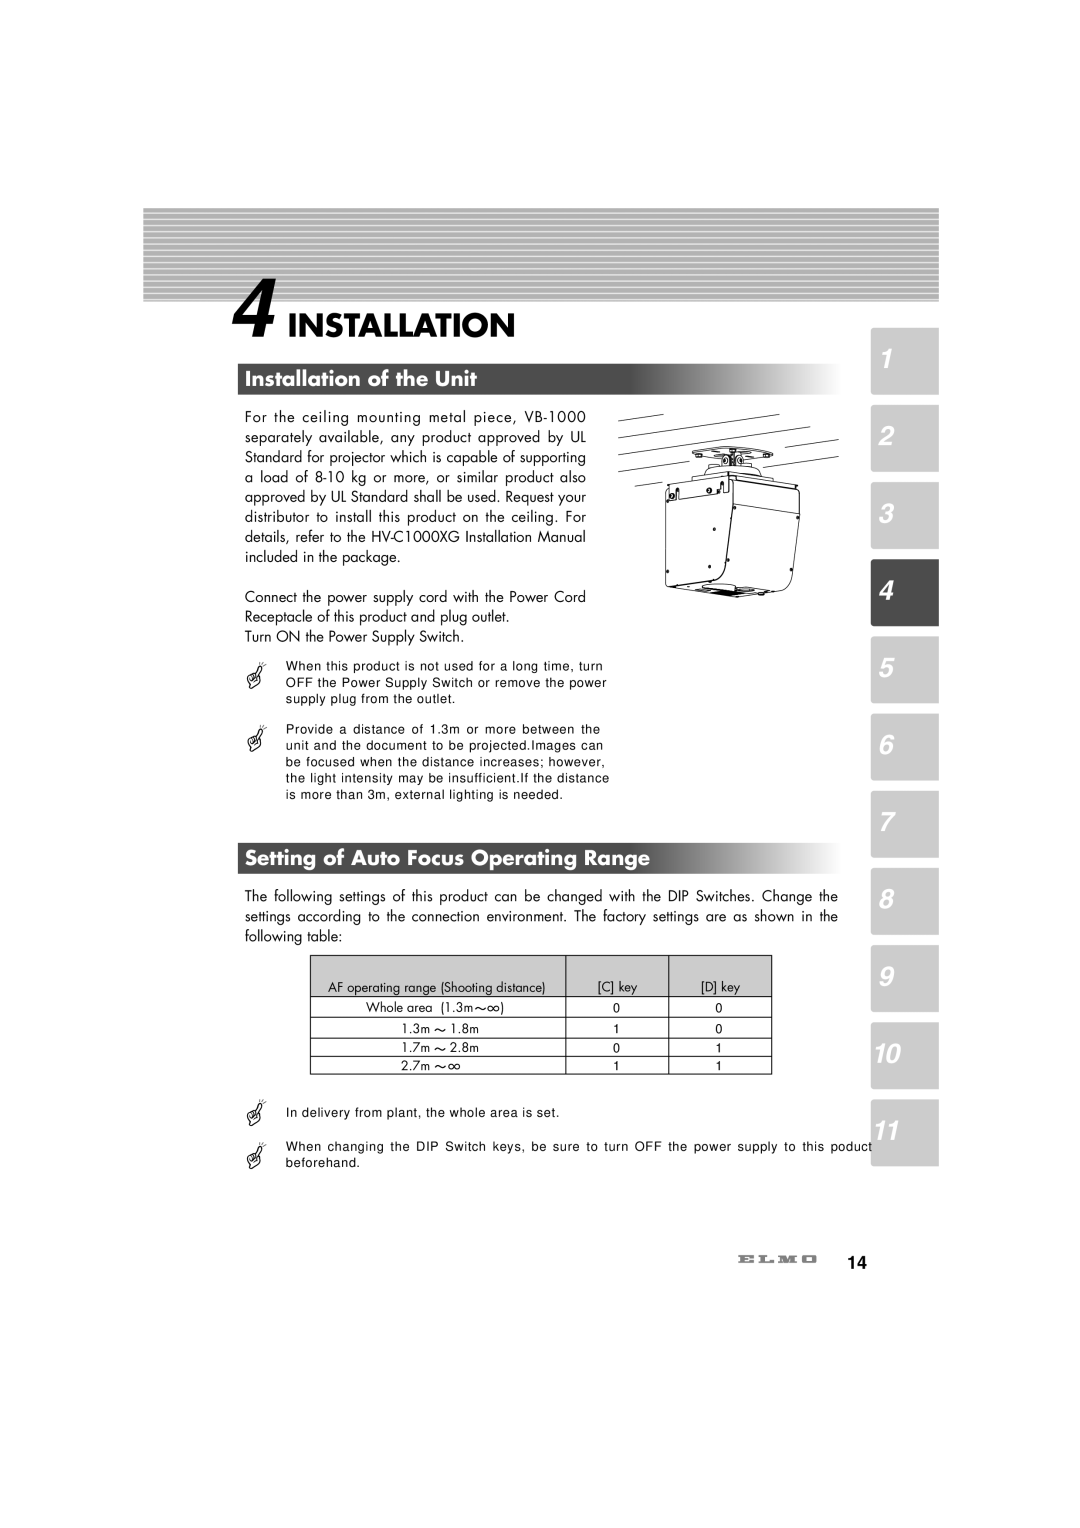
For the ceiling mounting metal piece,
Connect the power supply cord with the Power Cord
Receptacle of this product and plug outlet.
Turn ON the Power Supply Switch.
When this product is not used for a long time, turn OFF the Power Supply Switch or remove the power supply plug from the outlet.
Provide a distance of 1.3m or more between the unit and the document to be projected.Images can be focused when the distance increases; however, the light intensity may be insufficient.If the distance is more than 3m, external lighting is needed.
Setting of Auto Focus Operating Range
The following settings of this product can be changed with the DIP Switches. Change the settings according to the connection environment. The factory settings are as shown in the following table:
AF operating range (Shooting distance) | [C] key | [D] key | ||
Whole area | (1.3m | ) | 0 | 0 |
1.3m | 1.8m |
| 1 | 0 |
1.7m | 2.8m |
| 0 | 1 |
2.7m |
|
| 1 | 1 |
In delivery from plant, the whole area is set.
When changing the DIP Switch keys, be sure to turn OFF the power supply to this poduct beforehand.
1
2
3
4
5
6
7
8
9
10
11
14