Initial Installation
QUALIFIED INSTALLERS ONLY
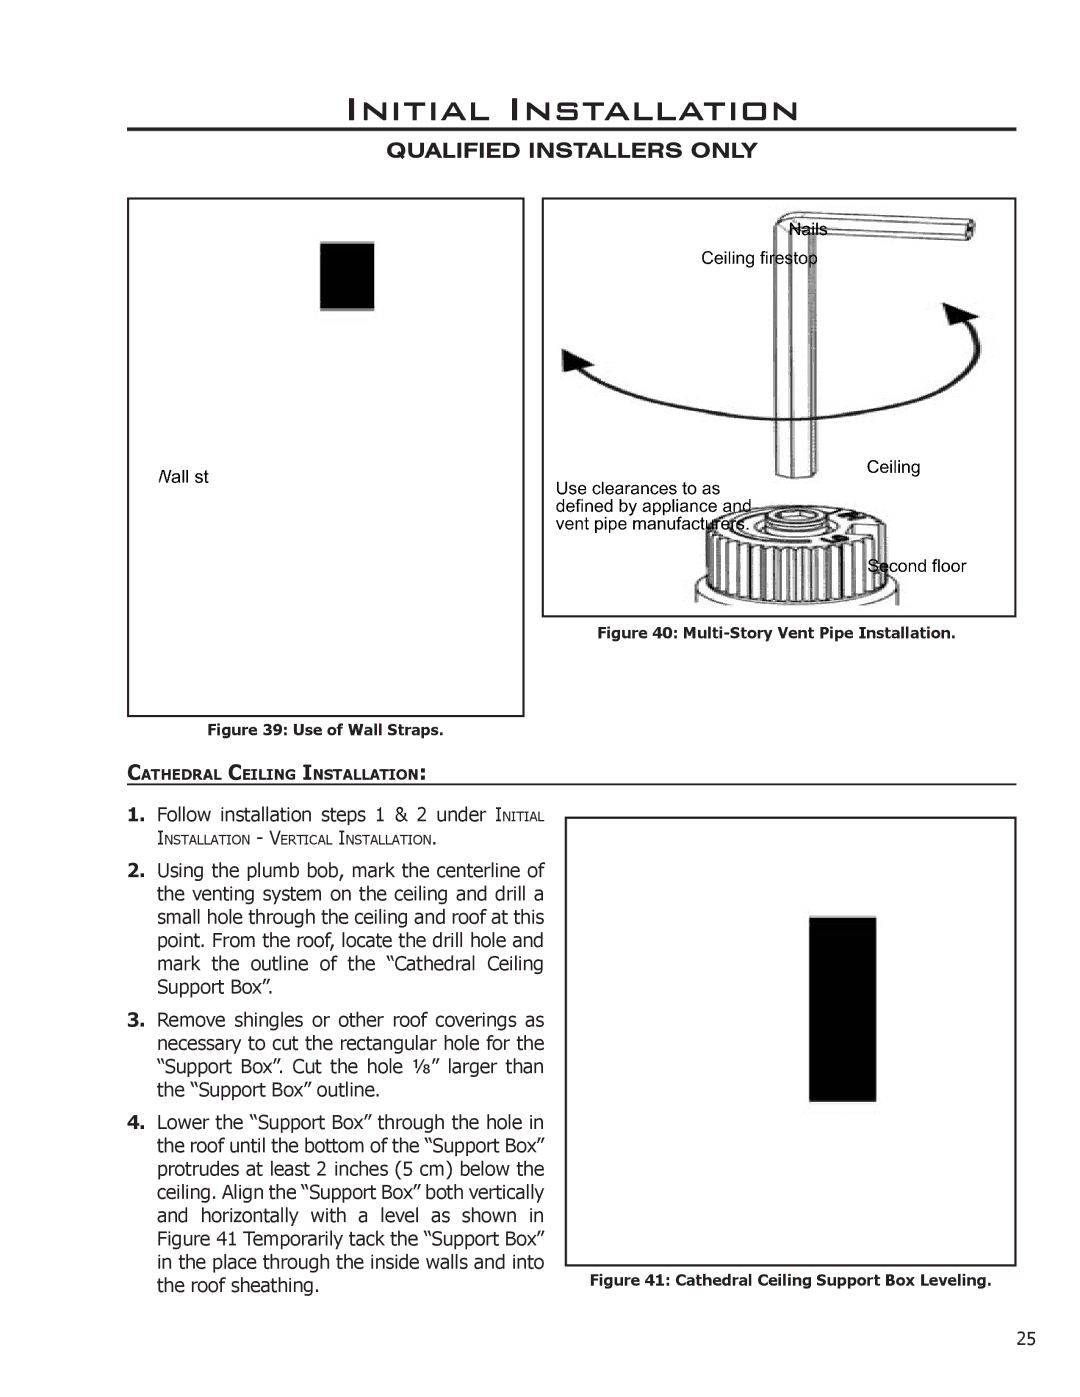
Figure 40: Multi-Story Vent Pipe Installation.
Figure 39: Use of Wall Straps.
CATHEDRAL CEILING INSTALLATION: |
|
1. Follow installation steps 1 & 2 under INITIAL |
|
INSTALLATION - VERTICAL INSTALLATION. |
|
2. Using the plumb bob, mark the centerline of |
|
the venting system on the ceiling and drill a |
|
small hole through the ceiling and roof at this |
|
point. From the roof, locate the drill hole and |
|
mark the outline of the “Cathedral Ceiling |
|
Support Box”. |
|
3. Remove shingles or other roof coverings as |
|
necessary to cut the rectangular hole for the |
|
“Support Box”. Cut the hole 1⁄8” larger than |
|
the “Support Box” outline. |
|
4. Lower the “Support Box” through the hole in |
|
the roof until the bottom of the “Support Box” |
|
protrudes at least 2 inches (5 cm) below the |
|
ceiling. Align the “Support Box” both vertically |
|
and horizontally with a level as shown in |
|
Figure 41 Temporarily tack the “Support Box” |
|
in the place through the inside walls and into | Figure 41: Cathedral Ceiling Support Box Leveling. |
the roof sheathing. |
25
