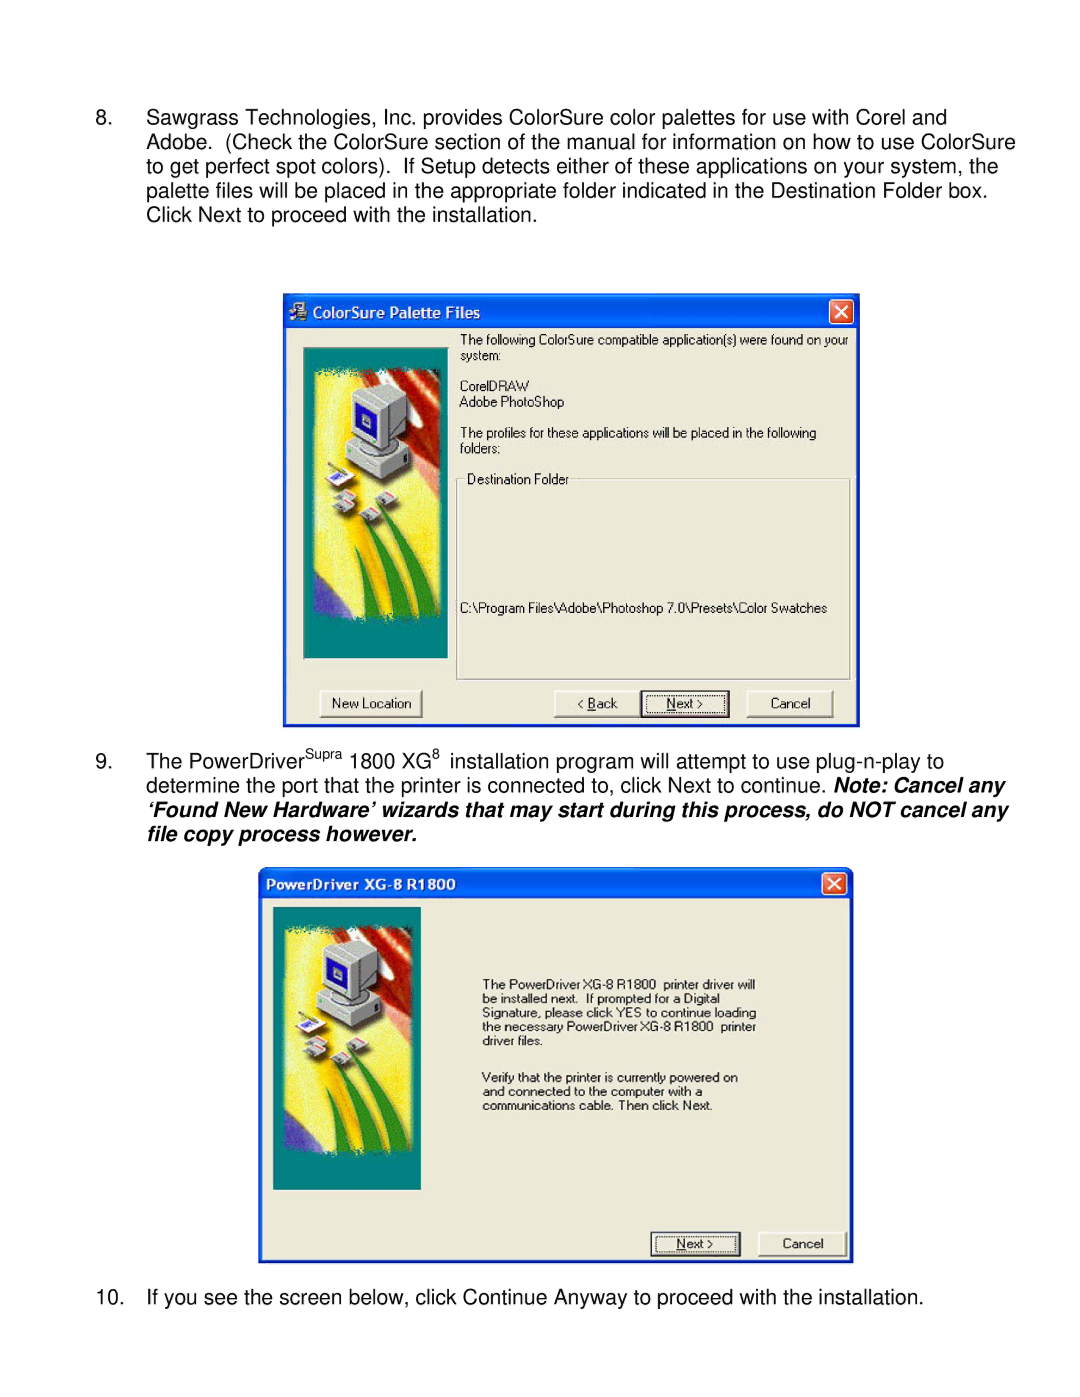
SubliJet IQ
For EPSON Stylus Photo R1800 EPSON Stylus Photo R800
Getting Started Guide
Getting Started Guide for the EPSON Stylus Photo R800 & R1800
SubliJet IQ
IMPORTANT - READ CAREFULLY
1800 XG8 and PowerDriverSupraXG8
PowerDriver IQ, PowerDriver XG, PowerDriver Lite, PowerDriverSupra
END-USER LICENSE AGREEMENT FOR SAWGRASS SOFTWARE
MISCELLANEOUS
Sawgrass Technologies, Inc. Limited Warranty QuickConnect IITM System
What Is Covered
Length of Warranty Coverage
How to get service
Table of Contents
Introduction
About this Document
Quick Connect II Set-up for the R800 & R1800
printer is installed before you attempt to install
instructions on installation
Before you Begin
Printer Set-up for the R1800
Remember to match the right color ink to its
Page
from left to right Yellow, Magenta, Cyan, Light Cyan
Black, Red, Blue, Light Magenta
Page
You may want to remove the printer lid or leave it open at all times
Printer Set-up for the R800
Black, Red, Blue, Light Magenta
from left to right Yellow, Magenta, Cyan, Light Cyan
slide the cartridges through the hole in the cartridge cover. Start with the yellow cartridge on the left and attach the cartridges in this order
Congratulations! You’ve successfully installed an R800
Tips for Using the QuickConnect II System
Ink indicator shows as low, even though ink bags are full
How to remove the QuickConnect II system from the printer
Check the support tube connections periodically
CAUTION! Do not shake ink cartridge prior to or after installation
Ink Cartridge Set-up for the R800 & R1800
from left to right Yellow, Magenta, Cyan, Light Cyan
Black, Red, Blue, Light Magenta
Selecting Paper
Heat Transfer Instructions
time and temperature
Contact your reseller for correct
NOT FOR RESALE
For the Epson R800 & R1800 For distribution with SubliJet IQ only
User Guide
Using PowerDriverSupra 1800 XG8
Introduction
Setup Instructions
PowerDriverSupra 1800 XG8 System Requirements
Minimum Hardware
Recommended Hardware
PowerDriverSupra 1800 XG8 Step by Step Installation
Page
Page
Page
Page
Using PowerDriverSupra 1800 XG8 in Windows 2000 / XP
Setting PowerDriverSupra 1800 XG8 printer properties
Quick Start Example Corel Draw
From the Windows Desktop
PowerDriverSupra 1800 XG8 Properties Overview
Group 1 - Configuration
Group 2 - Color Settings Easy Color Mode
Photo - Realistic
Clip Art and Text
Art Logo
Group 2 - Color Settings Advanced Mode
Overview
Vector and Bitmap Explanation
ColorSure Options
Group 3 - Printer Options
Output Options
Appendix A Network Printing in Windows 2000, XP
Appendices
Host Machine Server
CorelDraw version
Appendix B Over-riding Graphic Software Color Management
CorelDraw version 10, 11 and
Color Setup
Adobe Photoshop
To Print RGB Graphics
Color Setup
Adobe Photoshop 7 and CS
To Print CMYK Graphics
To Print
a. Check Show More Options b. Choose Color Management
c. Choose Document as Source Space
d. Choose Same as Source for Print Space
Select Edit and then Color Settings from the top drop down menu bar
Adobe Photoshop Elements 3.0/4.0/5.0
Select No Color Management. Click Ok
II. Printing the ColorSure Palette
I. Introduction
To print the ColorSure palette, follow the steps below
IV. Using Color Finder
How to use Color Finder
III. Designing Your Artwork
HINT
Custom Palette Utility
Color Finder Palette with two Step Colors
Color Finder Palette with three Step Colors
V. The Custom Palette
How to use Custom Palette
VI. Adding Swatches to your Application Palette
Appendix D Custom Paper Sizes
Adding Custom Paper Sizes
Deleting and Modifying Custom Paper Sizes
Printer
Tips for Successful Sublimation
POLYESTER FABRIC
METAL
CERAMIC TILES & MUGS
MOISTURE & HUMIDITY PROBLEMS
To avoid these problems
Operating Conditions
Supplies & Equipment
Storage
Troubleshooting
The colors in my transferred image are incorrect
My printout is really light on paper
My printout gets cut off on the bottom or side
My image looks blurred
Colors are light and splotchy
My image has gaps or bands present
Project Sublimation
Technical Support
Isn’t it time you took your business to the next level?