DVD VCD CD
Playback (2)
On-screen menu
An
The way in which the menu works may differ from disc to disc.
DVD menus
Use the cursor buttons to select the menu item from a DVD, and confirm the selection using the ENTER button.
Returning to the menu screen
Press either the MENU button or (to return to the top menu) the TOP MENU button.
MENU ![]()
![]()
![]() TOP MENU
TOP MENU
<Depending on the disc, pressing MENU or TOP MENU during playback may restart playback from the first chapter.
<This function is not available with a
Playback control (with PBC enabled) video CDs
With these discs, the number buttons can sometimes be used to select menu items.
Jump between pages of
<Pressing RETURN during playback returns to the menu of a PBC video CD.
<Note that the DISPLAY and REPEAT buttons do not work during PBC playback.
Playback without PBC
In the stop mode press the number buttons or SKIP buttons (.//) and PLAY button to playback video CDs without using the PBC facility.
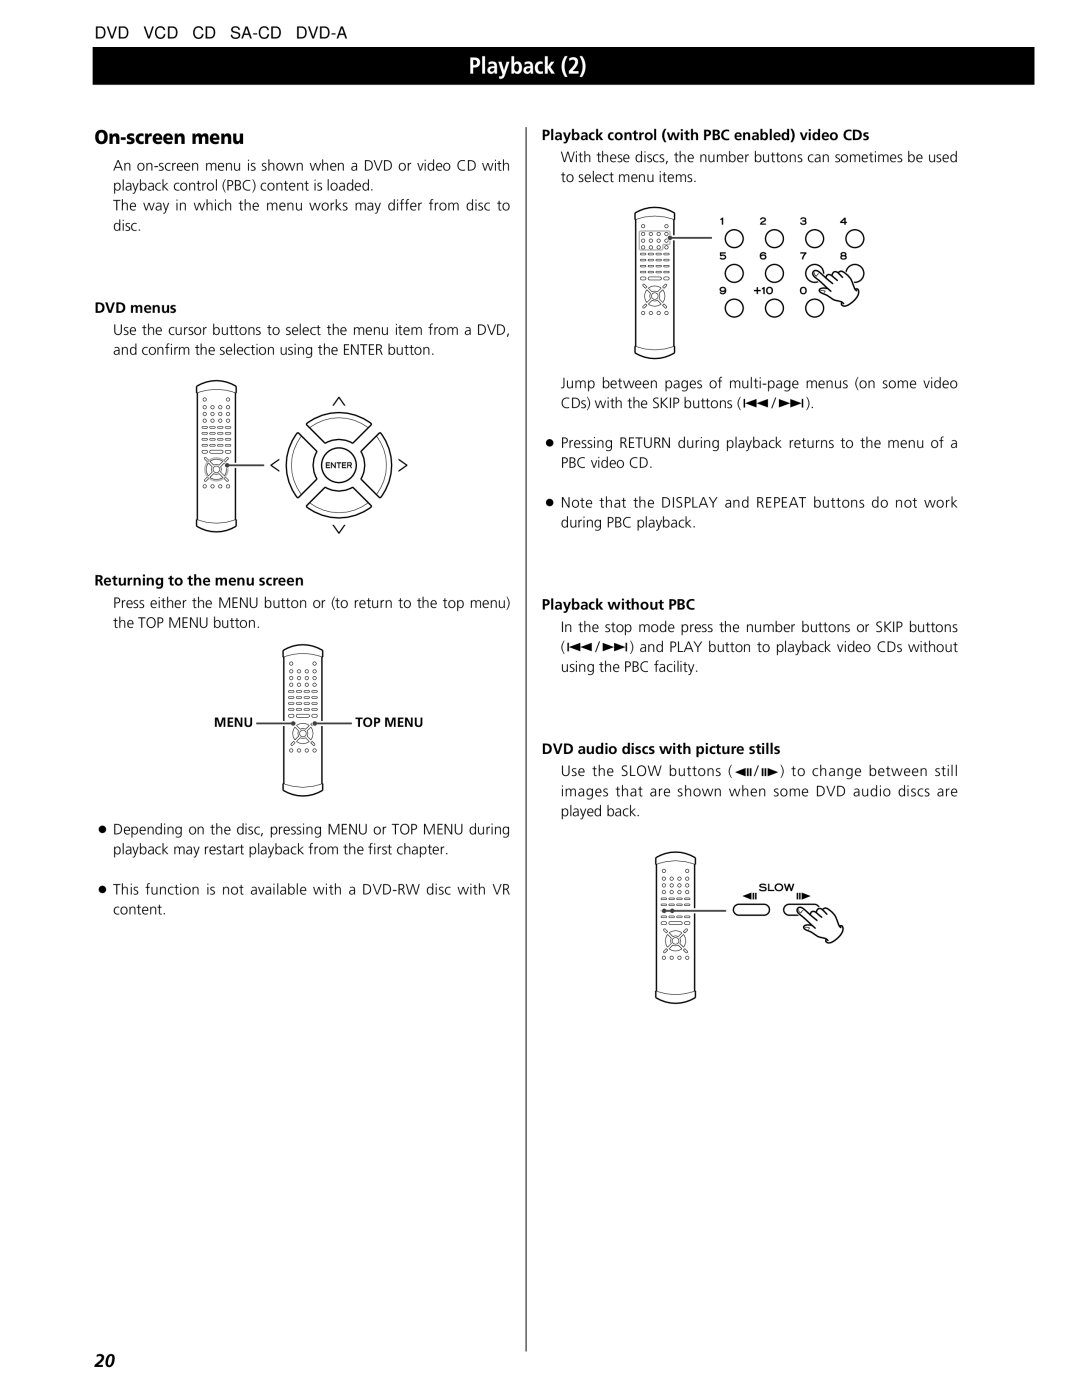
DVD audio discs with picture stills
Use the SLOW buttons ( ![]() /
/ ![]() ) to change between still images that are shown when some DVD audio discs are played back.
) to change between still images that are shown when some DVD audio discs are played back.
20