Hardware Installation
T-Bar Fasteners and Spacers
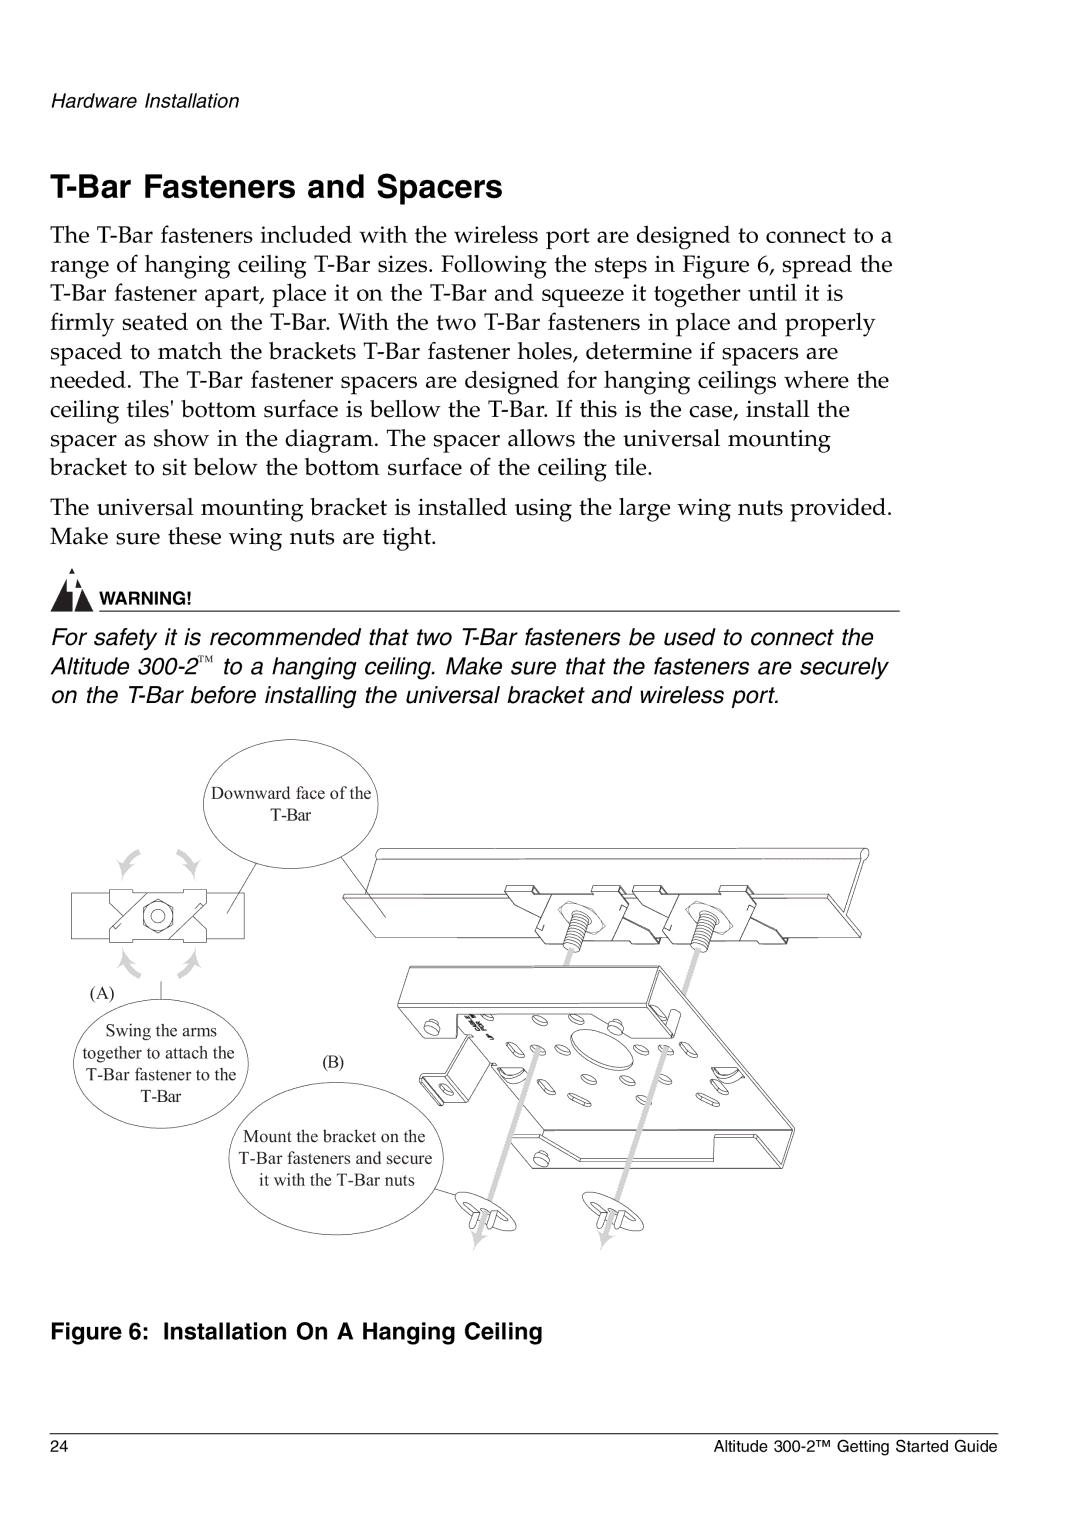
The T-Bar fasteners included with the wireless port are designed to connect to a range of hanging ceiling T-Bar sizes. Following the steps in Figure 6, spread the T-Bar fastener apart, place it on the T-Bar and squeeze it together until it is firmly seated on the T-Bar. With the two T-Bar fasteners in place and properly spaced to match the brackets T-Bar fastener holes, determine if spacers are needed. The T-Bar fastener spacers are designed for hanging ceilings where the ceiling tiles' bottom surface is bellow the T-Bar. If this is the case, install the spacer as show in the diagram. The spacer allows the universal mounting bracket to sit below the bottom surface of the ceiling tile.
The universal mounting bracket is installed using the large wing nuts provided. Make sure these wing nuts are tight.
WARNING!
For safety it is recommended that two T-Bar fasteners be used to connect the Altitude 300-2™to a hanging ceiling. Make sure that the fasteners are securely on the T-Bar before installing the universal bracket and wireless port.
Downward face of the
T-Bar
(A)
Swing the arms
together to attach the(B) T-Bar fastener to the
T-Bar
Mount the bracket on the T-Bar fasteners and secure it with the T-Bar nuts
Figure 6: Installation On A Hanging Ceiling
24 | Altitude 300-2™ Getting Started Guide |