Contents
DVI and Audio Switchers
User’s Manual
Precautions
Extron’s Warranty
安全须知 中文
FCC Class a Notice
Table of Contents
SW DVI a Series
Table of Contents, cont’d
Introduction
About this Manual
Features
Introduction
About the SW DVI a Series
Extron
Installation
Introduction, cont’d Application Diagram
Mounting the SW DVI a Series
Installation
Installation Overview
Tabletop use
Installation, cont’d
Back of the rack mounting
Furniture mounting
Preparing the SW2/SW4 for under-desk mounting
Installation, cont’d Rear Panel Features
SW2 DVI a rear panel
Audio Connectors
Installation, cont’d Wiring the Power Connector
DVI-I Video Connectors
Pin Signal
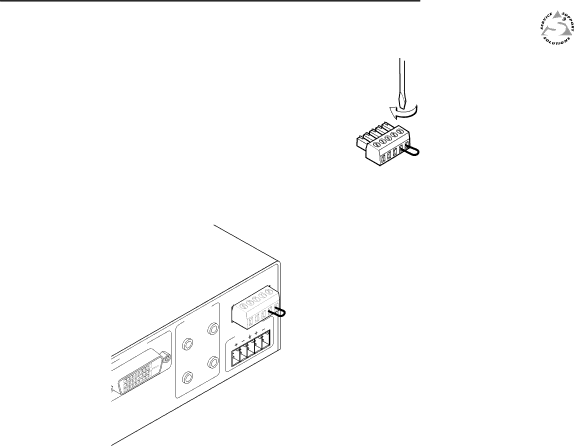
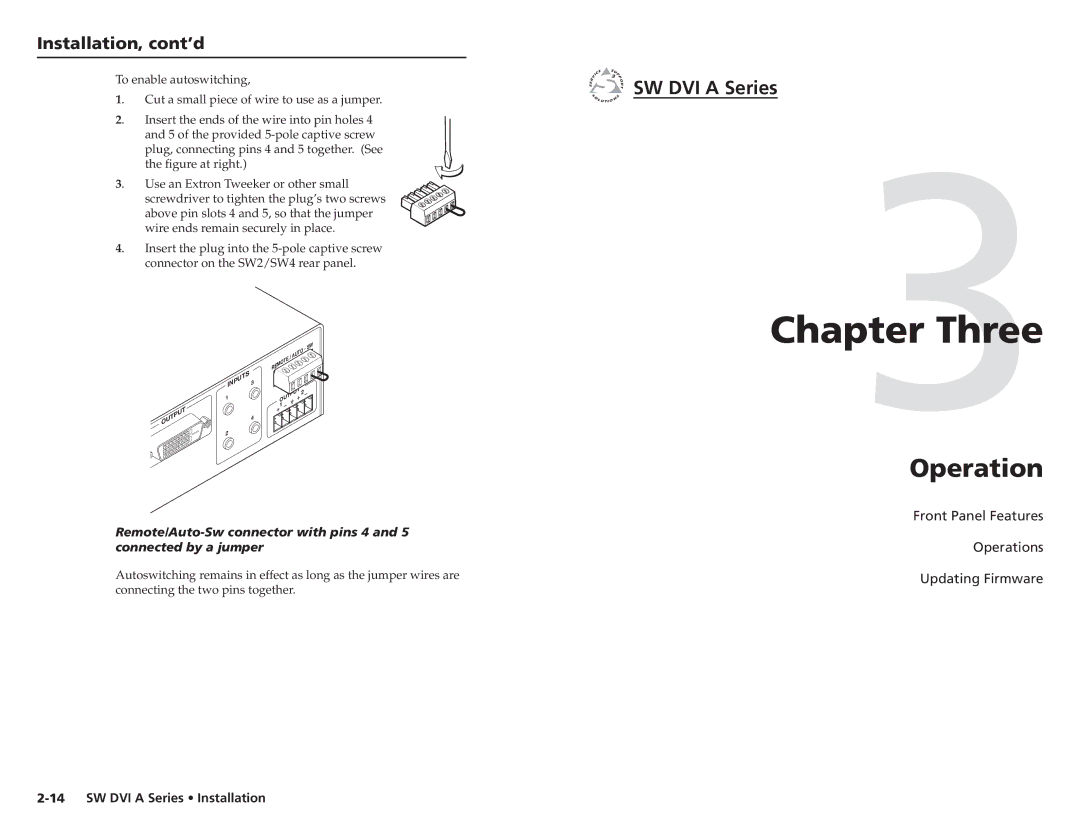
Enabling autoswitching
Wiring the Remote/Autoswitching Connector
Wiring for RS-232
Audio output
Three
Operation
Operation
Front Panel Features
Powering on the switcher
Operations
Enabling front panel lockout executive mode
Using the IR 102 remote control
Locking IR remote access
Remote control buttons
Updating Firmware
Setting equalization for input sources
Resetting
Downloading the firmware
Loading the firmware to the switcher
On the first screen that appears, select the RS-232 tab
SIS Configuration and Control
Four
Using the Command/Response Table
SIS Configuration and Control
Host-to-Switcher Communications
Command/response table for SIS commands
Input selection
Specifications, Part Numbers Accessories
SIS Configuration and Control, cont’d
Specifications, Part Numbers, Accessories
Specifications
Included Parts
Specifications, Part Numbers, Accessories, cont’d
Accessories
Cables Part numbers

