VR800 Quick Operation Guide
Notes on using two current drives
In addition to using an
However, note the following points when you use two current drives.
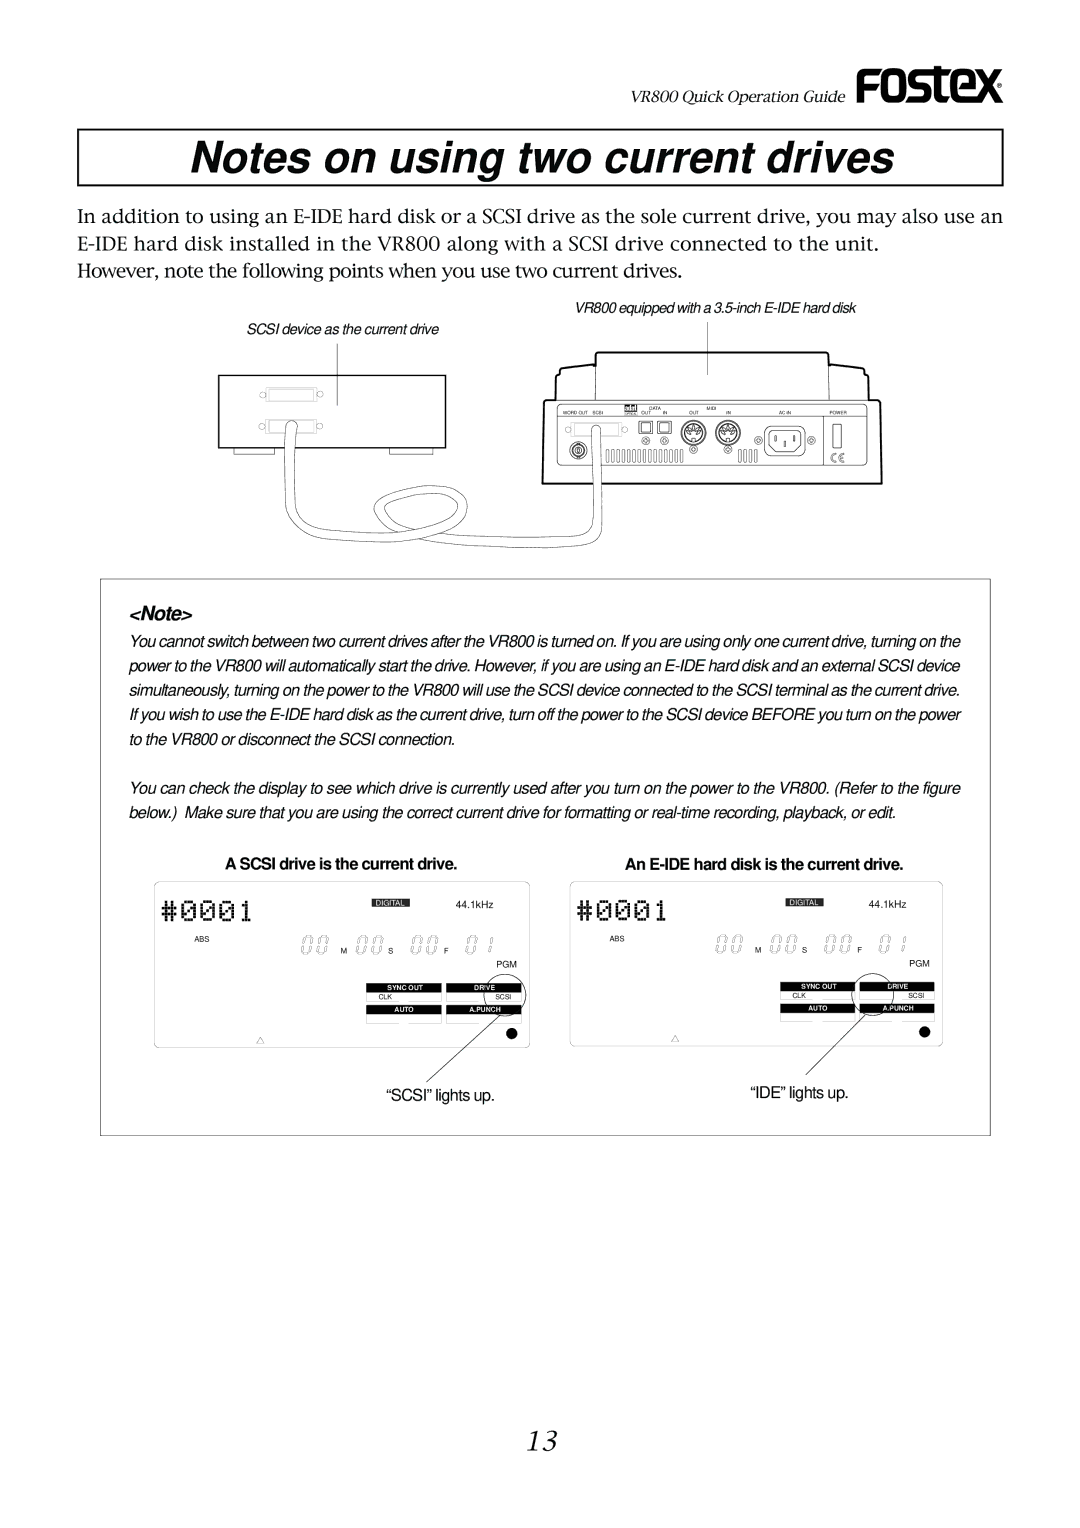
VR800 equipped with a
SCSI device as the current drive
|
|
|
|
|
|
|
|
|
|
|
|
| DATA |
|
|
|
| MIDI |
|
|
|
|
|
| |||
|
| WORD OUT SCSI | OPTICAL | OUT | IN |
|
| OUT | IN | AC IN | POWER |
| |||||||||||||||
|
|
|
|
|
|
|
|
|
|
|
|
|
|
|
|
|
|
|
|
|
|
|
|
|
|
|
|
|
|
|
|
|
|
|
|
|
|
|
|
|
|
|
|
|
|
|
|
|
|
|
|
|
|
|
|
|
|
|
|
|
|
|
|
|
|
|
|
|
|
|
|
|
|
|
|
|
|
|
|
|
|
|
|
|
|
|
|
|
|
|
|
|
|
|
|
|
|
|
|
|
|
|
|
|
|
|
|
|
|
|
|
|
|
|
|
|
|
|
|
|
|
|
|
|
|
|
|
|
|
|
|
|
|
|
|
|
|
|
|
|
|
|
|
|
|
|
|
|
|
|
|
|
|
|
|
|
|
|
|
|
|
|
|
|
|
|
|
<Note>
You cannot switch between two current drives after the VR800 is turned on. If you are using only one current drive, turning on the power to the VR800 will automatically start the drive. However, if you are using an
You can check the display to see which drive is currently used after you turn on the power to the VR800. (Refer to the figure below.) Make sure that you are using the correct current drive for formatting or
A SCSI drive is the current drive.
DIGITAL44.1kHz
ABS
MSF
|
| PGM |
|
| |
SYNC OUT |
| DRIVE |
CLK | SCSI | |
|
|
|
AUTO |
| A.PUNCH |
An E-IDE hard disk is the current drive.
DIGITAL44.1kHz
ABS
MSF
| PGM |
SYNC OUT | DRIVE |
CLK | SCSI |
AUTO | A.PUNCH |
“SCSI” lights up. | “IDE” lights up. |
13