5.Press the [MENU/ESC] key to close the menu.
The auto mode in use is shown as ![]()
![]()
Range offset
To display the bottom tail in detail in the automatic mode, offset the range as below.
1.Press the [+] or
AUTO RANGE OFFSET
+0 ft
Auto range offset window
2.Press the [+] or
3.Press the [MENU/ESC] key to finish.
Gain offset
Gain offset lets your override automatic gain adjustment.
1. Press the [GAIN] key.
AUTO GAIN OFFSET | ||
Min | ±0 | Max |
Auto gain offset window
2.Press ◄ or ► key to offset gain (setting range
G (Gain) + (or
3.Press the [MENU/ESC] key to finish.
1.7 Manual Operation
Choosing the manual mode
1.Press the [MENU/ESC] key to open the menu.
2.Press ▲ or ▼ to choose AUTO MODE from page 1 of the menu.
3.Press ► to show the options window.
4.Choose Off with ▲.
5.Press the [MENU/ESC] key to close the menu. “MANUAL” appears in reverse video at the top left corner on the screen.
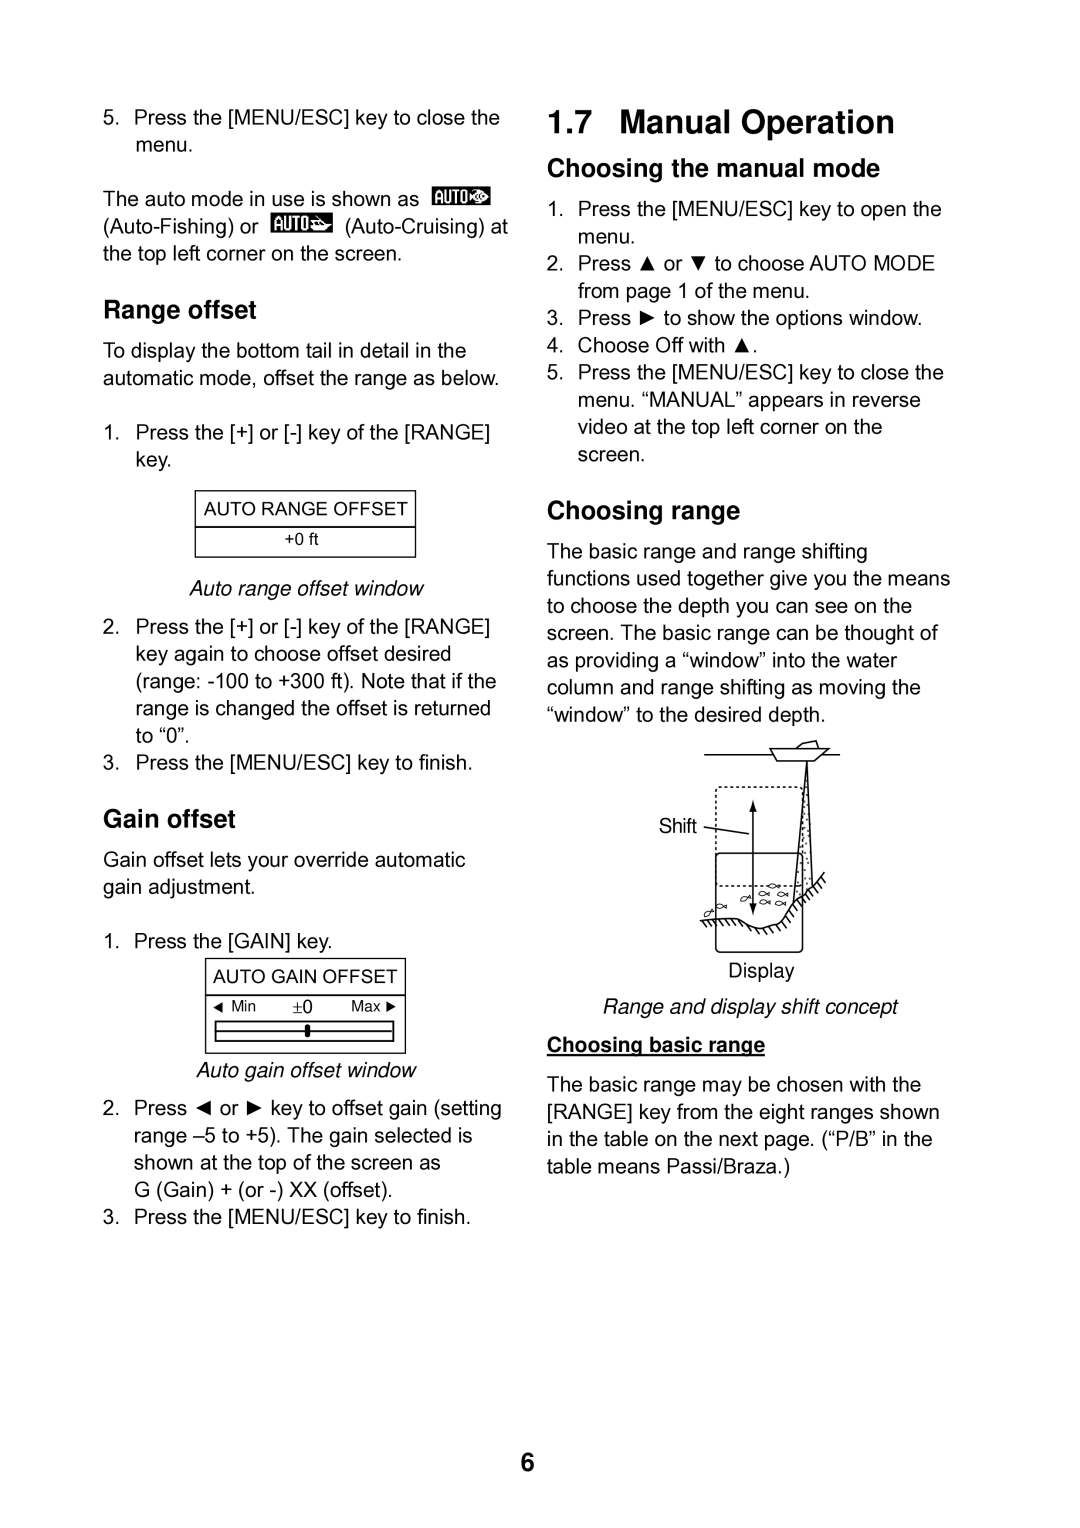
Choosing range
The basic range and range shifting functions used together give you the means to choose the depth you can see on the screen. The basic range can be thought of as providing a “window” into the water column and range shifting as moving the “window” to the desired depth.
Shift ![]()
Display
Range and display shift concept
Choosing basic range
The basic range may be chosen with the [RANGE] key from the eight ranges shown in the table on the next page. (“P/B” in the table means Passi/Braza.)
6