Installation Instructions
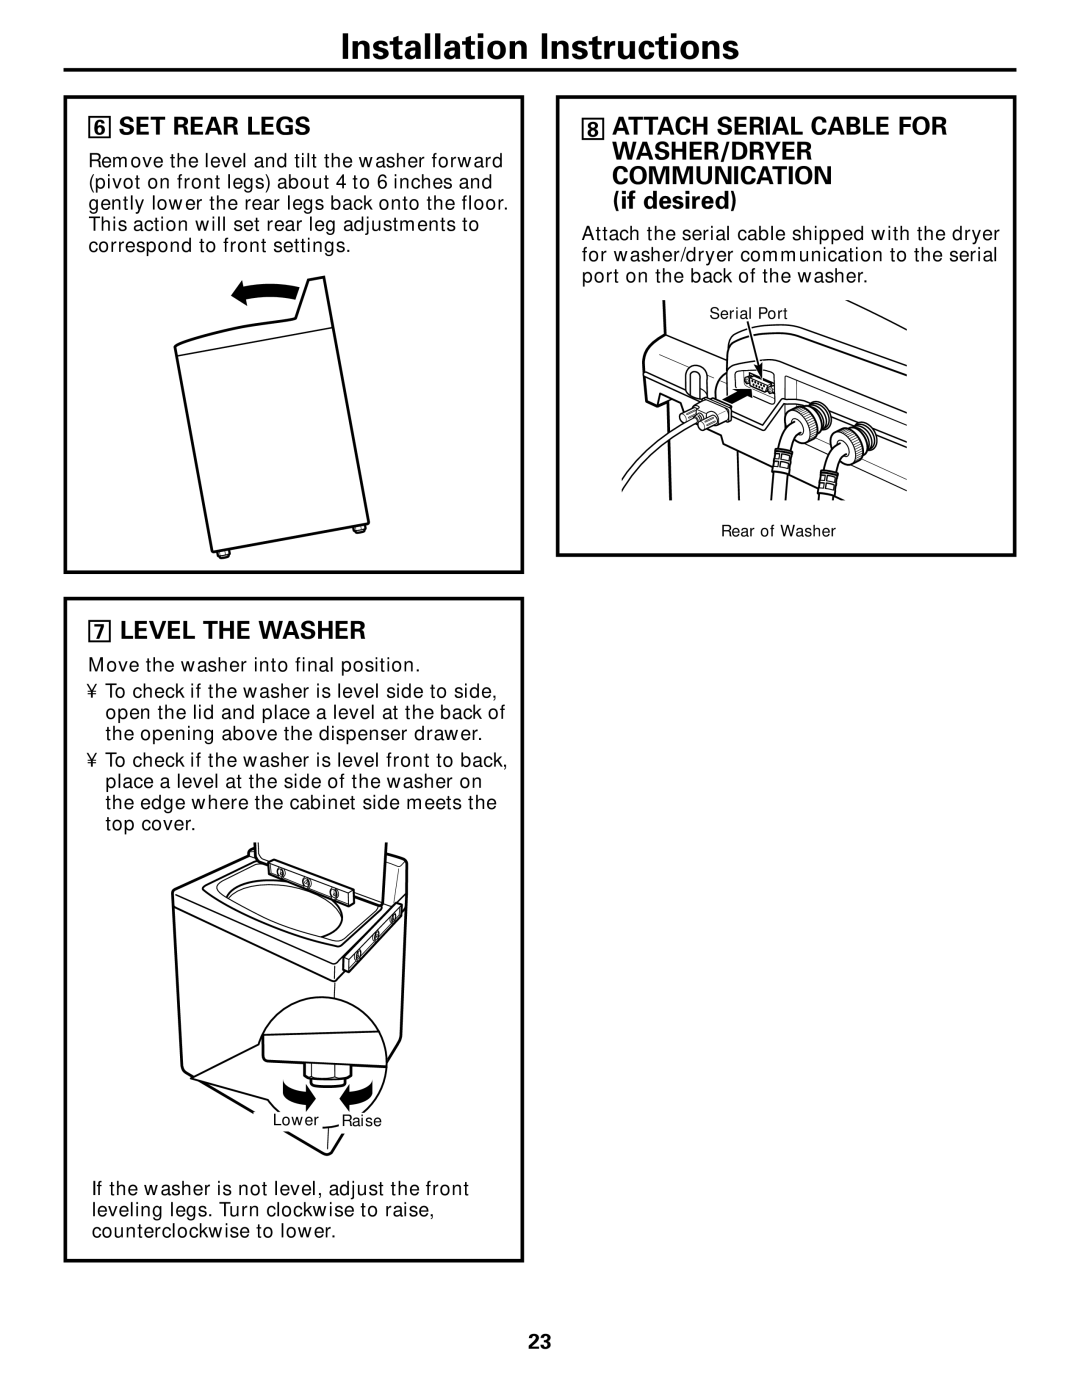
6SET REAR LEGS
Remove the level and tilt the washer forward (pivot on front legs) about 4 to 6 inches and gently lower the rear legs back onto the floor. This action will set rear leg adjustments to correspond to front settings.
7LEVEL THE WASHER
Move the washer into final position.
•To check if the washer is level side to side, open the lid and place a level at the back of the opening above the dispenser drawer.
•To check if the washer is level front to back, place a level at the side of the washer on the edge where the cabinet side meets the top cover.
8ATTACH SERIAL CABLE FOR WASHER/DRYER COMMUNICATION
(if desired)
Attach the serial cable shipped with the dryer for washer/dryer communication to the serial port on the back of the washer.
Serial Port
Rear of Washer
Lower Raise
If the washer is not level, adjust the front leveling legs. Turn clockwise to raise, counterclockwise to lower.
23