Instructions
Using the self-cleaning oven.
Never force the latch handle. Forcing the handle will damage the door lock mechanism.
and Cleaning Operating Instructions Safety
| Before a Clean Cycle | |
| We recommend venting your kitchen | |
| with an open window or using a | |
| ventilation fan or hood during the | |
| first | |
| Remove the racks, broiler pan, broiler | |
| grid, all cookware and any aluminum foil | |
| from the oven. | |
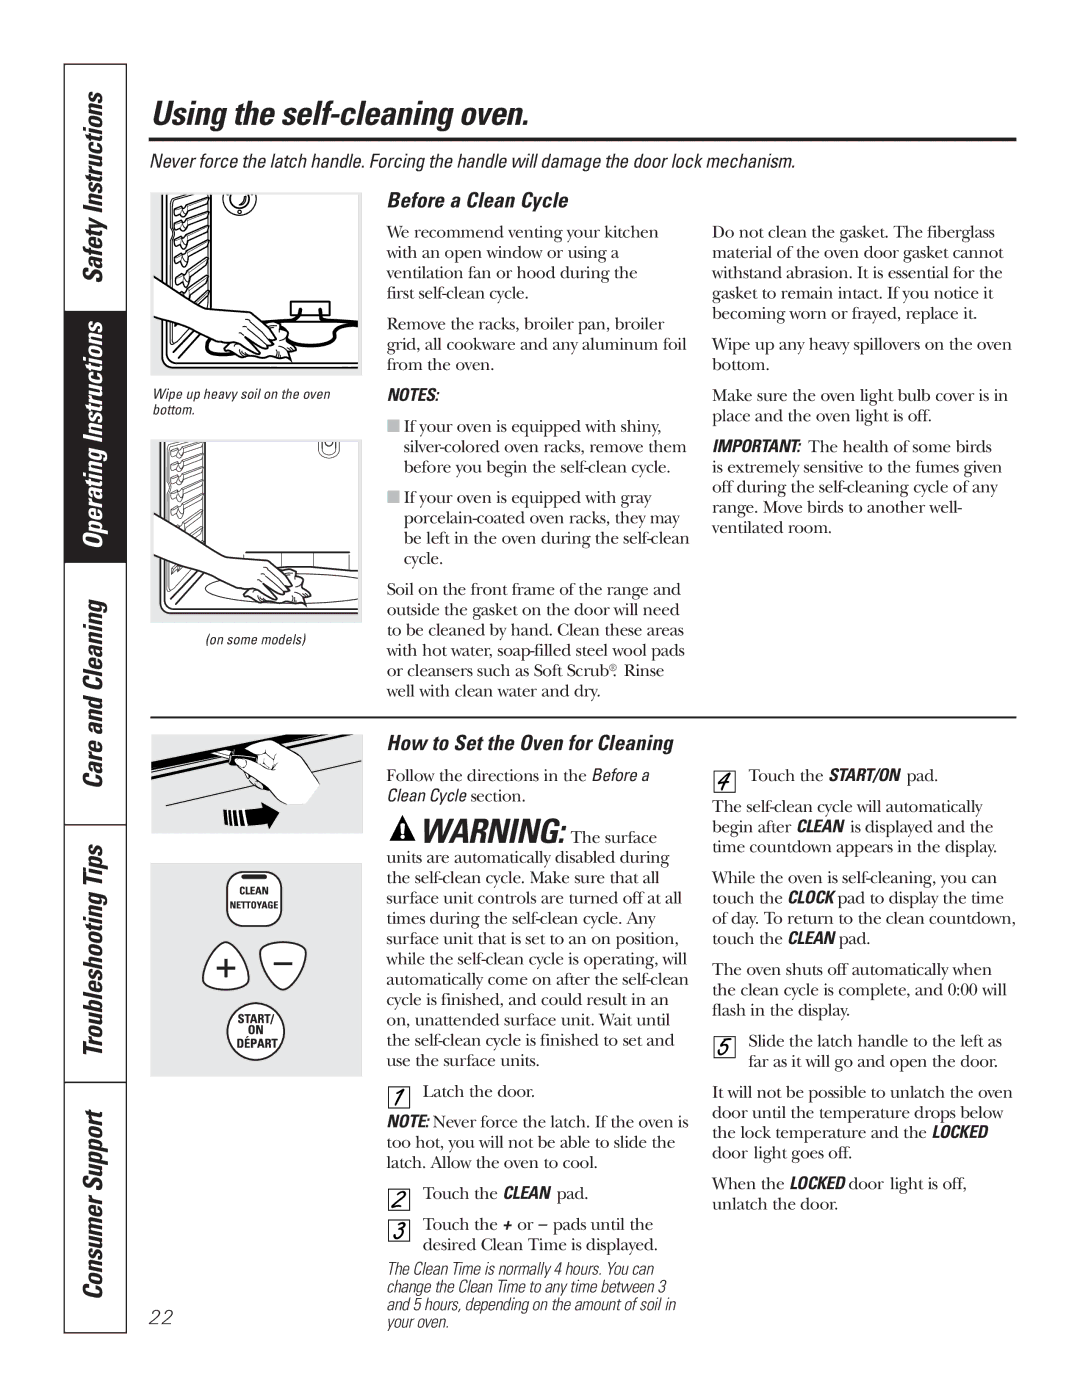
Wipe up heavy soil on the oven | NOTES: | |
bottom. | ■ If your oven is equipped with shiny, | |
| ||
| ||
| before you begin the | |
| ■ If your oven is equipped with gray | |
| ||
| be left in the oven during the | |
| cycle. | |
| Soil on the front frame of the range and | |
| outside the gasket on the door will need | |
(on some models) | to be cleaned by hand. Clean these areas | |
with hot water, | ||
| ||
| or cleansers such as Soft Scrub®. Rinse | |
| well with clean water and dry. |
Do not clean the gasket. The fiberglass material of the oven door gasket cannot withstand abrasion. It is essential for the gasket to remain intact. If you notice it becoming worn or frayed, replace it.
Wipe up any heavy spillovers on the oven bottom.
Make sure the oven light bulb cover is in place and the oven light is off.
IMPORTANT: The health of some birds is extremely sensitive to the fumes given off during the
Consumer Support Troubleshooting Tips Care
How to Set the Oven for Cleaning
Follow the directions in the Before a
Clean Cycle section.
![]() WARNING: The surface units are automatically disabled during the
WARNING: The surface units are automatically disabled during the
| Latch the door. |
| NOTE: Never force the latch. If the oven is |
| too hot, you will not be able to slide the |
| latch. Allow the oven to cool. |
| Touch the CLEAN pad. |
| Touch the + or – pads until the |
| desired Clean Time is displayed. |
| The Clean Time is normally 4 hours. You can |
| change the Clean Time to any time between 3 |
22 | and 5 hours, depending on the amount of soil in |
your oven. |
Touch the START/ON pad.
The
While the oven is
The oven shuts off automatically when the clean cycle is complete, and 0:00 will flash in the display.
Slide the latch handle to the left as far as it will go and open the door.
It will not be possible to unlatch the oven door until the temperature drops below the lock temperature and the LOCKED door light goes off.
When the LOCKED door light is off, unlatch the door.