www.GEAppliances.ca
How to Delay the Start of Cleaning
Safety
Make sure the clock shows the correct time of day.
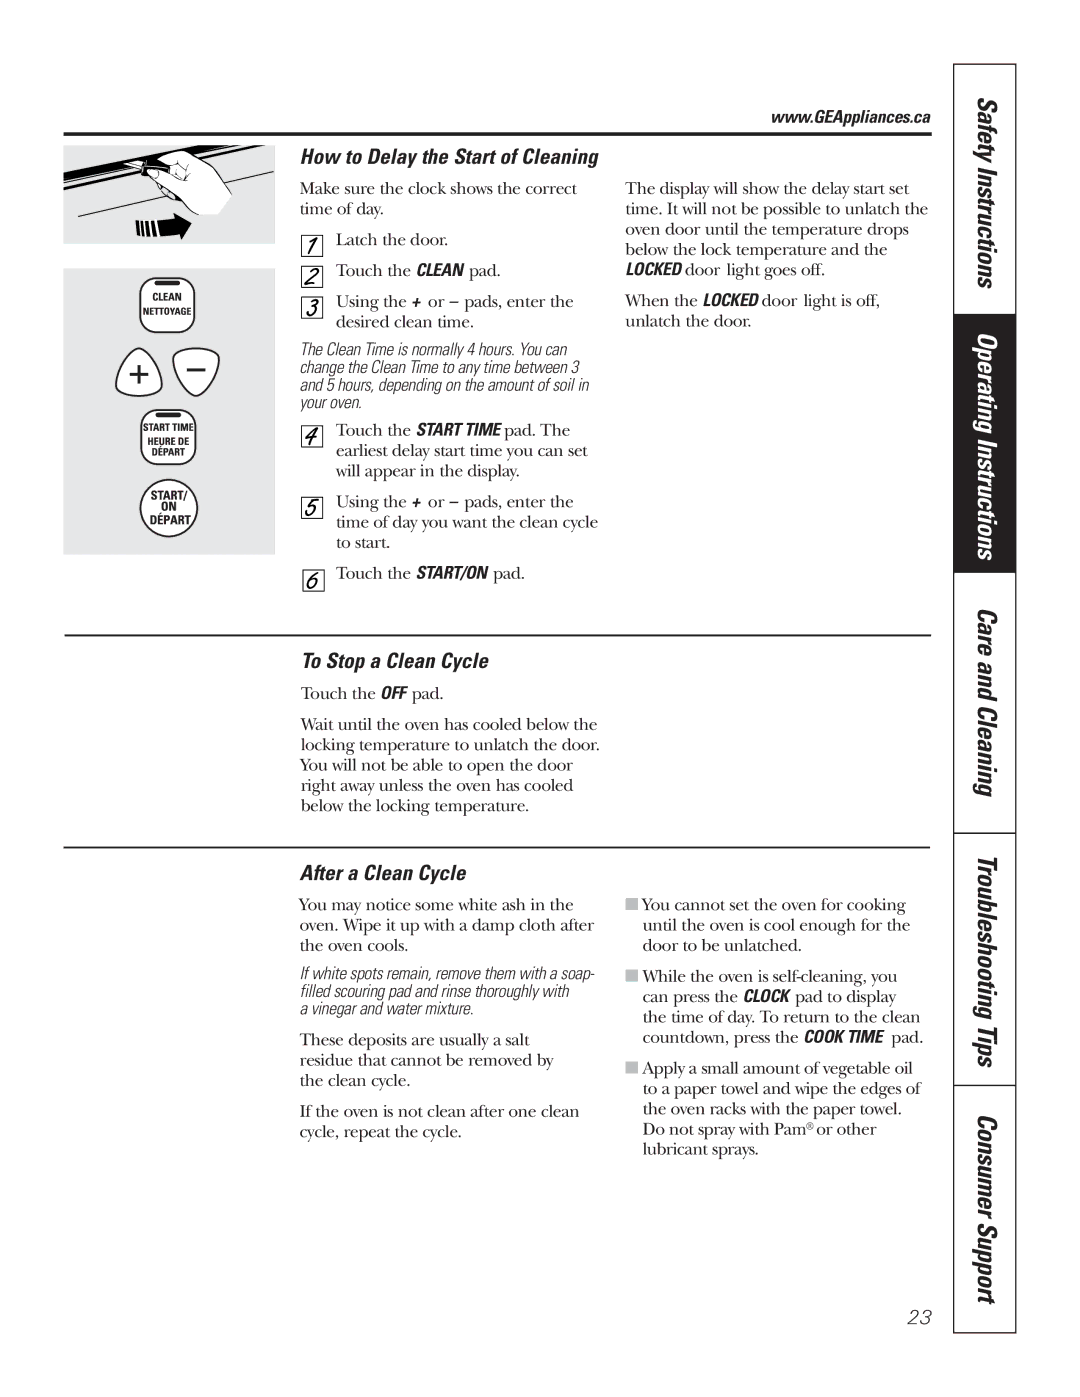
Latch the door.
Touch the CLEAN pad.
Using the + or – pads, enter the desired clean time.
The Clean Time is normally 4 hours. You can change the Clean Time to any time between 3 and 5 hours, depending on the amount of soil in your oven.
Touch the START TIME pad. The earliest delay start time you can set will appear in the display.
Using the + or – pads, enter the time of day you want the clean cycle to start.
Touch the START/ON pad.
The display will show the delay start set time. It will not be possible to unlatch the oven door until the temperature drops below the lock temperature and the LOCKED door light goes off.
When the LOCKED door light is off, unlatch the door.
Instructions Operating Instructions Care
To Stop a Clean Cycle
Touch the OFF pad.
Wait until the oven has cooled below the locking temperature to unlatch the door. You will not be able to open the door right away unless the oven has cooled below the locking temperature.
and Cleaning
After a Clean Cycle
You may notice some white ash in the oven. Wipe it up with a damp cloth after the oven cools.
If white spots remain, remove them with a soap- filled scouring pad and rinse thoroughly with
a vinegar and water mixture.
These deposits are usually a salt residue that cannot be removed by the clean cycle.
If the oven is not clean after one clean cycle, repeat the cycle.
■You cannot set the oven for cooking until the oven is cool enough for the door to be unlatched.
■While the oven is
■Apply a small amount of vegetable oil to a paper towel and wipe the edges of the oven racks with the paper towel.
Do not spray with Pam® or other lubricant sprays.
Troubleshooting Tips Consumer Support
23