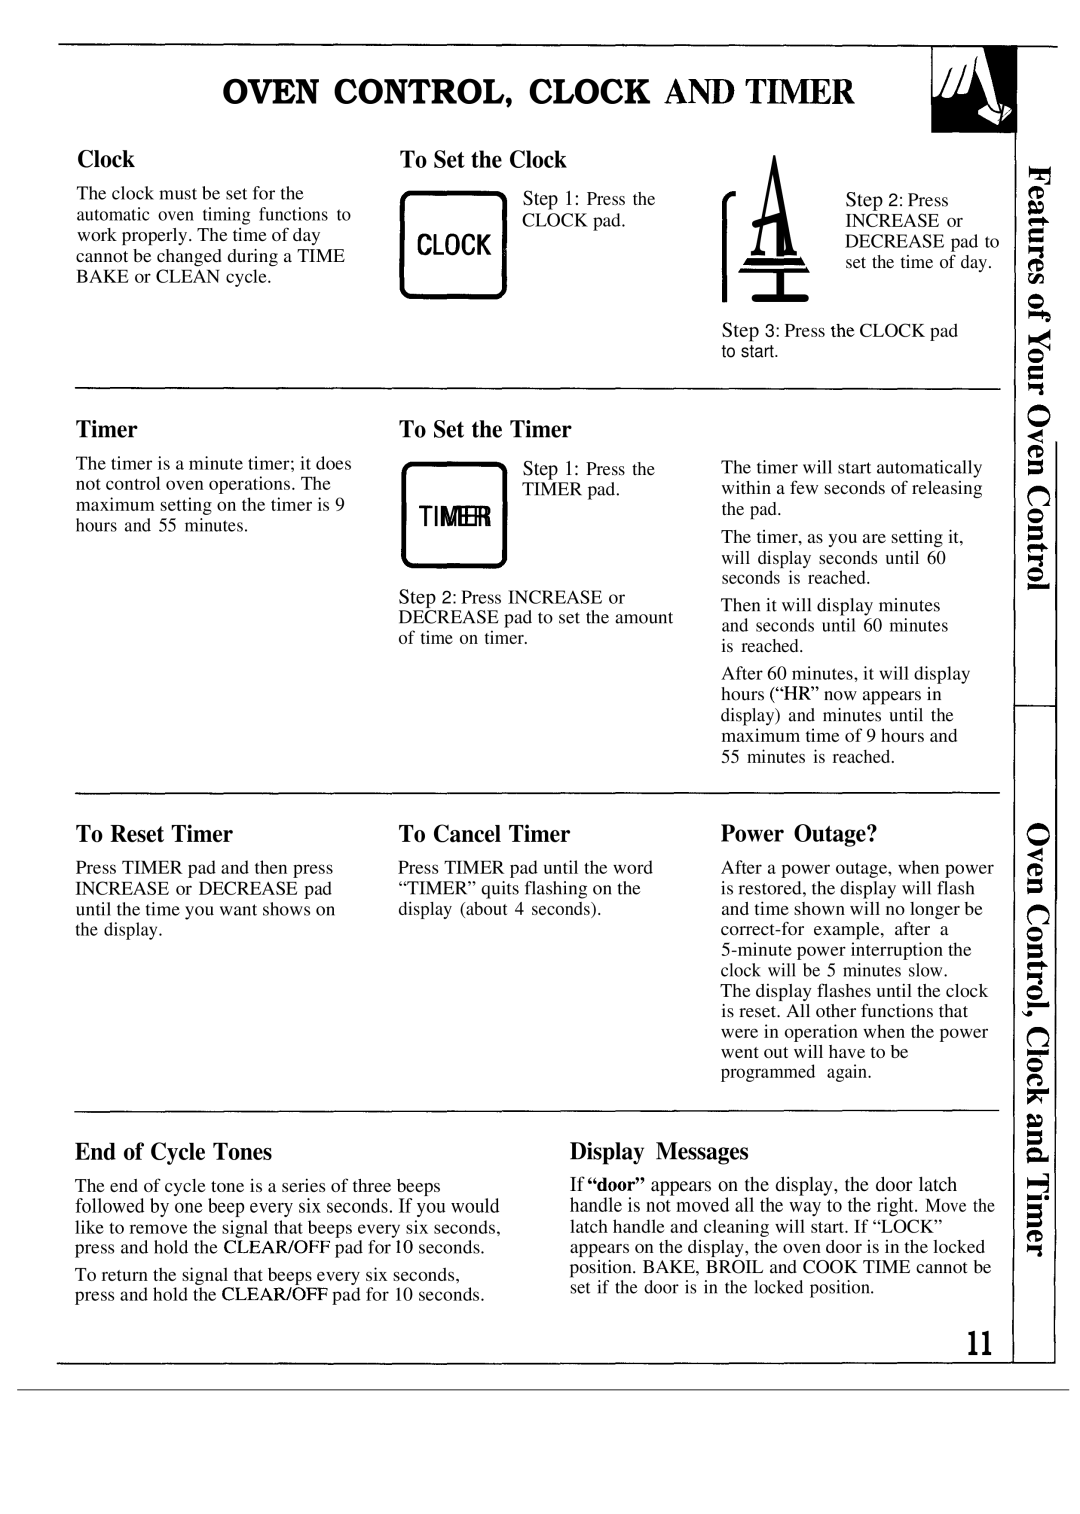
JGBP26GEN, JGBP27GEN specifications
The GE JGBP27GEN and JGBP26GEN are two exceptional gas ranges that stand out in the market for their advanced features and user-friendly technologies. Both models cater to home chefs looking for precision in cooking, reliability, and a sturdy design that can withstand the rigors of daily use.The GE JGBP27GEN features a spacious 5.0 cu. ft. oven capacity, providing ample room for large meals, whether it's a holiday feast or a weeknight dinner. This range is equipped with an extra-large oven window that allows users to monitor their cooking without opening the door, thus maintaining optimal temperatures. The oven also boasts a self-cleaning feature, utilizing high heat to eliminate food residue, making upkeep effortless for busy homeowners.
On the other hand, the JGBP26GEN presents a similar oven capacity but comes with a slightly more simplified design, yet it does not compromise on performance. Both models utilize a powerful 15,000 BTU burner, which ensures rapid heating and efficient cooking. With multiple burners ranging from simmer to high-heat settings, users have the flexibility to prepare a variety of dishes simultaneously.
A standout feature of both the JGBP27GEN and JGBP26GEN is their continuous grates, crafted from durable cast iron. These grates provide a stable cooking surface, allowing cookware to glide easily from burner to burner. This design is particularly advantageous for users who employ multiple pots and pans at once.
In terms of additional technologies, both models come equipped with a precise simmer burner that can maintain low temperatures ideal for delicate sauces and simmering tasks. The ranges also include an integrated electronic ignition system, which offers reliable and efficient ignition without the need for matches or lighters.
For aesthetics, both ranges are available in a classic stainless steel finish that adds a modern touch to any kitchen decor. The controls are conveniently located at the front, ensuring ease of use while cooking.
In summary, the GE JGBP27GEN and JGBP26GEN gas ranges combine modern functionality with user-oriented features, making them suitable choices for any cook. Their spacious ovens, powerful burners, and ease of maintenance speak to the needs of both novice cooks and seasoned chefs, making meal preparation enjoyable and efficient.

