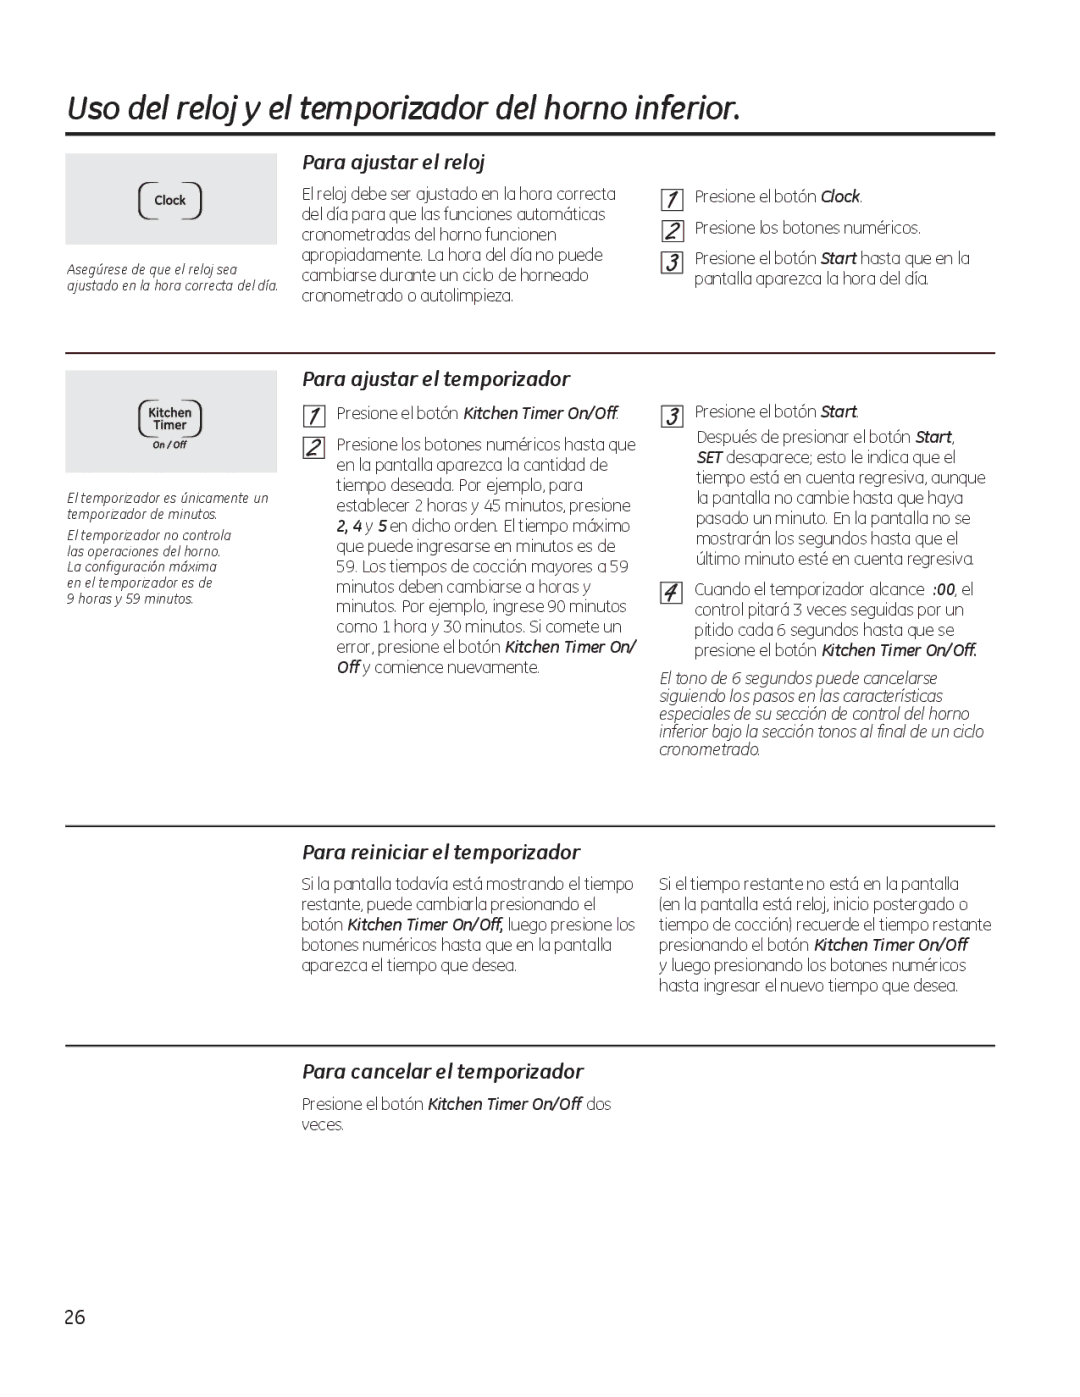
Uso del reloj y el temporizador del horno inferior.

Asegúrese de que el reloj sea ajustado en la hora correcta del día.

Para ajustar el reloj

El reloj debe ser ajustado en la hora correcta del día para que las funciones automáticas cronometradas del horno funcionen apropiadamente. La hora del día no puede cambiarse durante un ciclo de horneado cronometrado o autolimpieza.

Presione el botón Clock. Presione los botones numéricos.

Presione el botón Start hasta que en la pantalla aparezca la hora del día.

El temporizador es únicamente un temporizador de minutos.

El temporizador no controla las operaciones del horno. La configuración máxima en el temporizador es de

9 horas y 59 minutos.

Para ajustar el temporizador

Presione el botón Kitchen Timer On/Off.

Presione los botones numéricos hasta que en la pantalla aparezca la cantidad de tiempo deseada. Por ejemplo, para establecer 2 horas y 45 minutos, presione 2, 4 y 5 en dicho orden. El tiempo máximo que puede ingresarse en minutos es de

59.Los tiempos de cocción mayores a 59 minutos deben cambiarse a horas y minutos. Por ejemplo, ingrese 90 minutos como 1 hora y 30 minutos. Si comete un error, presione el botón Kitchen Timer On/ Off y comience nuevamente.

Presione el botón Start.

Después de presionar el botón Start, SET desaparece; esto le indica que el tiempo está en cuenta regresiva, aunque la pantalla no cambie hasta que haya pasado un minuto. En la pantalla no se mostrarán los segundos hasta que el último minuto esté en cuenta regresiva.

Cuando el temporizador alcance :00, el control pitará 3 veces seguidas por un pitido cada 6 segundos hasta que se presione el botón Kitchen Timer On/Off.

El tono de 6 segundos puede cancelarse siguiendo los pasos en las características especiales de su sección de control del horno inferior bajo la sección tonos al final de un ciclo cronometrado.

Para reiniciar el temporizador

Si la pantalla todavía está mostrando el tiempo restante, puede cambiarla presionando el botón Kitchen Timer On/Off, luego presione los botones numéricos hasta que en la pantalla aparezca el tiempo que desea.

Si el tiempo restante no está en la pantalla (en la pantalla está reloj, inicio postergado o tiempo de cocción) recuerde el tiempo restante presionando el botón Kitchen Timer On/Off

y luego presionando los botones numéricos hasta ingresar el nuevo tiempo que desea.

Para cancelar el temporizador

Presione el botón Kitchen Timer On/Off dos veces.

26

Page 70
Image 70
GE JKP90, JTP90 Uso del reloj y el temporizador del horno inferior, Para ajustar el reloj, Para ajustar el temporizador

JTP90, JKP90 specifications

General Electric (GE) has long been a leader in the manufacturing of high-quality kitchen appliances, and among their standout products are the GE Profile Series JKP90 and JTP90 wall ovens. Known for their innovative features, cutting-edge technologies, and sleek design, these ovens are perfect for modern households looking to enhance their culinary experience.

The GE JKP90 and JTP90 are both built-in wall ovens, providing a space-saving solution without compromising on performance or capacity. One of the main features of these ovens is their advanced cooking technology, which includes a true European convection system. This technology ensures even heat distribution, allowing for perfectly baked goods and evenly roasted meats. With a third heating element and a fan that circulates hot air throughout the oven, users can expect consistent results, regardless of the dish being prepared.

Additionally, both models come equipped with a self-cleaning option, making oven maintenance a breeze. This feature simplifies the cleaning process by using high temperatures to burn away food residues, allowing users to spend more time enjoying their meals rather than scrubbing the oven.

For those who appreciate precision in cooking, the GE JKP90 and JTP90 offer a variety of cooking modes, including bake, broil, and specialty settings, allowing users to customize their cooking to suit specific dishes. Another notable characteristic is the implementation of a hidden bake element, which not only maximizes oven capacity but also contributes to easier cleaning.

The easy-to-use digital control panel found on these models enhances the user experience, featuring a large display that provides clear information on cooking settings and timers. Moreover, the ovens include programmable features, like delay bake and a kitchen timer, ensuring that meals can be prepared effortlessly.

Both the JKP90 and JTP90 come with a sleek stainless-steel exterior, offering a modern aesthetic that complements any kitchen décor. Their flush design allows for a seamless integration into cabinetry, providing a sophisticated and stylish appearance.

In summary, the GE Profile Series JKP90 and JTP90 wall ovens represent the perfect combination of technology, design, and functionality. With features like true European convection, self-cleaning capabilities, customizable cooking modes, and a user-friendly digital interface, these ovens are ideal for anyone looking to elevate their cooking experience while enjoying the convenience of modern appliance innovations.