ZET1, ZET2 specifications
GE Monogram ZET2 and ZET1 are two high-end electric convection wall ovens that embody the perfect blend of innovation, style, and functionality. Designed to elevate the culinary experience, these ovens are equipped with cutting-edge technology that allows home chefs to prepare meals with professional precision.One of the standout features of the GE Monogram ZET2 and ZET1 is their advanced convection cooking system. This technology utilizes a powerful fan to circulate hot air around the oven, ensuring even heat distribution. As a result, food cooks more uniformly, reducing the chances of hot or cold spots. This feature is particularly beneficial for baking, as it enables chefs to achieve consistent results whether they are making delicate pastries or roasted meats.
Both models also showcase an intuitive touchscreen interface, making it incredibly easy for users to navigate through cooking settings and options. This user-friendly control panel provides access to various pre-programmed cooking modes that simplify the cooking process. Whether it's steaming, baking, or broiling, the touchscreen interface allows chefs to select the optimal setting for their dish.
In terms of design, the GE Monogram ZET2 and ZET1 exude sophistication with their sleek stainless-steel finish and premium craftsmanship. The ovens feature a robust build that not only contributes to durability but also enhances the overall aesthetic of any modern kitchen. The large, clear oven windows allow for easy monitoring of cooking progress without the need to open the door, thereby maintaining optimal cooking temperatures.
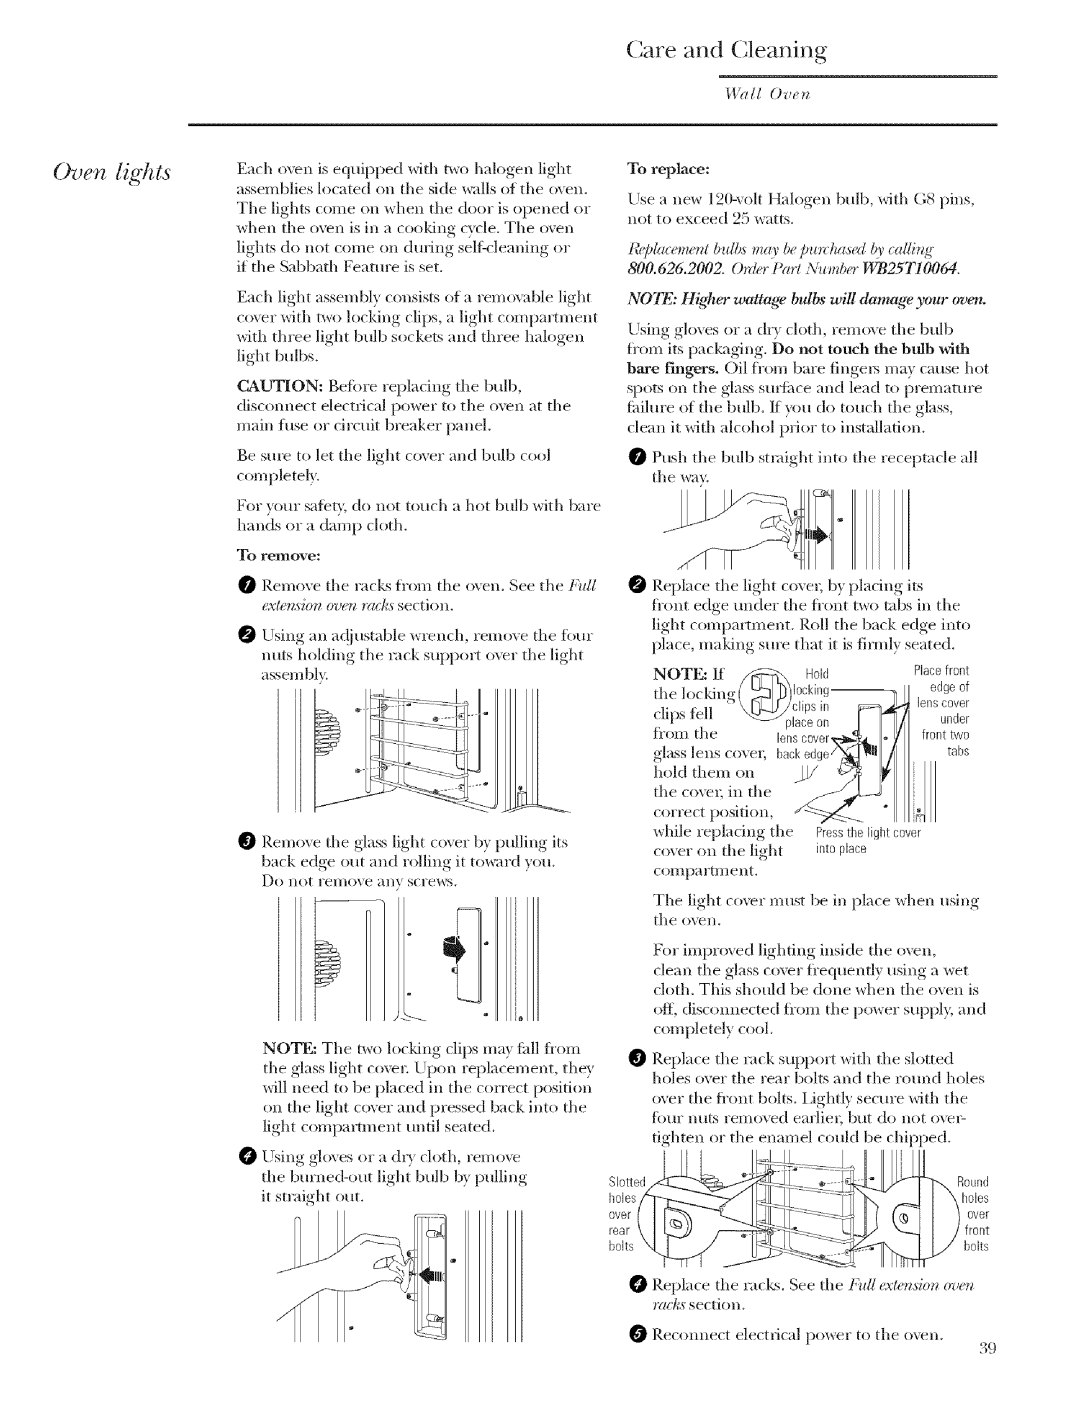
Versatility is another key characteristic of these ovens. They come equipped with multiple rack positions and oven configurations to accommodate a variety of cooking needs. The self-cleaning function is also noteworthy, making maintenance a breeze. With just the press of a button, the ovens heat up to a high temperature that eliminates food residue and stains, leaving the interior clean and ready for the next culinary adventure.
Energy efficiency is integrated into the design of the ZET2 and ZET1 models, ensuring that users not only achieve excellent cooking results but also save on energy consumption. With a focus on sustainability, these ovens are designed to meet or exceed energy efficiency standards, making them both environmentally friendly and economical for everyday use.
In conclusion, the GE Monogram ZET2 and ZET1 wall ovens stand out in the competitive market of premium kitchen appliances. With their innovative convection technology, user-friendly interface, elegant design, and energy-efficient operation, they cater to the needs of discerning cooks. Whether you’re an aspiring home chef or a seasoned culinary artist, these ovens provide the tools necessary to create unforgettable meals with ease.

