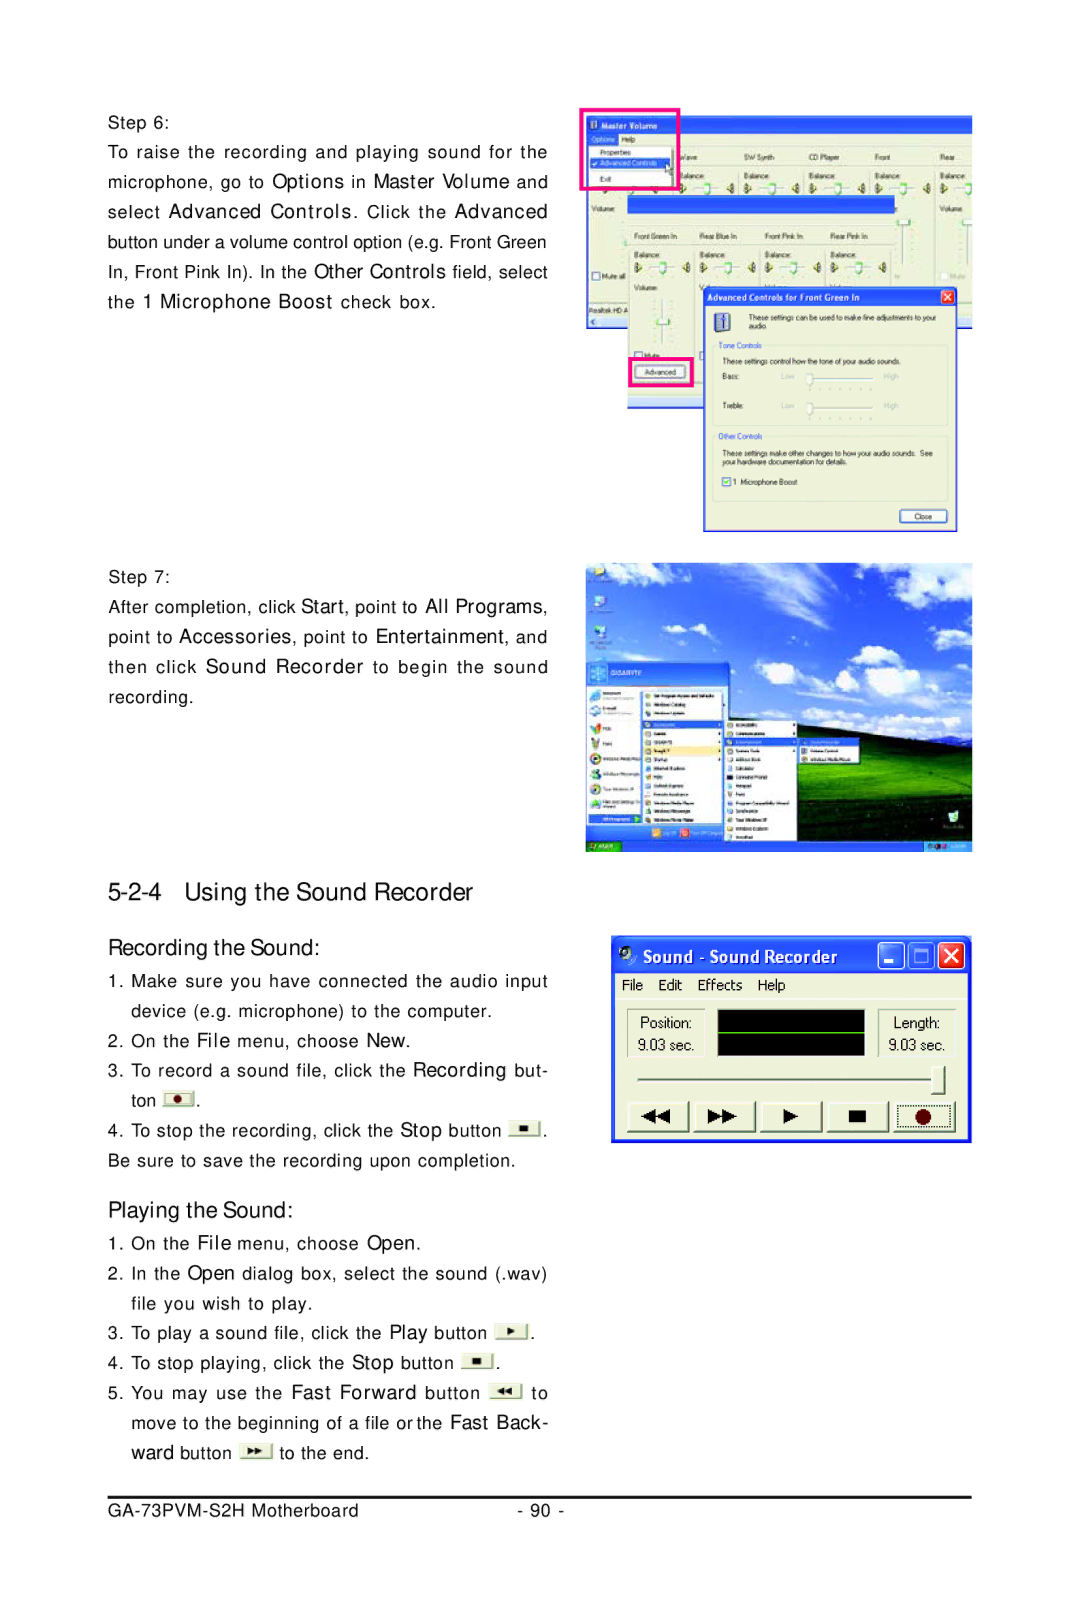
Step 6:
To raise the recording and playing sound for the microphone, go to Options in Master Volume and select Advanced Controls. Click the Advanced button under a volume control option (e.g. Front Green In, Front Pink In). In the Other Controls field, select the 1 Microphone Boost check box.
Step 7:
After completion, click Start, point to All Programs, point to Accessories, point to Entertainment, and then click Sound Recorder to begin the sound recording.
5-2-4 Using the Sound Recorder
Recording the Sound:
1.Make sure you have connected the audio input device (e.g. microphone) to the computer.
2.On the File menu, choose New.
3.To record a sound file, click the Recording but-
ton ![]() .
.
4.To stop the recording, click the Stop button ![]() . Be sure to save the recording upon completion.
. Be sure to save the recording upon completion.
Playing the Sound:
1.On the File menu, choose Open.
2.In the Open dialog box, select the sound (.wav) file you wish to play.
3.To play a sound file, click the Play button ![]() .
.
4.To stop playing, click the Stop button ![]() .
.
5.You may use the Fast Forward button ![]() to move to the beginning of a file or the Fast Back-
to move to the beginning of a file or the Fast Back-
ward button ![]() to the end.
to the end.
| - 90 - |
