Repair
Repairing the Diaphragm Valve
NOTE: The diaphragm (17C127 – EQ300, 17C128
–EQ600) can be replaced without removing the assembly from the panel. You will need an 8 mm Allen wrench for the EQ600S and a 6 mm for the
EQ300S.
1.Perform the Pressure Relief Procedure, page 8 .
2.Loosen all 4
3.Replace the diaphragm (natural rubber compound) and
NOTE: There are two shims between the diaphragm and the actuator. Keep the shims and reuse them (they do not come with the replacement diaphragm). Do not cause any
4.Insert all 4
5.Apply more than 80 psi (5.5 Bar, MPa) air pressure to the regulator inlet to cause the piston to retract.
6.With the piston retracted,
7.Release the air pressure.
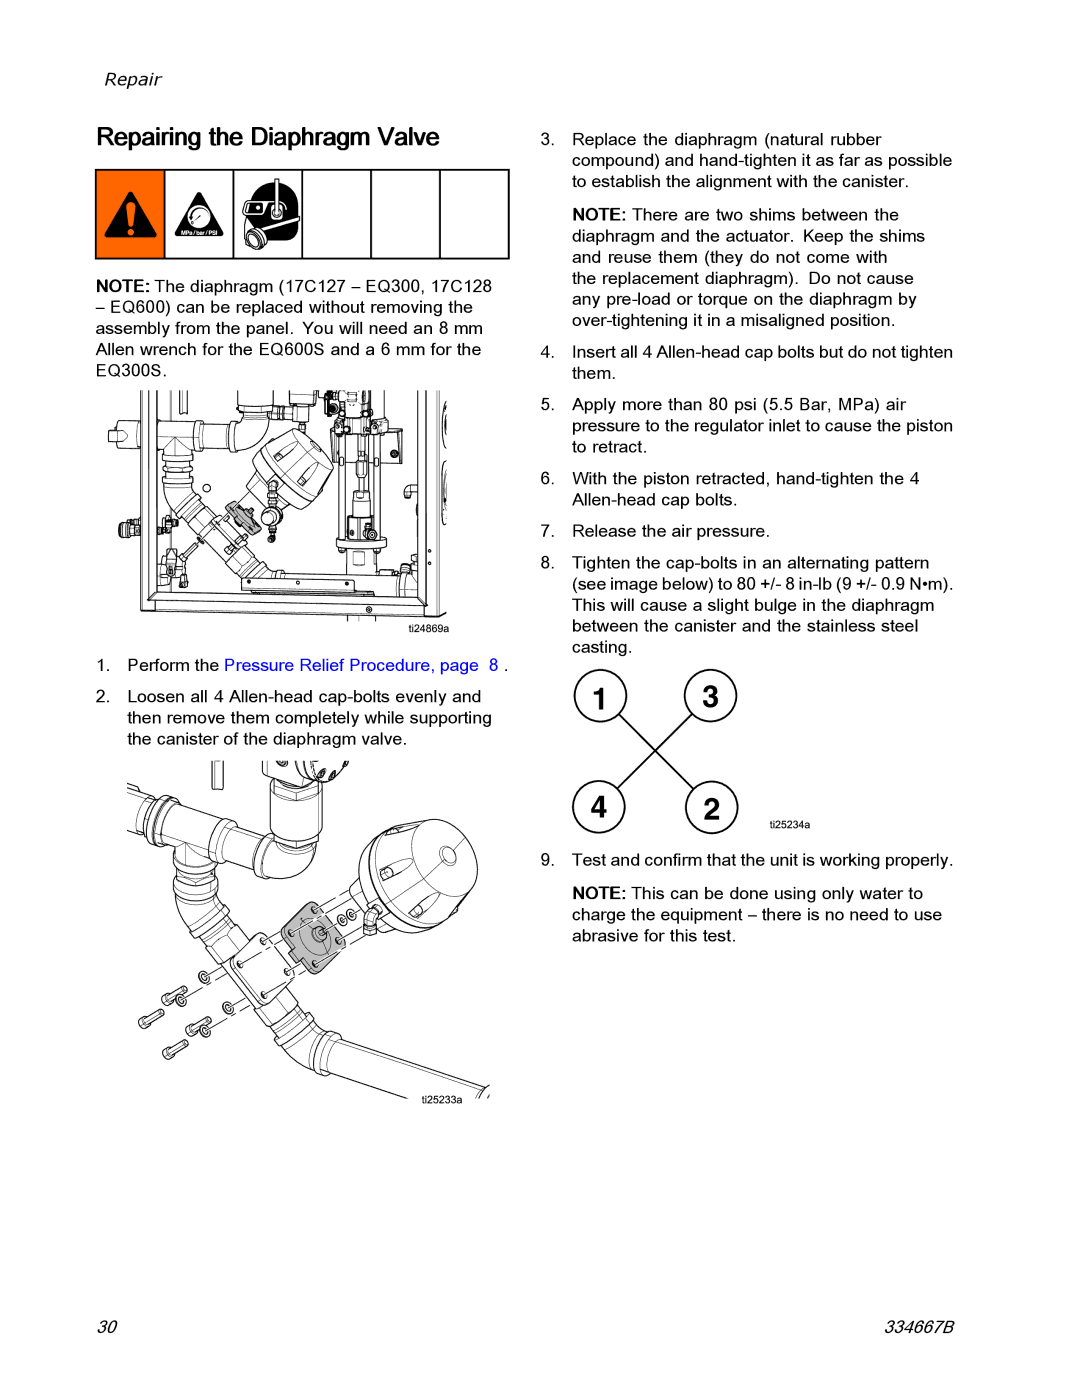
8.Tighten the
1 3
42
9.Test and confirm that the unit is working properly.
NOTE: This can be done using only water to charge the equipment – there is no need to use abrasive for this test.
30 | 334667B |