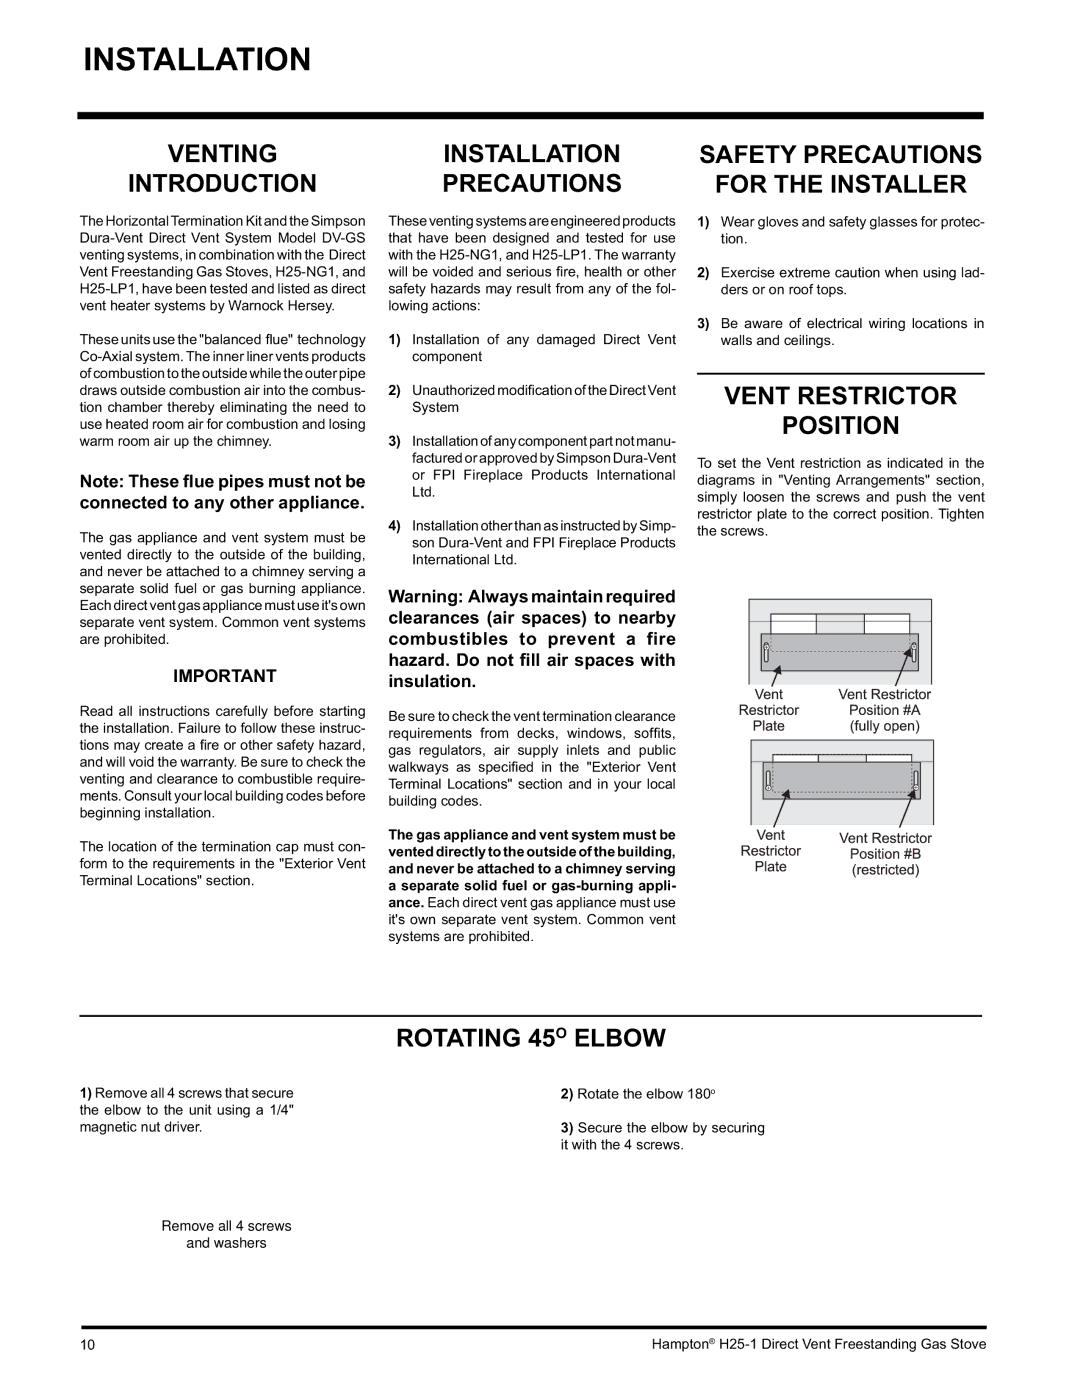
H25-LP1 Propane, H25-NG1, H25-LP1 specifications
Hampton Direct H25 series, which includes the H25-NG1, H25-LP1, and H25-LP1 Propane models, represents an innovative lineup of gas stoves designed to deliver efficient heating with modern aesthetics. These stoves are perfect for residential and recreational use, providing an economical solution for space heating with exceptional comfort and performance.One of the standout features of the H25 series is its multi-fuel capability. The H25-NG1 operates on natural gas, while the H25-LP1 and H25-LP1 Propane models utilize liquid propane. This flexibility allows homeowners to select the model that best fits their energy source availability. Each of these units is designed with a powerful heat output, ensuring efficient coverage of living spaces, making them suitable for open floor plan homes and larger areas.
The stoves incorporate advanced combustion technologies, which enable them to burn fuel more efficiently. This leads to less environmental impact, lower emissions, and improved energy use. The H25 series devices utilize a patented firebox design that maximizes heat retention, resulting in extended heating times and better temperature control. Users can expect significant energy savings, as the stoves are engineered to extract more heat from the fuel consumed.
Aesthetically, the H25 series offers an elegant design that adds a contemporary touch to any room. The clean lines and modern finish allow the units to blend seamlessly with various interior styles. Moreover, the units feature large viewing windows that provide a mesmerizing flame display, creating a cozy and inviting atmosphere.
Ease of use is another critical characteristic. Each model comes with user-friendly controls that allow homeowners to adjust the flame height and heat output easily. Additionally, the units have safety features, including automatic shut-off valves, ensuring peace of mind.
The H25 series is engineered for durability, featuring high-quality materials that withstand the test of time. Whether selected for a primary residence or a cozy retreat, the Hampton Direct H25-NG1, H25-LP1, and H25-LP1 Propane models offer an outstanding combination of efficiency, design, and performance that aligns with today’s heating needs.

