3.Push the Motor (part #7F), with its attached Belt Guard (parts #1F, #4F), forward and place the
(See Figure P, and Assy. Diagrams F, and I.)
4.Turn the Height Handle clockwise until it stops. (See Figure B, and Assy. Diagram G.)
5.Pull the Motor (part #7F), with its attached Belt Guard (parts #1F, #4F), out until the
6.Close the hinged Belt Guard (parts #1F, #4F). (See Figure P, and Assy. Diagram F.)
To Install The 10" Saw Blade:
1.Turn the Height Handle (part #5G) clockwise until it stops. (See Figure B, and Assy. Diagram G.)
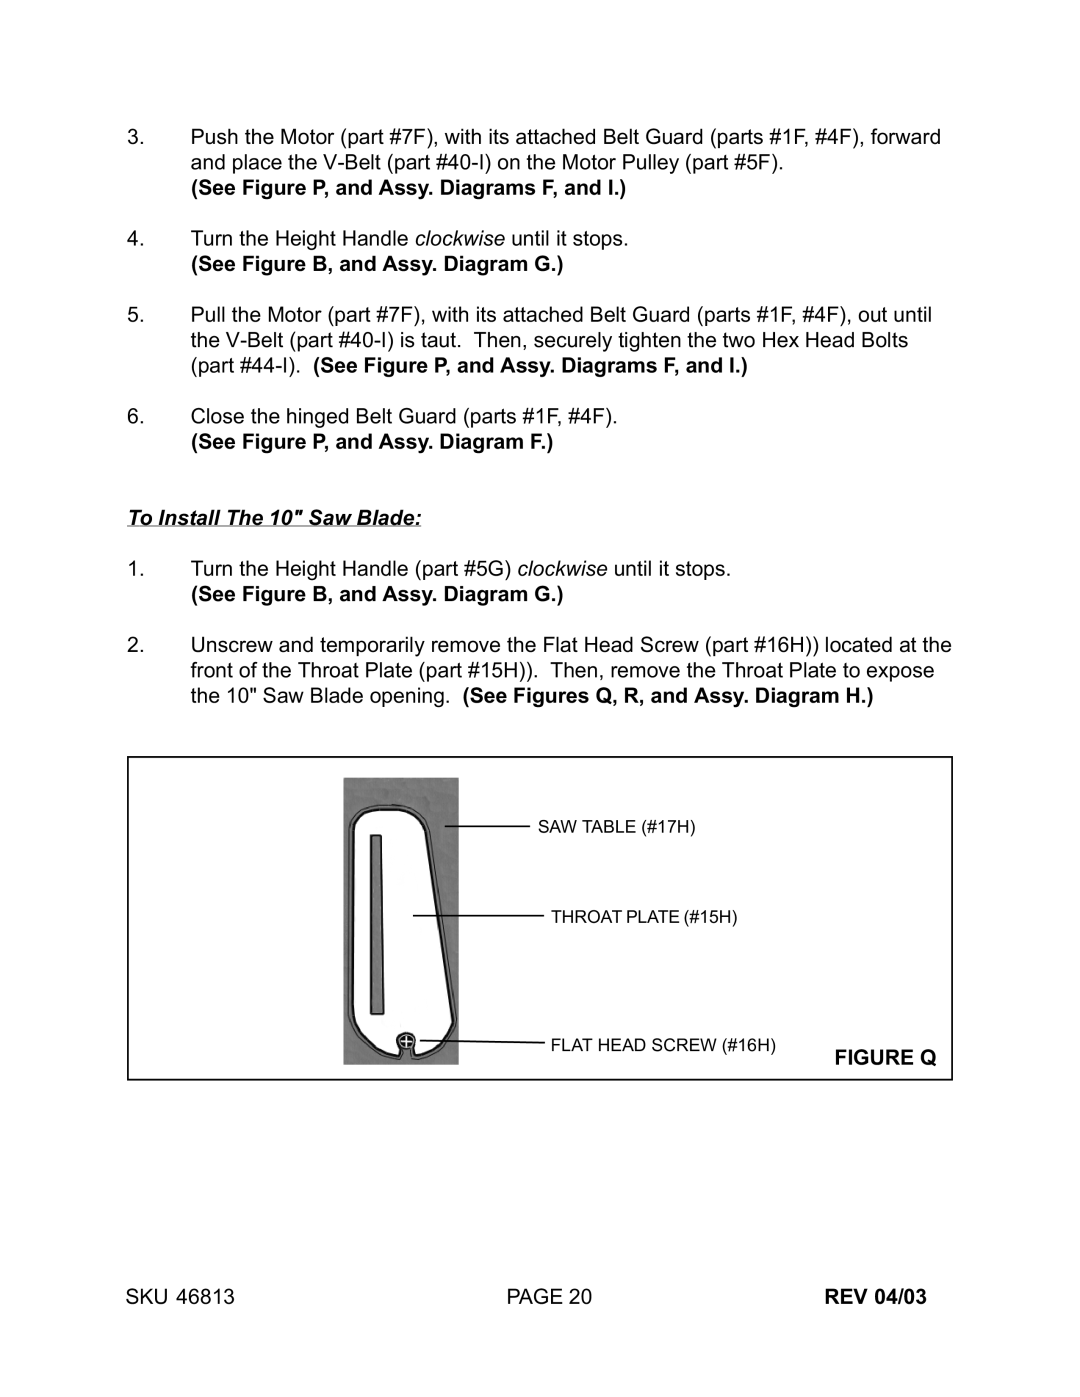
2.Unscrew and temporarily remove the Flat Head Screw (part #16H)) located at the front of the Throat Plate (part #15H)). Then, remove the Throat Plate to expose the 10" Saw Blade opening. (See Figures Q, R, and Assy. Diagram H.)
SAW TABLE (#17H)
THROAT PLATE (#15H)
FLAT HEAD SCREW (#16H)
FIGURE Q
SKU 46813 | PAGE 20 | REV 04/03 |
