Automatic Feed and Threading Dial
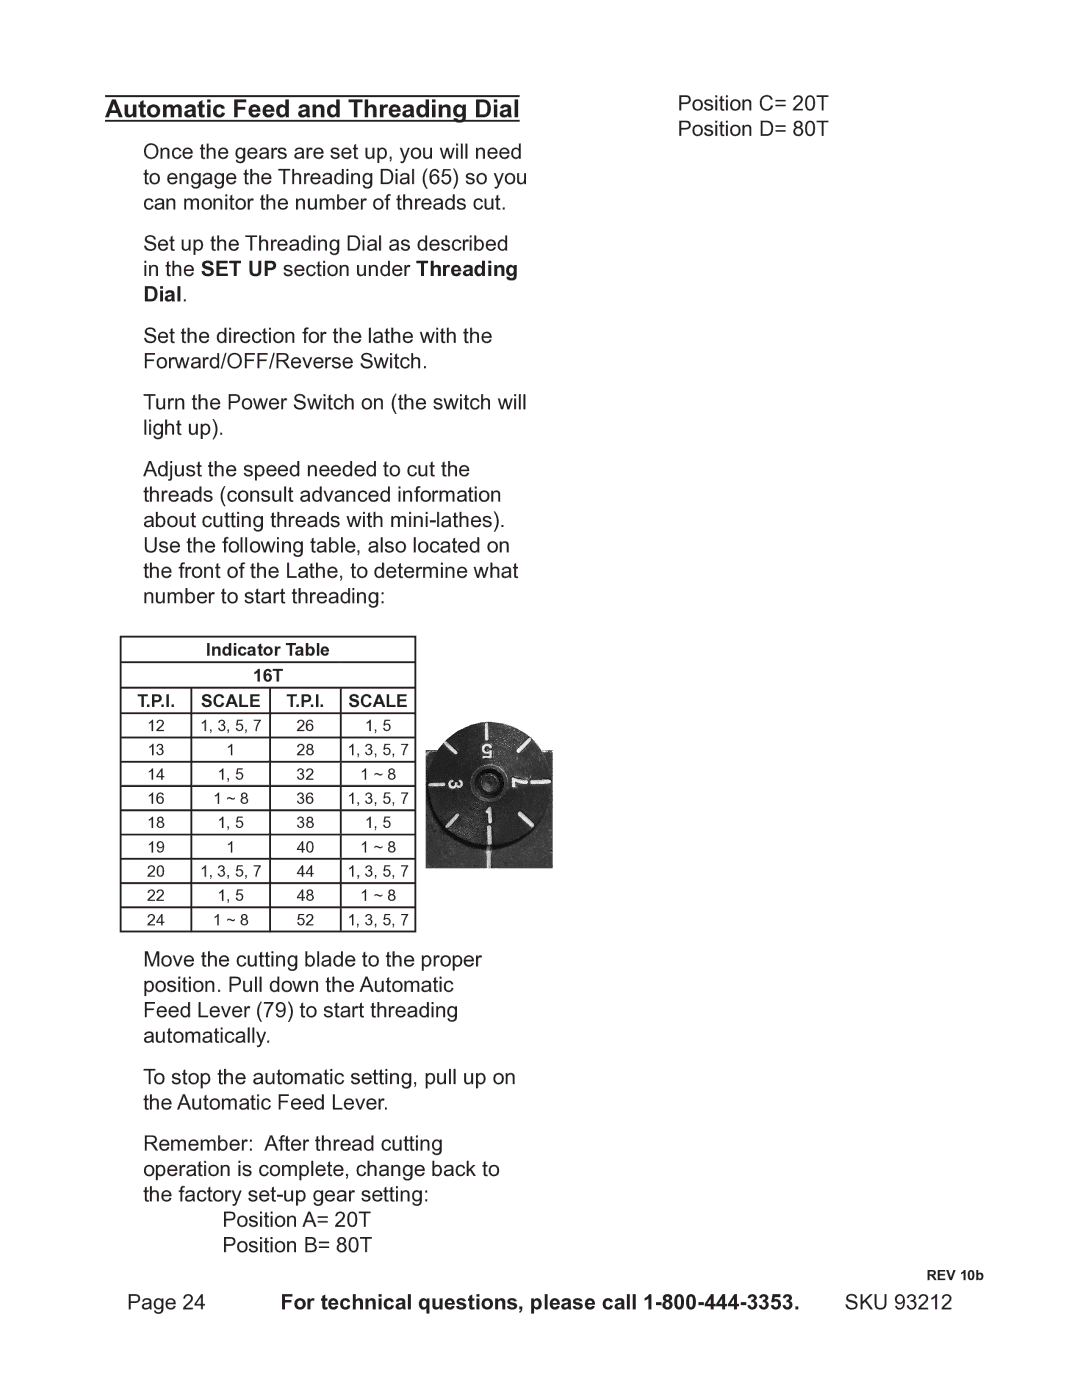
Once the gears are set up, you will need to engage the Threading Dial (65) so you can monitor the number of threads cut.
Set up the Threading Dial as described in the SET UP section under Threading Dial.
Set the direction for the lathe with the Forward/OFF/Reverse Switch.
Turn the Power Switch on (the switch will light up).
Adjust the speed needed to cut the threads (consult advanced information about cutting threads with
Indicator Table
16T
T.P.I. | SCALE | T.P.I. | SCALE | |
12 | 1, 3, 5, 7 | 26 | 1, | 5 |
13 | 1 | 28 | 1, 3, 5, 7 | |
14 | 1, 5 | 32 | 1 ~ 8 | |
16 | 1 ~ 8 | 36 | 1, 3, 5, 7 | |
18 | 1, 5 | 38 | 1, 5 | |
19 | 1 | 40 | 1 ~ 8 | |
20 | 1, 3, 5, 7 | 44 | 1, 3, 5, 7 | |
22 | 1, 5 | 48 | 1 ~ 8 | |
24 | 1 ~ 8 | 52 | 1, 3, 5, 7 | |
Move the cutting blade to the proper position. Pull down the Automatic Feed Lever (79) to start threading automatically.
To stop the automatic setting, pull up on the Automatic Feed Lever.
Remember: After thread cutting operation is complete, change back to the factory
Position A= 20T
Position B= 80T
Position C= 20T Position D= 80T
Page 24 For technical questions, please call 1-800-444-3353.
REV 10b
SKU 93212
