System Configuration
| | | | | | |
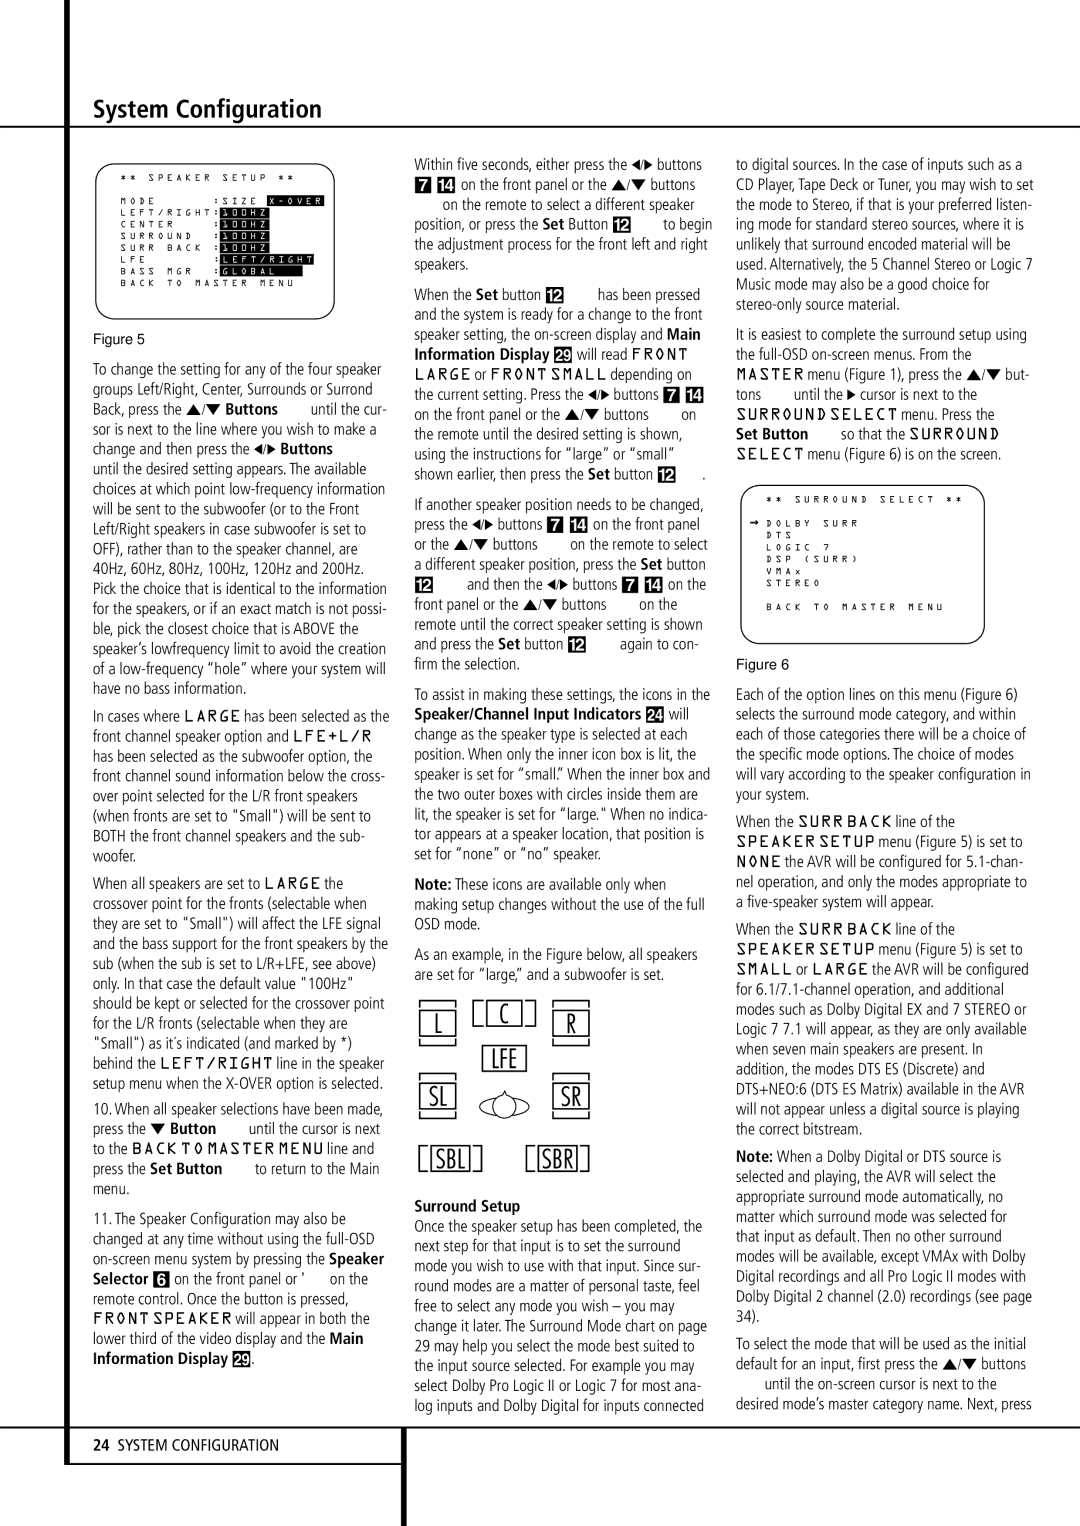
* * S P E A K E R S E T U P | * * | |
| | |
M O D E | : S I Z E | X - O V E R |
L E F T / R I G H T : | 1 0 0 H Z | | | |
C E N T E R | : | 1 0 0 H Z | | | |
S U R R O U N D | : | 1 0 0 H Z | | | |
S U R R B A C K : | 1 0 0 H Z | | | |
L F E | : L E F T / R I G H T |
B A S S M G R | : | G L O B A L | | |
B A C K T O M A S T E R M E N U
Figure 5
To change the setting for any of the four speaker groups Left/Right, Center, Surrounds or Surrond Back, press the ⁄/¤ Buttons Euntil the cur- sor is next to the line where you wish to make a change and then press the ‹/› Buttons E until the desired setting appears. The available choices at which point low-frequency information will be sent to the subwoofer (or to the Front Left/Right speakers in case subwoofer is set to OFF), rather than to the speaker channel, are 40Hz, 60Hz, 80Hz, 100Hz, 120Hz and 200Hz. Pick the choice that is identical to the information for the speakers, or if an exact match is not possi- ble, pick the closest choice that is ABOVE the speaker’s lowfrequency limit to avoid the creation of a low-frequency “hole” where your system will have no bass information.
In cases where LARGE has been selected as the front channel speaker option and LFE+L/R has been selected as the subwoofer option, the front channel sound information below the cross- over point selected for the L/R front speakers (when fronts are set to "Small") will be sent to BOTH the front channel speakers and the sub- woofer.
When all speakers are set to LARGE the crossover point for the fronts (selectable when they are set to "Small") will affect the LFE signal and the bass support for the front speakers by the sub (when the sub is set to L/R+LFE, see above) only. In that case the default value "100Hz" should be kept or selected for the crossover point for the L/R fronts (selectable when they are "Small") as it´s indicated (and marked by *) behind the LEFT/RIGHT line in the speaker setup menu when the X-OVER option is selected.
10.When all speaker selections have been made, press the ¤ Button Euntil the cursor is next to the BACK TO MASTER MENU line and press the Set Button Fto return to the Main menu.
11.The Speaker Configuration may also be changed at any time without using the full-OSD on-screen menu system by pressing the Speaker
Selector 6 on the front panel or on the remote control. Once the button is pressed, FRONT SPEAKER will appear in both the lower third of the video display and the Main Information Display ˜.
24SYSTEM CONFIGURATION
Within five seconds, either press the ‹/› buttons 7 $ on the front panel or the ⁄/¤ buttons
Eon the remote to select a different speaker position, or press the Set Button @F to begin the adjustment process for the front left and right speakers.
When the Set button @ Fhas been pressed and the system is ready for a change to the front speaker setting, the on-screen display and Main Information Display ˜ will read FRONT LARGE or FRONT SMALL depending on the current setting. Press the ‹/› buttons 7 $ on the front panel or the ⁄/¤ buttons Eon the remote until the desired setting is shown, using the instructions for “large” or “small” shown earlier, then press the Set button @F.
If another speaker position needs to be changed, press the ‹/› buttons 7 $ on the front panel or the ⁄/¤ buttons Eon the remote to select a different speaker position, press the Set button
@Fand then the ‹/› buttons 7 $ on the front panel or the ⁄/¤ buttons Eon the remote until the correct speaker setting is shown and press the Set button @ Fagain to con- firm the selection.
To assist in making these settings, the icons in the Speaker/Channel Input Indicators Ú will change as the speaker type is selected at each position. When only the inner icon box is lit, the speaker is set for “small.” When the inner box and the two outer boxes with circles inside them are lit, the speaker is set for “large." When no indica- tor appears at a speaker location, that position is set for “none” or “no” speaker.
Note: These icons are available only when making setup changes without the use of the full OSD mode.
As an example, in the Figure below, all speakers are set for “large,” and a subwoofer is set.
Surround Setup
Once the speaker setup has been completed, the next step for that input is to set the surround mode you wish to use with that input. Since sur- round modes are a matter of personal taste, feel free to select any mode you wish – you may change it later. The Surround Mode chart on page 29 may help you select the mode best suited to the input source selected. For example you may select Dolby Pro Logic II or Logic 7 for most ana- log inputs and Dolby Digital for inputs connected
to digital sources. In the case of inputs such as a CD Player, Tape Deck or Tuner, you may wish to set the mode to Stereo, if that is your preferred listen- ing mode for standard stereo sources, where it is unlikely that surround encoded material will be used. Alternatively, the 5 Channel Stereo or Logic 7 Music mode may also be a good choice for stereo-only source material.
It is easiest to complete the surround setup using the full-OSDon-screen menus. From the MASTER menu (Figure 1), press the ⁄/¤ but- tons Euntil the › cursor is next to the SURROUND SELECT menu. Press the Set Button Fso that the SURROUND SELECT menu (Figure 6) is on the screen.
* * S U R R O U N D S E L E C T * *
D O L B Y | S U R R |
D T S | |
L O G I C | 7 |
D S P ( S U R R )
V M A x
S T E R E O
B A C K T O M A S T E R M E N U
Figure 6
Each of the option lines on this menu (Figure 6) selects the surround mode category, and within each of those categories there will be a choice of the specific mode options. The choice of modes will vary according to the speaker configuration in your system.
When the SURR BACK line of the SPEAKER SETUP menu (Figure 5) is set to NONE the AVR will be configured for 5.1-chan- nel operation, and only the modes appropriate to a five-speaker system will appear.
When the SURR BACK line of the SPEAKER SETUP menu (Figure 5) is set to SMALL or LARGE the AVR will be configured for 6.1/7.1-channel operation, and additional modes such as Dolby Digital EX and 7 STEREO or Logic 7 7.1 will appear, as they are only available when seven main speakers are present. In addition, the modes DTS ES (Discrete) and DTS+NEO:6 (DTS ES Matrix) available in the AVR will not appear unless a digital source is playing the correct bitstream.
Note: When a Dolby Digital or DTS source is selected and playing, the AVR will select the appropriate surround mode automatically, no matter which surround mode was selected for that input as default. Then no other surround modes will be available, except VMAx with Dolby Digital recordings and all Pro Logic II modes with Dolby Digital 2 channel (2.0) recordings (see page 34).
To select the mode that will be used as the initial default for an input, first press the ⁄/¤ buttons
Euntil the on-screen cursor is next to the desired mode’s master category name. Next, press